Starlink Ethernet Not Working? A Step-by-Step Troubleshooting Guide
Troubleshooting & Fixes
A wired device can fail even while Starlink Wi-Fi works normally. The fault may be a loose connector, damaged cable, inactive port, unpowered switch, wrong router socket, bypass-mode configuration or a device that did not receive a network address.
Use this guide to isolate one layer at a time. Do not factory-reset the Starlink router at the start: a reset can erase useful settings without proving whether the cable or device is at fault.
First, identify your network layout
Before unplugging anything, write down the path from Starlink to the device. Common layouts include:
- Starlink router Ethernet port → computer or games console
- Starlink router → Ethernet switch → wired devices
- Starlink Ethernet adapter → computer or switch
- Starlink Ethernet connection → third-party router WAN port → wired devices
- Starlink in bypass mode → third-party router → switch → wired devices
Starlink hardware varies. Some routers have an Ethernet connection built in, while other kits require a compatible adapter. Use the connection method intended for your specific hardware rather than forcing a plug or buying an adapter based only on its appearance.
Confirm that Starlink itself is online
Connect a phone to the normal Starlink or third-party Wi-Fi network and load two unrelated websites. Also check the Starlink app for the current system status.
- Wi-Fi works but Ethernet does not: concentrate on the wired path.
- Wi-Fi and Ethernet both fail: troubleshoot the Starlink connection, power and dish status first.
- Only one website or app fails: the Ethernet link may be fine; test a general website before changing hardware.
This first comparison prevents a wider outage from being mistaken for a bad Ethernet cable.
Look for a physical link
Many computers, switches and third-party routers have small link lights beside their Ethernet sockets. With both devices powered, connect the cable and wait about 30 seconds.
- A steady or flashing light usually means the two ports have established a physical link.
- No light suggests a cable, connector, port, adapter or power problem.
- A link light does not prove internet access; it only shows that the local wired connection is communicating at a basic level.
Some devices do not have visible link lights. In that case, check the operating system's network status for an Ethernet connection.
Reseat every connection once
Disconnect and reconnect each plug in the wired path. The connector should seat fully without being forced. Check for:
- a broken retaining clip;
- bent, crushed or sharply kinked cable;
- moisture, dirt or corrosion;
- a plug that feels loose;
- an adapter or switch with no power;
- a cable trapped in a door or under furniture.
Power down equipment before inspecting proprietary Starlink cable connections. Do not open a power supply, router or adapter, and do not work on outdoor cabling during a storm.
Test the shortest possible path
Temporarily remove optional equipment. Connect one known-working laptop or desktop directly to the Starlink Ethernet output using one short cable, where your hardware supports that layout.
For this test, remove:
- wall sockets and patch panels;
- long cable runs;
- Ethernet switches;
- powerline adapters;
- docks and USB hubs;
- mesh nodes;
- extra routers.
If the direct connection works, add one item back at a time until the failure returns. The last item added is the best suspect. If the direct connection still fails, continue with the cable and port tests.
Swap the cable, then the device
Use a known-working Ethernet cable. A new-looking cable is not necessarily a known-working cable; ideally, borrow one from a connection that is currently functioning.
Then connect a second wired device to the same port and cable.
The results narrow the problem:
- A second cable works: replace or re-terminate the original cable.
- A second device works: investigate the first device's network adapter and settings.
- Neither device works: test another port or focus on the adapter, switch or router.
- The same device fails on every network: its Ethernet hardware, dock or operating-system settings may be responsible.
Avoid changing several parts at once, or you will not know which change fixed the fault.
Check switches and wall cabling
If a switch is in the path, confirm that its power light is on and that link lights appear on both the Starlink-facing port and the device-facing port. Try another numbered port on the switch.
A switch usually has no dedicated “internet” port, but managed switches can have configuration that affects traffic. If the simple direct test works and the switch path does not, consult the switch documentation before resetting it.
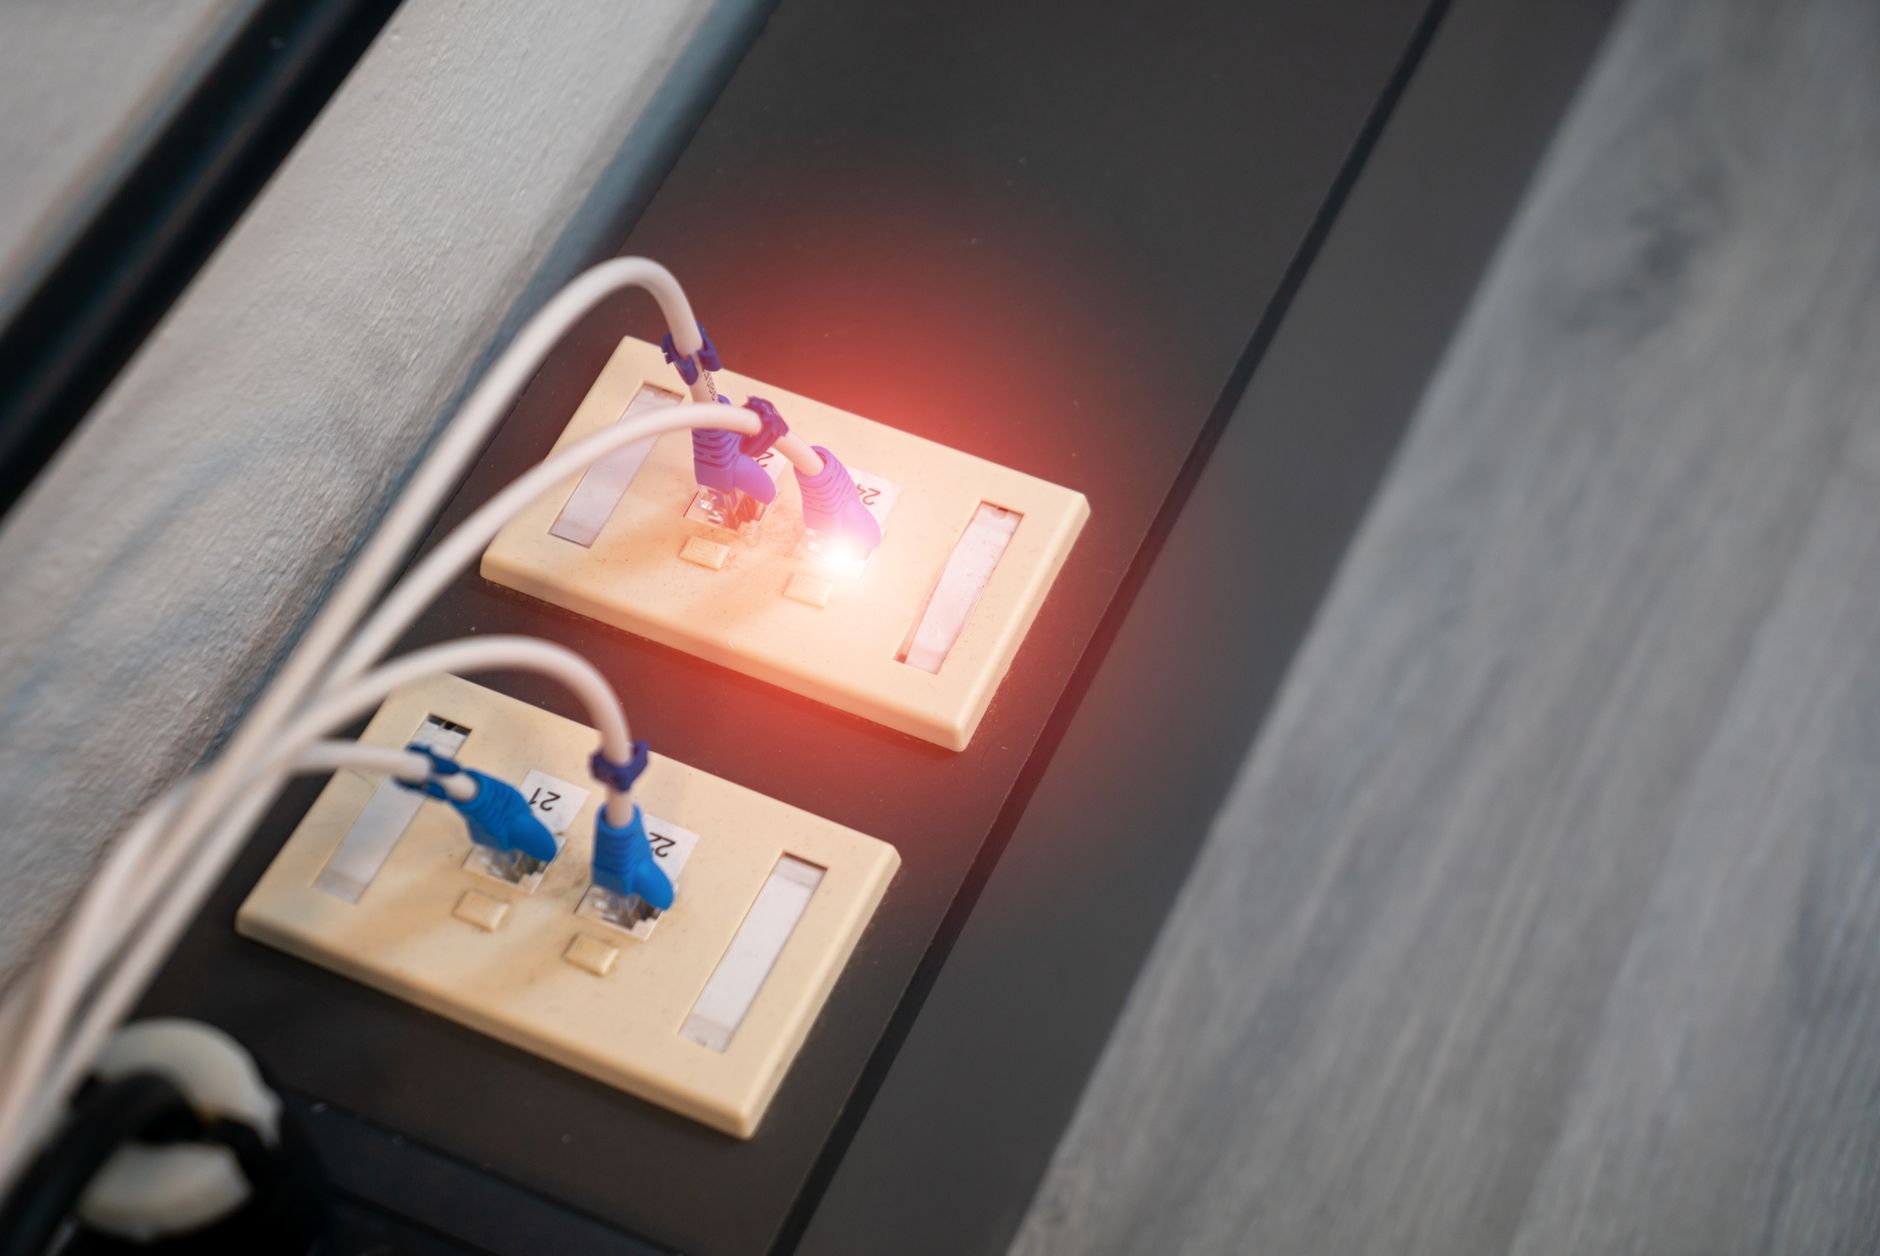
For a wall socket or long installed cable, test with a temporary cable across the room. If the temporary cable works, the fixed run, wall jack or termination needs inspection. Use a qualified network installer where the cable route is inaccessible or damaged.
Check the wired device's network status
Set the device's Ethernet connection to obtain an IP address and DNS settings automatically unless your network deliberately uses fixed values.
A self-assigned address, an “unidentified network” message or an address beginning with 169.254 on many systems usually means the device did not receive normal network settings from the router. Disconnect and reconnect the cable, disable and re-enable the Ethernet adapter, then restart the device once.
Also check that:
- airplane mode or a security suite is not disabling the adapter;
- the Ethernet adapter appears without an error in the operating system;
- a USB-to-Ethernet adapter is connected directly rather than through an unreliable hub;
- old manual IP, gateway or DNS values have been removed for the test.
Do not copy an IP address from another device. Duplicate addresses can create a second fault.
Check a third-party router carefully
When using your own router, the Starlink Ethernet connection normally belongs in that router's WAN or Internet port, not one of its numbered LAN ports. The wired computer then connects to a LAN port or to a switch attached to the LAN side.
Open the third-party router's status page and check whether its WAN interface has received an address. If the WAN side is disconnected:
- Reseat the cable at both ends.
- Confirm you used the WAN port.
- Restart the third-party router once.
- Test another known-working cable.
- Temporarily connect a computer directly to the Starlink Ethernet output, if supported.
If the direct test works but the router WAN does not, the issue belongs to the router, its WAN settings or the cable between them.
Understand bypass mode before changing it
Bypass mode turns routing and Wi-Fi duties over to a third-party router. If bypass mode is enabled, the Starlink router's normal Wi-Fi may be unavailable by design. Your own router must be powered, connected through its WAN port and configured to provide local addresses to devices.
Do not enable or disable bypass mode merely as an experiment. First document the current layout and confirm that you know how your model exits bypass mode. Some recovery procedures require a factory reset, and the exact method varies by hardware.
Restart in a controlled order
If cables and ports pass the checks but the wired path still has no internet, use one deliberate restart:
- Shut down the wired device.
- Power off the optional switch and third-party router.
- Restart the Starlink equipment using the normal method for your hardware.
- Wait until the Starlink app reports the system online.
- Power on the third-party router, then the switch.
- Start the wired device and test again.
Do not repeatedly cycle Starlink power. Repeated restarts make intermittent faults harder to diagnose and may trigger an unintended reset on some hardware.
When Ethernet connects but feels slow
A working link can negotiate at a lower speed because of cable damage, poor termination or an older port. Compare a wired speed test with a Wi-Fi test from the same location and at roughly the same time. Also check the Ethernet link speed reported by the device.
If a gigabit-capable path repeatedly links at 100 Mbps, replace the patch cable first and remove wall cabling or adapters from the test. Remember that internet speed also varies with Starlink network conditions; a gigabit local link does not guarantee a gigabit internet result.
Evidence to collect before contacting support
If the Starlink Ethernet output or compatible adapter still fails with two known-working cables and two devices, collect:
- your Starlink hardware model;
- a simple diagram of the connection path;
- whether Starlink Wi-Fi works;
- which link lights appear;
- cables, ports and devices tested;
- whether a direct connection works;
- whether bypass mode is enabled;
- screenshots of relevant app or router status, with personal details hidden;
- the date, time and time zone of the tests.
Use the official Starlink support channel for account or hardware problems. If a third-party router, switch, dock or installed cable is the failing layer, contact that manufacturer or a qualified network installer instead.
Quick decision checklist
- Confirm Starlink works over Wi-Fi.
- Identify every component in the wired path.
- Check power, connectors and link lights.
- Test one short, known-working cable.
- Test a second wired device.
- Remove switches, wall cabling, docks and extra routers.
- Check automatic IP and DNS settings.
- Verify a third-party router uses its WAN port.
- Restart the network once in order.
- Contact the owner of the failing layer with the evidence.
A careful direct test usually reveals whether the fault is in Starlink, the Ethernet adapter, a cable, an intermediate device or the endpoint itself.