How to Build a Starlink Maintenance and Inspection Routine
Tips & Tricks
A Starlink setup usually needs less attention than a traditional satellite installation, but “leave it and forget it” can allow small problems to become connection faults. A short inspection routine helps you notice loose mounts, stressed cables, blocked sky views and power problems before they interrupt an important call.
This guide focuses on checks you can make safely from the ground or another stable location. It does not require opening equipment, climbing onto a roof or changing a working installation without a reason.
The three-part maintenance routine
Use three simple intervals:
- Once a month: review the Starlink app, look over accessible equipment and check the cable route.
- After severe weather or nearby work: inspect for movement, impact or new obstructions.
- Every six months: do a more complete performance and installation review.
Also inspect the system whenever you notice repeated dropouts, an unfamiliar app alert, visible cable damage or a change in Wi-Fi coverage.
What to record before you start
Create a short setup record on your phone or in a notebook. Include:
- The date the dish and router were installed
- The dish location and mount type
- The route the Starlink cable follows
- The location of the router, power supply, surge protection and any UPS
- Photos of the mount, cable entry point and indoor connections
- Your normal speed-test range at two or three usual times of day
- Notes about any trees, structures or seasonal foliage near the dish's view of the sky
Do not store your account password, recovery codes or full payment details in this record. The purpose is to document the physical setup and its normal behaviour, not to create a copy of sensitive account information.
Monthly check: start in the Starlink app
Open the Starlink app while connected to your home network and check:
- Whether the system reports an alert or hardware problem
- The obstruction view for a new or growing blockage
- Recent outages or interruptions that form a repeatable pattern
- Whether your usual devices connect normally in the rooms where you use them
A single slow test does not prove there is a fault. If performance looks unusual, repeat the test at a different time and compare it with your previous notes. Test near the router as well as in the problem room; this helps separate a Starlink connection issue from a local Wi-Fi issue.
Take a screenshot or write down the date when you see a persistent warning. A useful timeline makes later troubleshooting and support requests much clearer.
Monthly check: inspect the accessible equipment
From a safe position, look for:
- A mount that has shifted, tilted or started to loosen
- Cracks, corrosion or damaged fixings
- A cable that is pulled tight, sharply bent, crushed or rubbing against an edge
- A cable section that can flap in the wind or collect standing water
- Damage caused by gardening, vehicles, pets or recent building work
- Moisture marks around the cable entry point
- A router or power supply blocked by clutter or exposed to excess heat or damp
- Loose plugs at connections you can reach safely
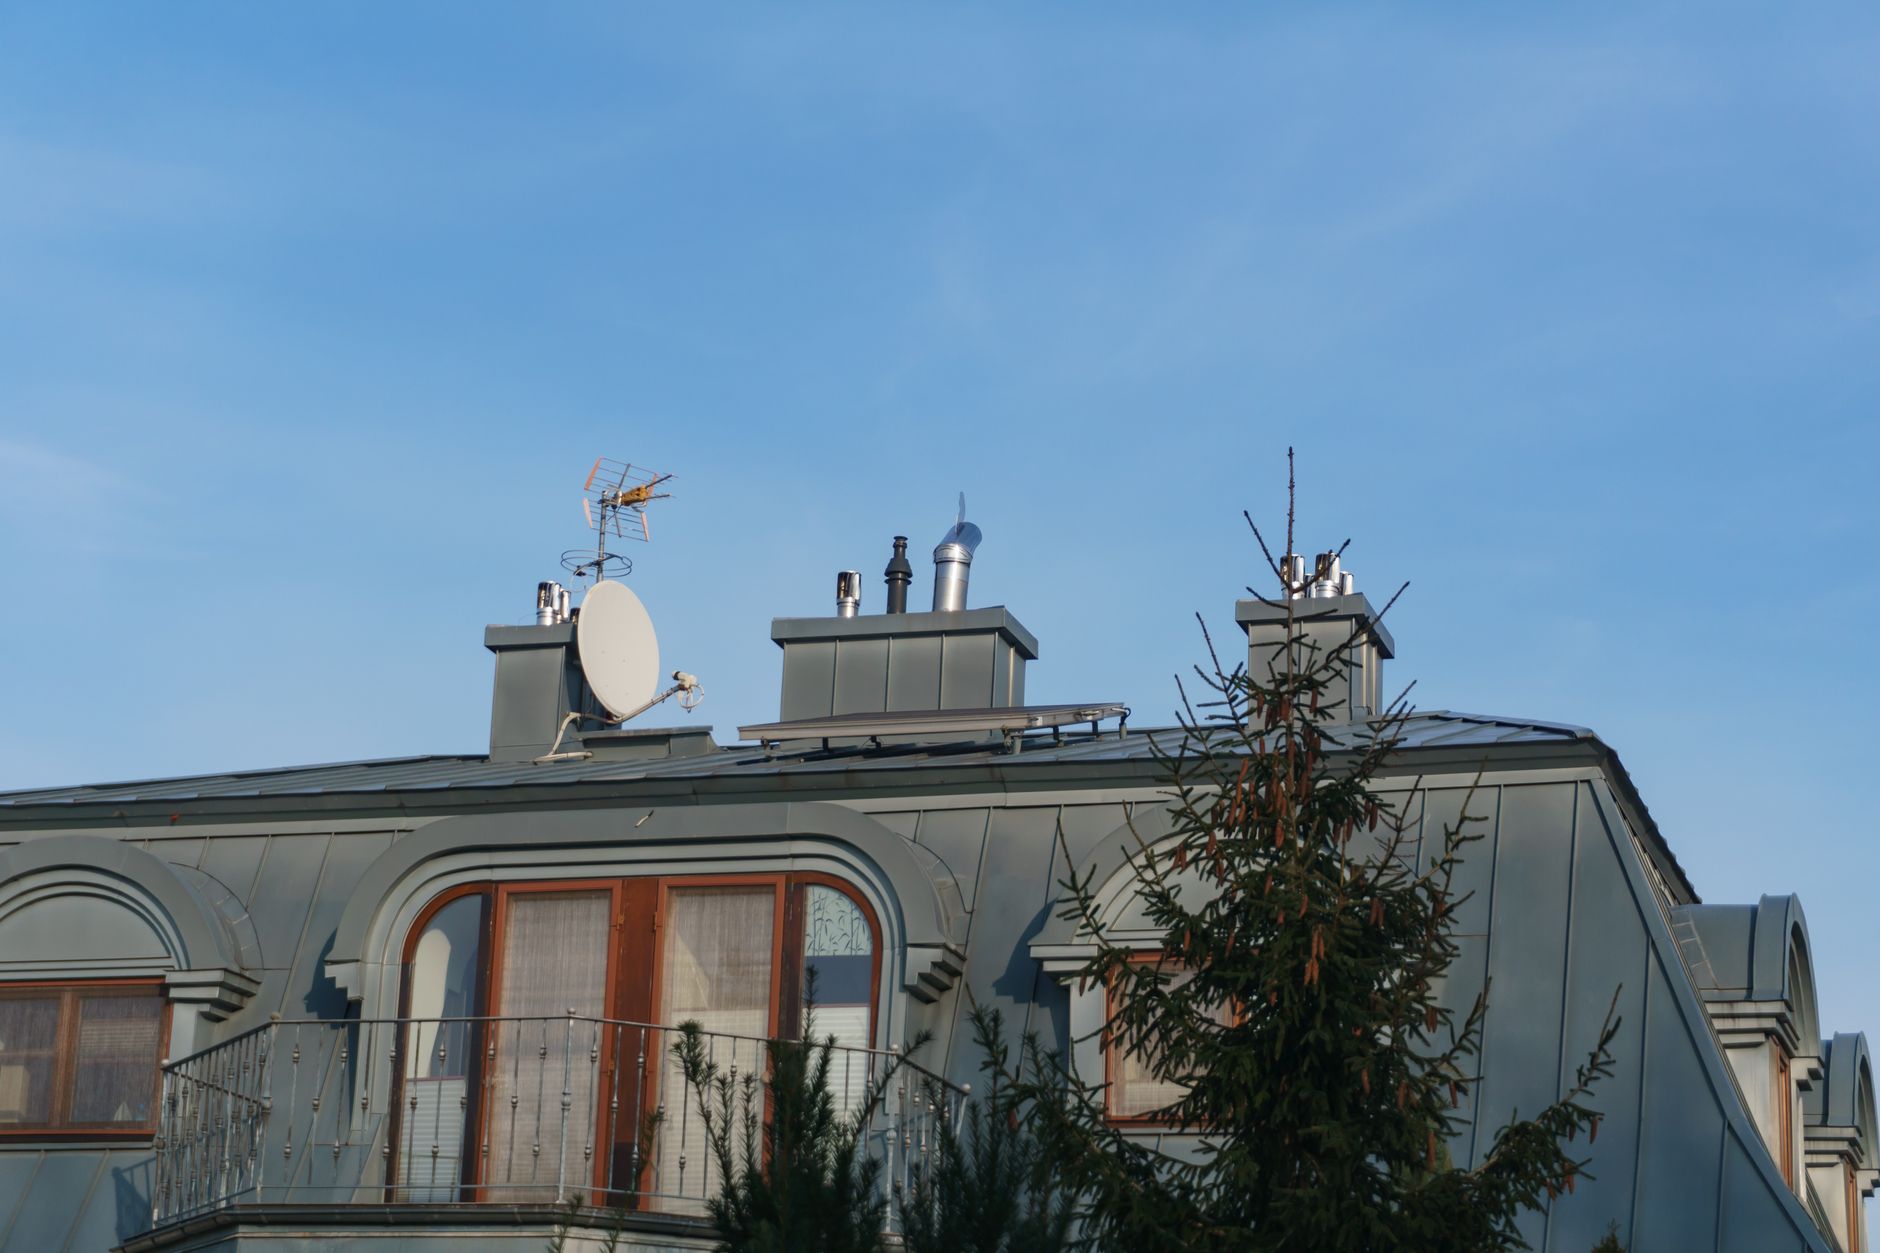
Do not climb onto a roof or lean from a ladder to inspect a dish. Use binoculars or a phone camera with zoom from the ground, or ask a qualified installer to inspect an inaccessible mount.
If a connector needs attention, disconnect power before touching it. Do not force, twist or repeatedly reseat a connector. Stop if you see scorching, exposed conductors, water inside a connection or a damaged socket.
After wind, storms or nearby work
Severe weather is a reason to inspect, not a reason to reset everything automatically. First check the app and observe the installation.
Look for a changed dish position, a newly loose cable, fallen branches, debris, water around indoor equipment or signs that the cable route was disturbed. After roofing, tree work, fencing or landscaping, check that no one has pinched, buried, cut or rerouted the cable.
If lightning or a power event may have affected the property, do not handle wet or visibly damaged electrical equipment. Isolate the area and use a qualified electrician or installer where appropriate.
Seasonal checks
Conditions around the dish change throughout the year.
Spring and summer
New leaves can create obstructions that were not present during installation. Check the obstruction view after trees have filled out. Trim vegetation only when it is safe, permitted and well away from power lines; otherwise use a professional.
Autumn
Clear fallen leaves and debris only from areas you can reach safely without touching or moving the dish. Make sure drains and the cable entry area are not blocked.
Winter
Inspect from the ground after snow, ice or strong wind. Do not strike, scrape or pour hot water on the dish. Avoid standing beneath a roof edge or dish where snow or ice could fall. If the equipment remains inaccessible or service does not recover normally, contact support or a qualified installer.
Six-month performance review
Twice a year, compare the installation with the photos and notes from your previous review.
Run several speed tests over a few days, using the same device and location where possible. Record download speed, upload speed, latency, time and whether the device used Wi-Fi or Ethernet. You are looking for a sustained change, not the highest possible result.
Then review:
- Whether the router still has open space around it
- Whether furniture or appliances now block its signal
- Whether new devices have increased household demand
- Whether outdoor cable clips and supports remain secure
- Whether the obstruction view has changed
- Whether your surge protector or UPS shows a warning or needs routine service under its manufacturer's instructions
- Whether your backup internet plan still works
What not to do during routine maintenance
Avoid creating a fault while trying to prevent one.
- Do not open the dish, router, power supply or connectors.
- Do not pressure-wash the dish or cable.
- Do not use solvents, abrasive tools or improvised coatings.
- Do not add tight cable ties that crush the cable.
- Do not drill new holes or move a roof mount as a quick experiment.
- Do not factory-reset a working system as routine maintenance.
- Do not repeatedly power-cycle the system without recording the original symptom.
A visual inspection and a useful record are often more valuable than unnecessary adjustments.
When to stop and get help
Contact Starlink support or a qualified installer when you find:
- A persistent hardware alert
- Visible cable cuts, exposed conductors or a damaged connector
- Scorching, a burning smell or repeated electrical trips
- Water inside a connector or indoor power equipment
- A loose or damaged roof, wall or pole mount
- A dish that has moved and cannot be reached safely
- Repeated outages that continue after basic checks
- Work near electrical wiring, lightning protection or a building's main supply
Describe what changed, when it began, which checks you completed and what the app reports. Attach clear photos only when you can take them safely.
A five-minute checklist
For a quick monthly review:
- Check app alerts, obstructions and recent outages.
- Look at the dish and mount from a safe position.
- Follow the visible cable route for strain or damage.
- Check the router and power equipment for heat, damp or loose plugs.
- Record any change before attempting a fix.
Five careful minutes each month can give you a reliable baseline and make real problems much easier to diagnose.