Maximizing Your Starlink Performance
Tips & Tricks · 10 April 2026
Introduction
Getting your Starlink dish installed and connected is a massive milestone, especially if you've been struggling with traditional terrestrial internet or are living in a remote area. However, there is a significant difference between being "connected" and having a "high-performance" connection.
Many new users find themselves frustrated when their initial speeds don't match the marketing materials or when they experience intermittent lag during important video calls or gaming sessions. The reality is that while Starlink is a revolutionary technology, its performance is highly dependent on your local environment, your hardware configuration, and how you manage your home network.
This guide is designed to take you beyond the basic setup. We will dive deep into the technical and environmental factors that influence your Starlink experience, providing you with actionable steps to maximize your speeds and minimize latency.
Perfecting the View: Beyond the App
The most critical component of a Starlink connection is the "line of sight" between your dish and the satellite constellation. Even though the Starlink app provides an obstruction tool, many users underestimate how much small, seemingly insignificant obstacles can impact performance.
The Micro-Obstruction Problem
When using the Starlink app to scan for obstructions, you might see a "clear" status. However, a single thin tree branch or a corner of a roofline that only enters the field of view for a few seconds can cause a "micro-obstruction."
These brief interruptions might not cause a total connection drop, but they manifest as:
- Increased Jitter: Sudden spikes in latency.
- Packet Loss: Data being lost during the brief obstruction, causing stuttering in video calls.
- Reduced Throughput: The system constantly trying to re-establish a stable connection, which lowers your overall speed.
Elevating Your Dish
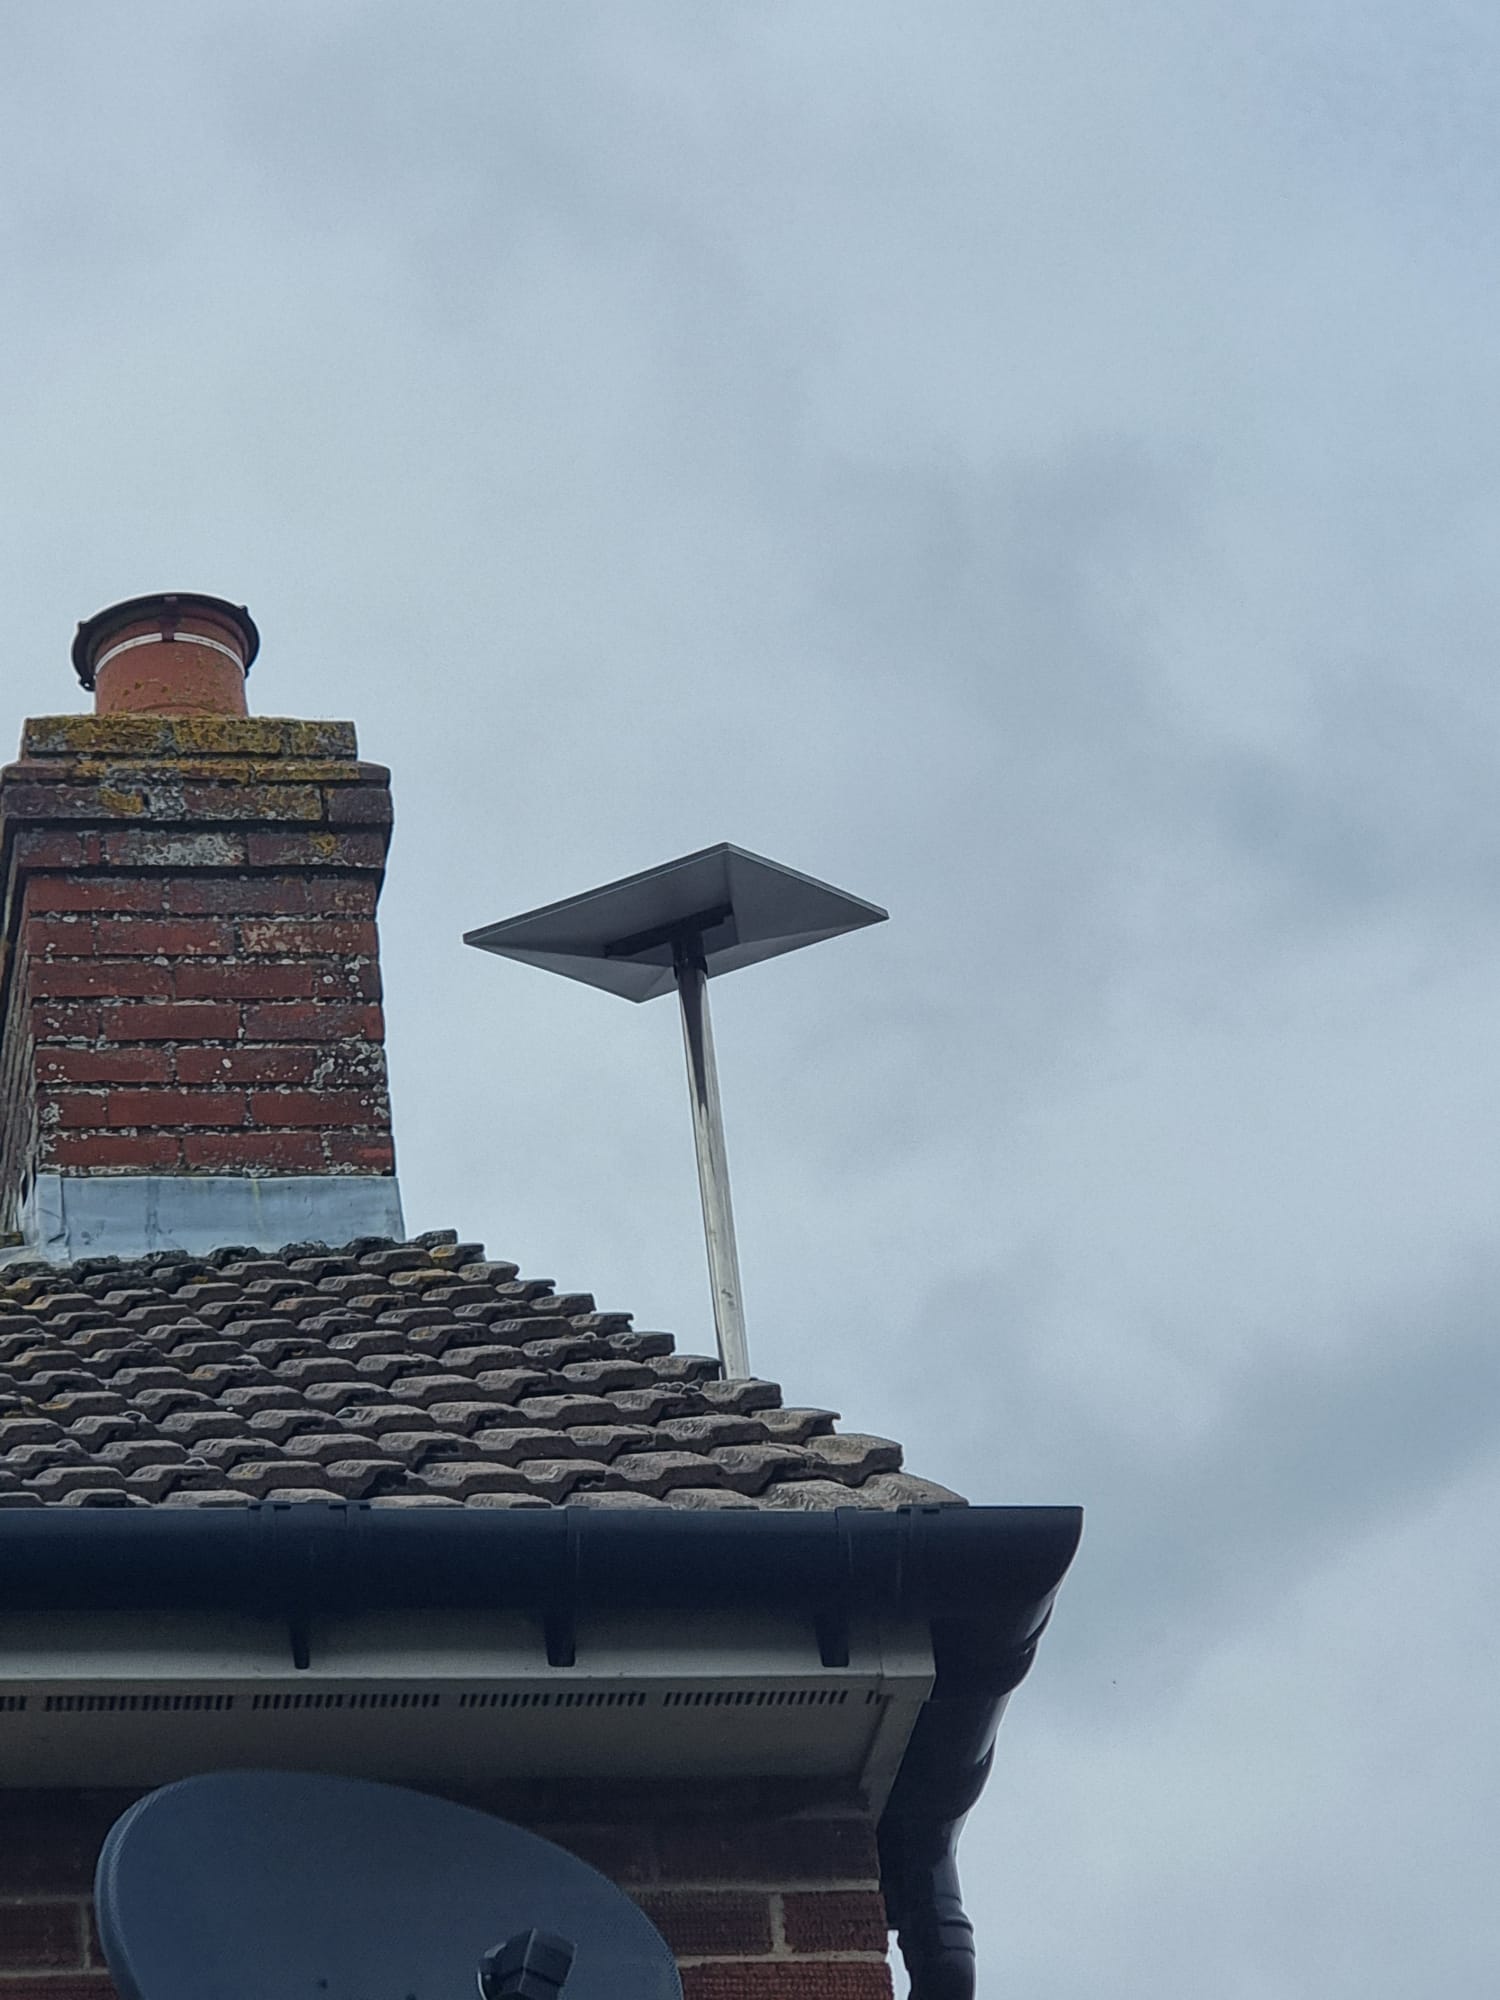
If you find that your obstructions are frequent, the solution is often height. Moving your dish from a ground mount to a roof mount or using a dedicated pole mount can clear the "horizon" of obstacles like shrubs, fences, or eaves. Even an extra two or three feet of elevation can make a world of difference in maintaining a consistent signal.
Overcoming Wi-Fi Limitations
Once you have a perfect signal from the sky, the next bottleneck is almost always your local Wi-Fi network. The Starlink router is a capable device, but it is designed as a general-purpose solution rather than a high-performance networking hub.
The Ethernet Advantage
If you want the absolute best performance—especially for gaming consoles, desktop computers, or streaming devices—use a wired connection.
The Starlink router does not come with an Ethernet port built-in for most recent models. To bypass the Wi-Fi limitations, you should purchase the official Starlink Ethernet Adapter. By plugging your devices directly into the router via Cat6 or Cat6a cables, you eliminate the interference and signal degradation inherent in wireless connections. This is the single most effective way to reduce latency and ensure maximum throughput.
Mesh Systems vs. Access Points
In larger homes or environments with thick walls (like stone or heavy timber), a single router often isn't enough.
- Starlink Mesh Nodes: These are designed to work seamlessly with your existing Starlink router. They are easy to set up but may offer slightly less customization.
- Third-Party Mesh Systems (e.g., Eero, Google Nest, ASUS): For advanced users, using a high-quality third-party mesh system can provide much better coverage and more robust features.
Note: If you use a third-party router, you will likely need to put your Starlink router into "Bypass Mode" to avoid "Double NAT" issues, which can interfere with gaming and certain VPNs.
Advanced Hardware Tweaks
Beyond the dish and the router, the supporting hardware plays a vital role in the stability of your connection.
Power Stability
Starlink hardware, particularly the dish and the router, requires a consistent and clean power supply. In remote areas or RV setups, power can often fluctuate.
- Surge Protection: Always use a high-quality surge protector to protect your expensive Starlink equipment from lightning strikes or power surges.
- Stable Power Sources: If you are running on battery or solar power (common in mobile setups), ensure your inverter provides "pure sine wave" power. Modified sine wave inverters can cause electrical noise that interferes with sensitive networking equipment.
Cable Management
The proprietary Starlink cables are high-performance, but they are also sensitive. Avoid sharp bends, heavy objects resting on the cable, or exposing the cable to extreme heat or mechanical stress. A damaged cable can lead to intermittent signal loss that is incredibly difficult to diagnose.
Software & Network Optimization
Your digital environment can be just as impactful as your physical one.
Managing Interference
Wi-Fi operates on radio frequencies that are easily disrupted. To optimize your signal:
- Avoid Physical Obstacles: Keep your router in a central, open location. Avoid placing it inside cabinets, behind TVs, or near large metal objects.
- Minimize Electronic Interference: Keep the router away from microwaves, cordless phones, and baby monitors, all of which operate on similar frequencies and can "drown out" your Wi-Fi signal.
Understanding Frequency Bands
Most modern routers use two main bands: 2.4GHz and 5GHz.
- 2.4GHz: Has a longer range and penetrates walls better, but it is slower and much more prone to interference.
- 5GHz: Offers significantly higher speeds and less interference but has a much shorter range and struggles with walls.
For high-bandwidth activities like 4K streaming or gaming, always try to connect your devices to the 5GHz band.
Managing Bandwidth Hogs
In a household with multiple users, one person downloading a massive game update or streaming 4K video can "starve" the rest of the network of bandwidth. If you notice sudden drops in performance, check if any devices on your network are performing heavy background tasks.
Troubleshooting & Monitoring
The Starlink app is more than just a setup tool; it is a powerful diagnostic instrument.
Reading the Statistics
Regularly check the Statistics tab in your app. Pay close attention to:
- Latency: This is the "ping" or the time it takes for data to travel to the satellite and back. For gaming, you want this to be as low and stable as possible.
- Jitter: This measures the variation in latency. High jitter is often more disruptive than high latency itself, as it causes "stuttering" in real-time applications.
- Obstruction Map: If you see frequent "obstruction" events in your logs, it's time to reconsider your dish placement.
When to Call Support
If you have optimized your view, used an Ethernet connection, and managed your Wi-Fi, but you are still seeing significant performance issues or frequent disconnections, it may be a hardware fault or a localized issue with the Starlink constellation. At this point, collecting your app statistics and opening a support ticket is the best course of action.
Conclusion
Maximizing your Starlink performance is a journey of fine-tuning. By moving beyond the "plug and play" mindset and addressing your environment, your local network, and your hardware configuration, you can transform your connection from "functional" to "exceptional."
Quick Checklist for Peak Performance:
- [ ] Clear all micro-obstructions from the dish's view.
- [ ] Use an Ethernet adapter for high-demand devices.
- [ ] Utilize a mesh system or access points for large areas.
- [ ] Ensure your router is in an open, central location.
- [ ] Monitor your latency and jitter via the Starlink app.
Get One Month of Starlink Free
Order through my referral link and activate your service. Your second month of Starlink service will be free.
Get One Month of Starlink Free