How to Keep Your Starlink Setup Tidy, Labelled and Easy to Troubleshoot
Tips & Tricks
A neat Starlink installation is not just cosmetic. It protects cables, makes future checks easier and helps you avoid unplugging the wrong lead when something goes wrong.
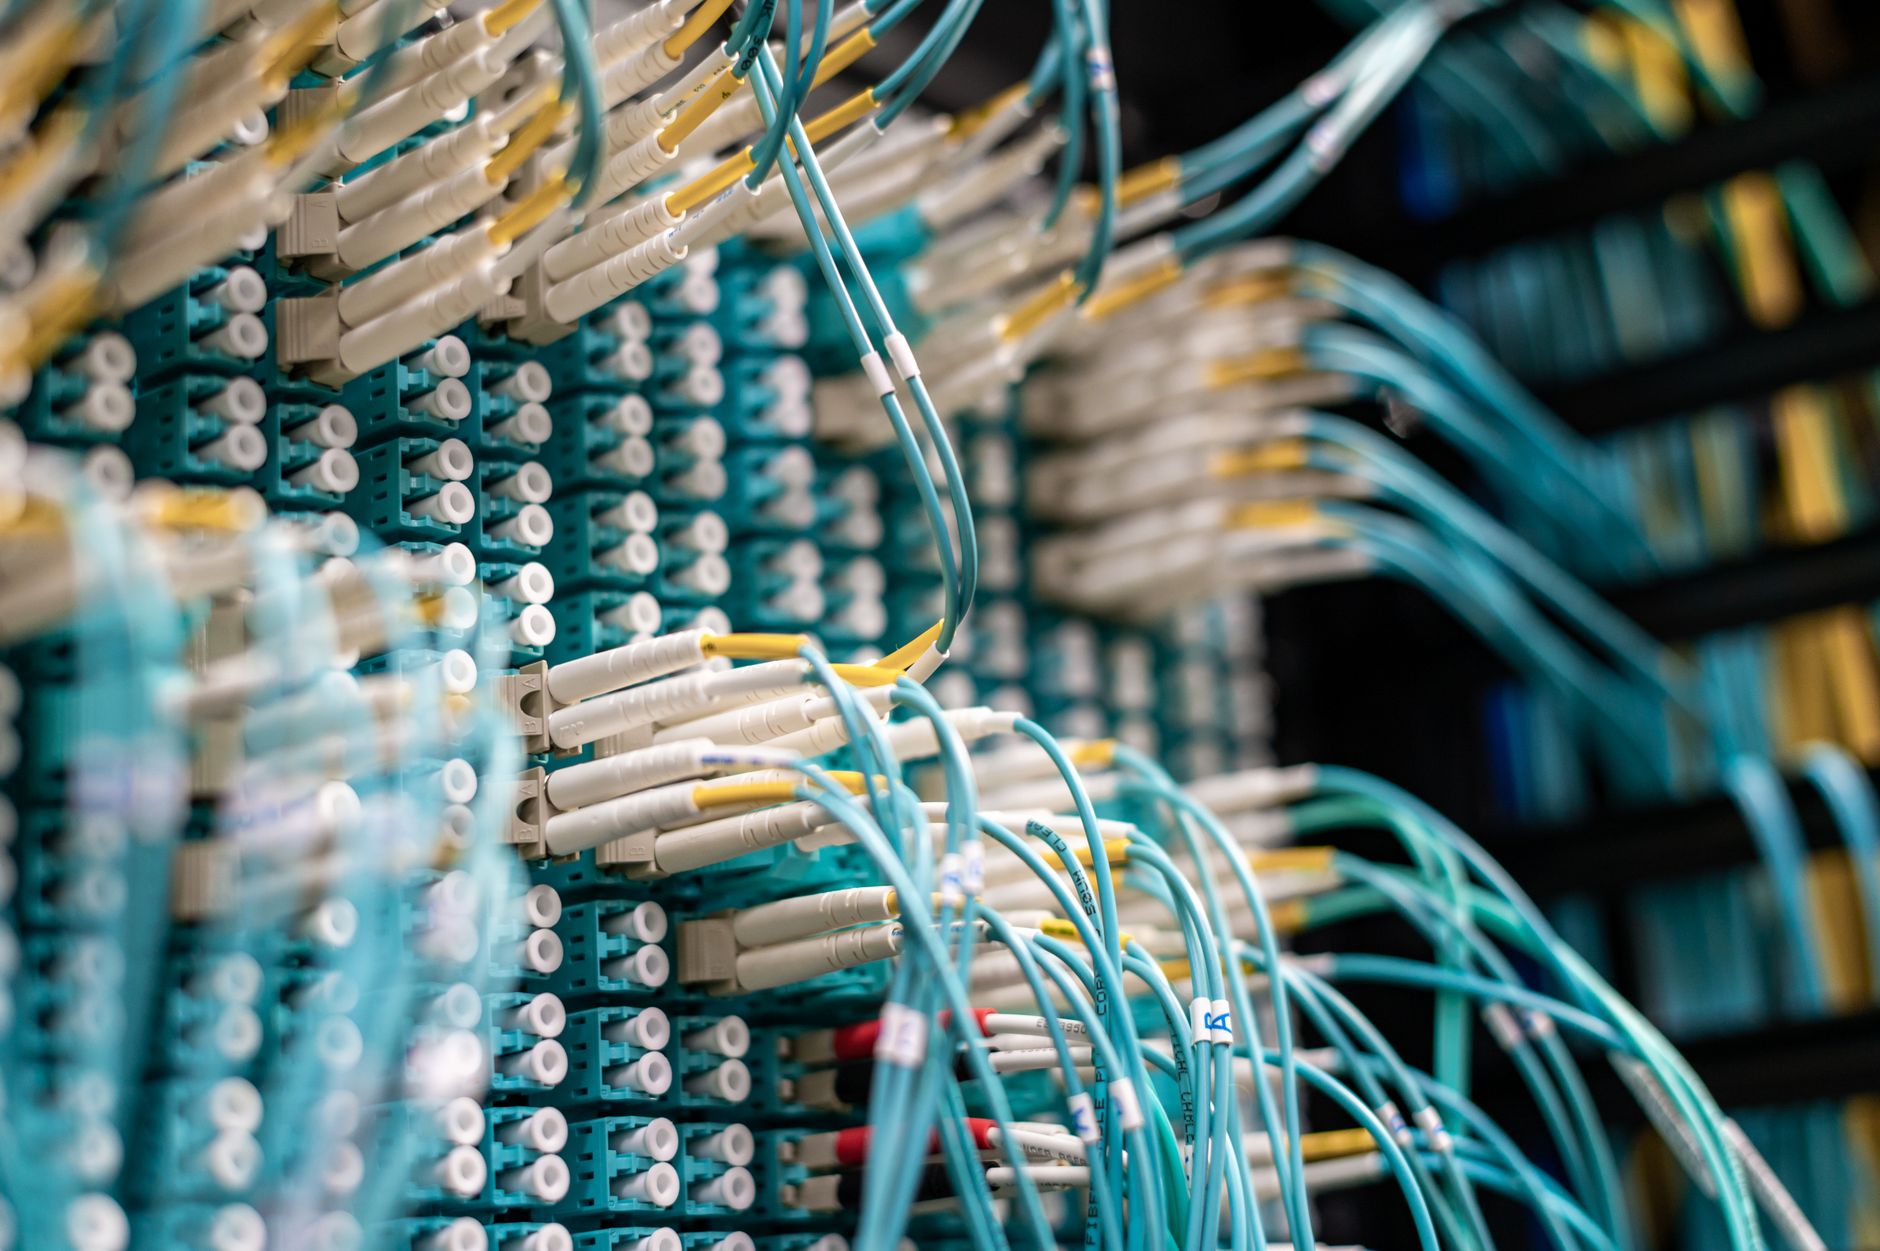
Label both ends of key cables
Use simple labels for the dish cable, router power and any Ethernet connections. Add the date of installation and a note of any adapter or switch used. You will thank yourself months later.
Protect the cable route
Keep cables away from sharp edges, heat sources, moving doors and places where they can be crushed or tripped over. Use suitable clips and grommets, without over-tightening the cable or piercing it.
Leave sensible service slack
Do not pull every run drum-tight. A small, tidy loop near equipment makes replacements and adjustments easier, but avoid large coils that create clutter or invite damage.
Keep a short setup record
Save a photo of the installed dish location, router position and cable route. Note Wi-Fi name details somewhere secure—not on a label visible to visitors.
Start with a free second month
Order through my referral link and activate service; your second month of Starlink service will be free. Availability and current offer terms appear at checkout.