How to Read the Starlink Obstruction Map Before You Mount Your Dish
Tips & Tricks
Choosing a dish position is usually the biggest decision in a Starlink installation. The app’s obstruction view helps you test it before you commit to a mount.
What the obstruction map tells you
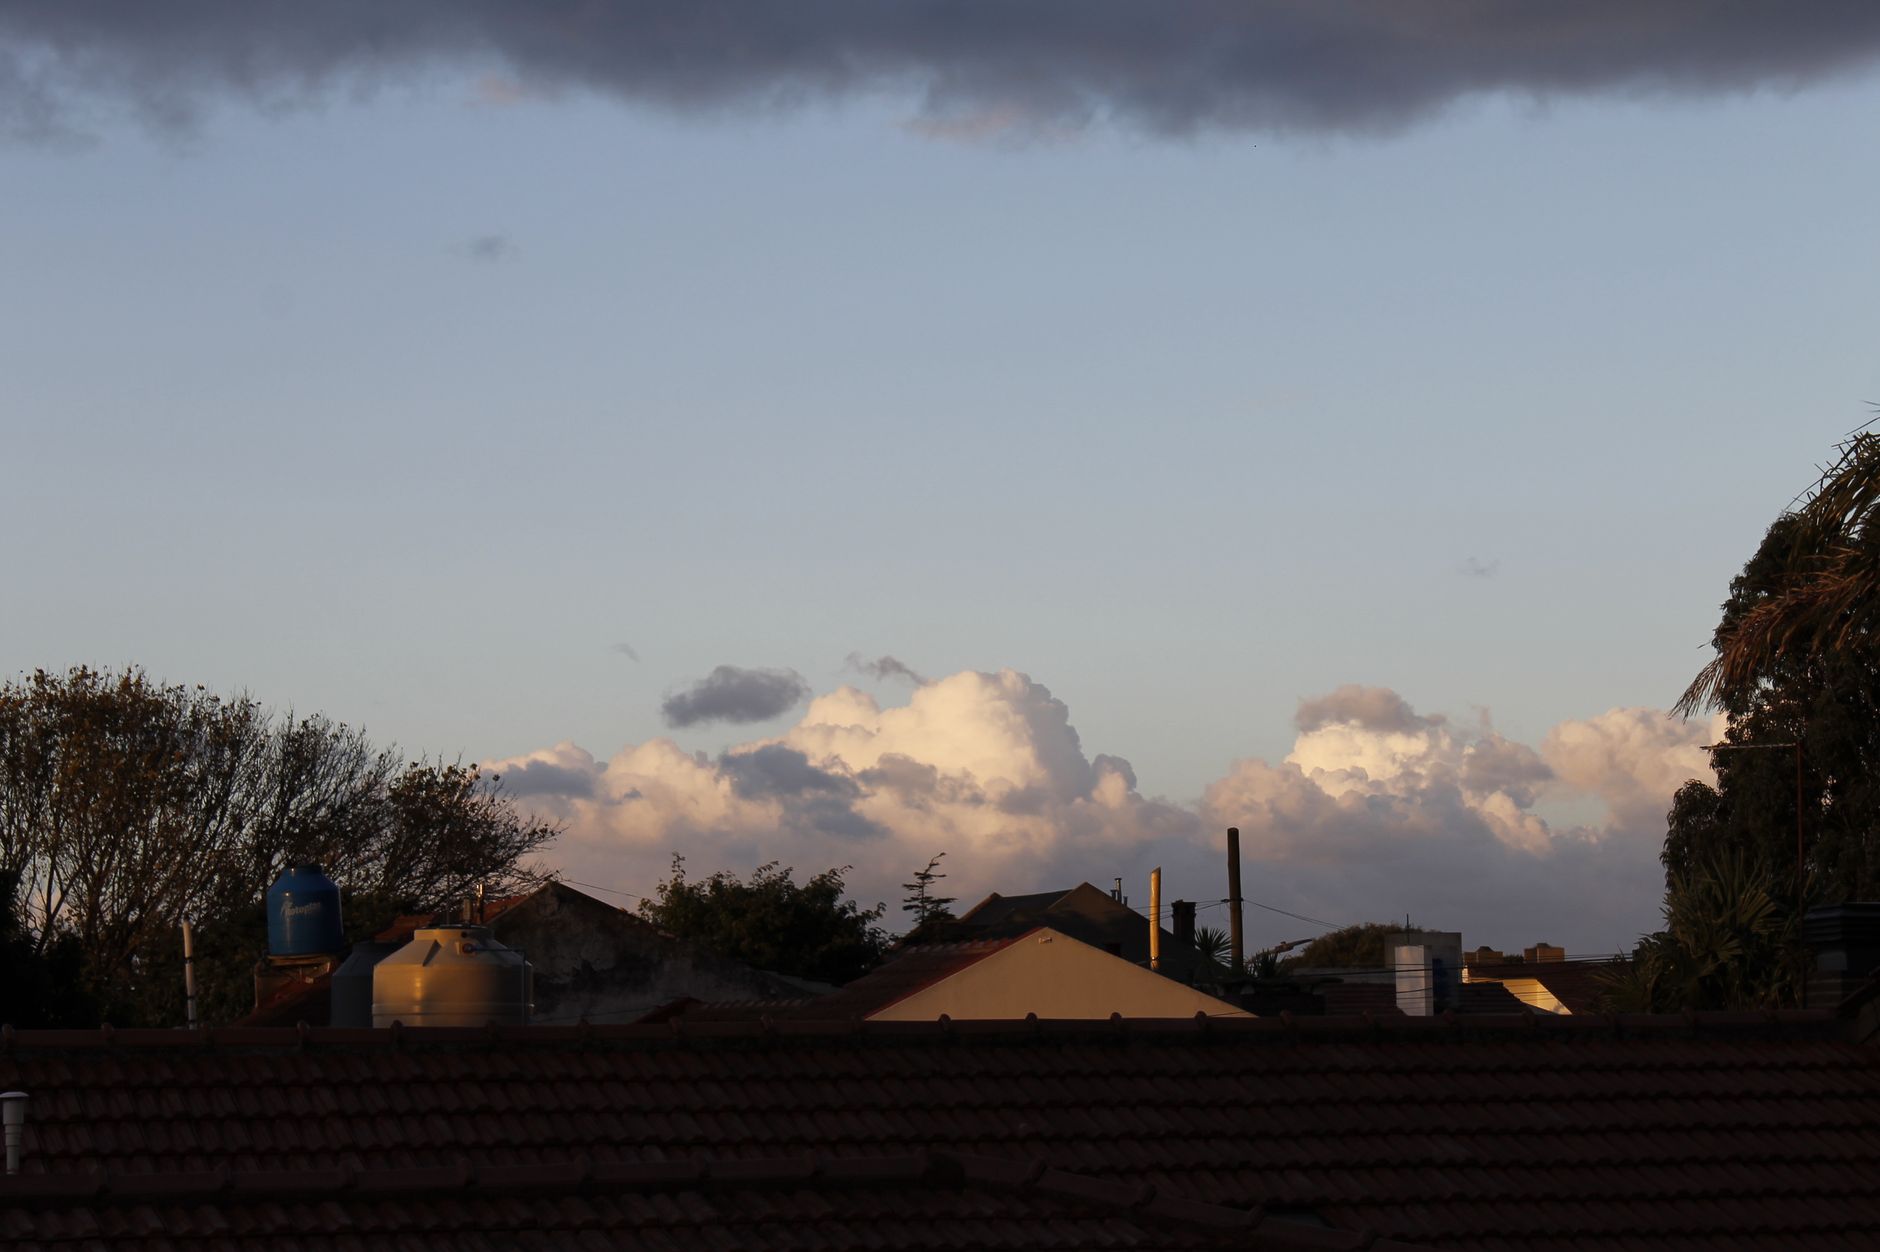
The Starlink app uses the dish’s intended field of view to flag trees, roofs and other objects that may interrupt service. A location that looks clear at eye level can still be poor once you account for the dish looking high into the sky.
Test more than one spot
Walk the proposed roof, wall or ground-mount positions with the app. Check at the actual height where the dish will sit, where it is safe to do so. Compare the results rather than accepting the first location that looks convenient.
Prioritise a clear, stable site
A clear view matters more than shaving a few metres off the cable run. Choose the position with the least obstruction, solid fixing points and a practical cable route. Avoid making safety compromises to chase a marginally better result.
Re-check after changes
Trees grow, seasonal foliage changes and new buildings can affect the view. If calls or gaming become intermittently unreliable, repeat the obstruction check before changing Wi-Fi settings.
Before you order
If you are still comparing rural broadband options, order through my referral link and activate your service: your second month of Starlink service will be free. Check availability and current terms at checkout.