Upgrade Router Mini to Router 3: Compatibility, Planning and Testing
Equipment & Accessories
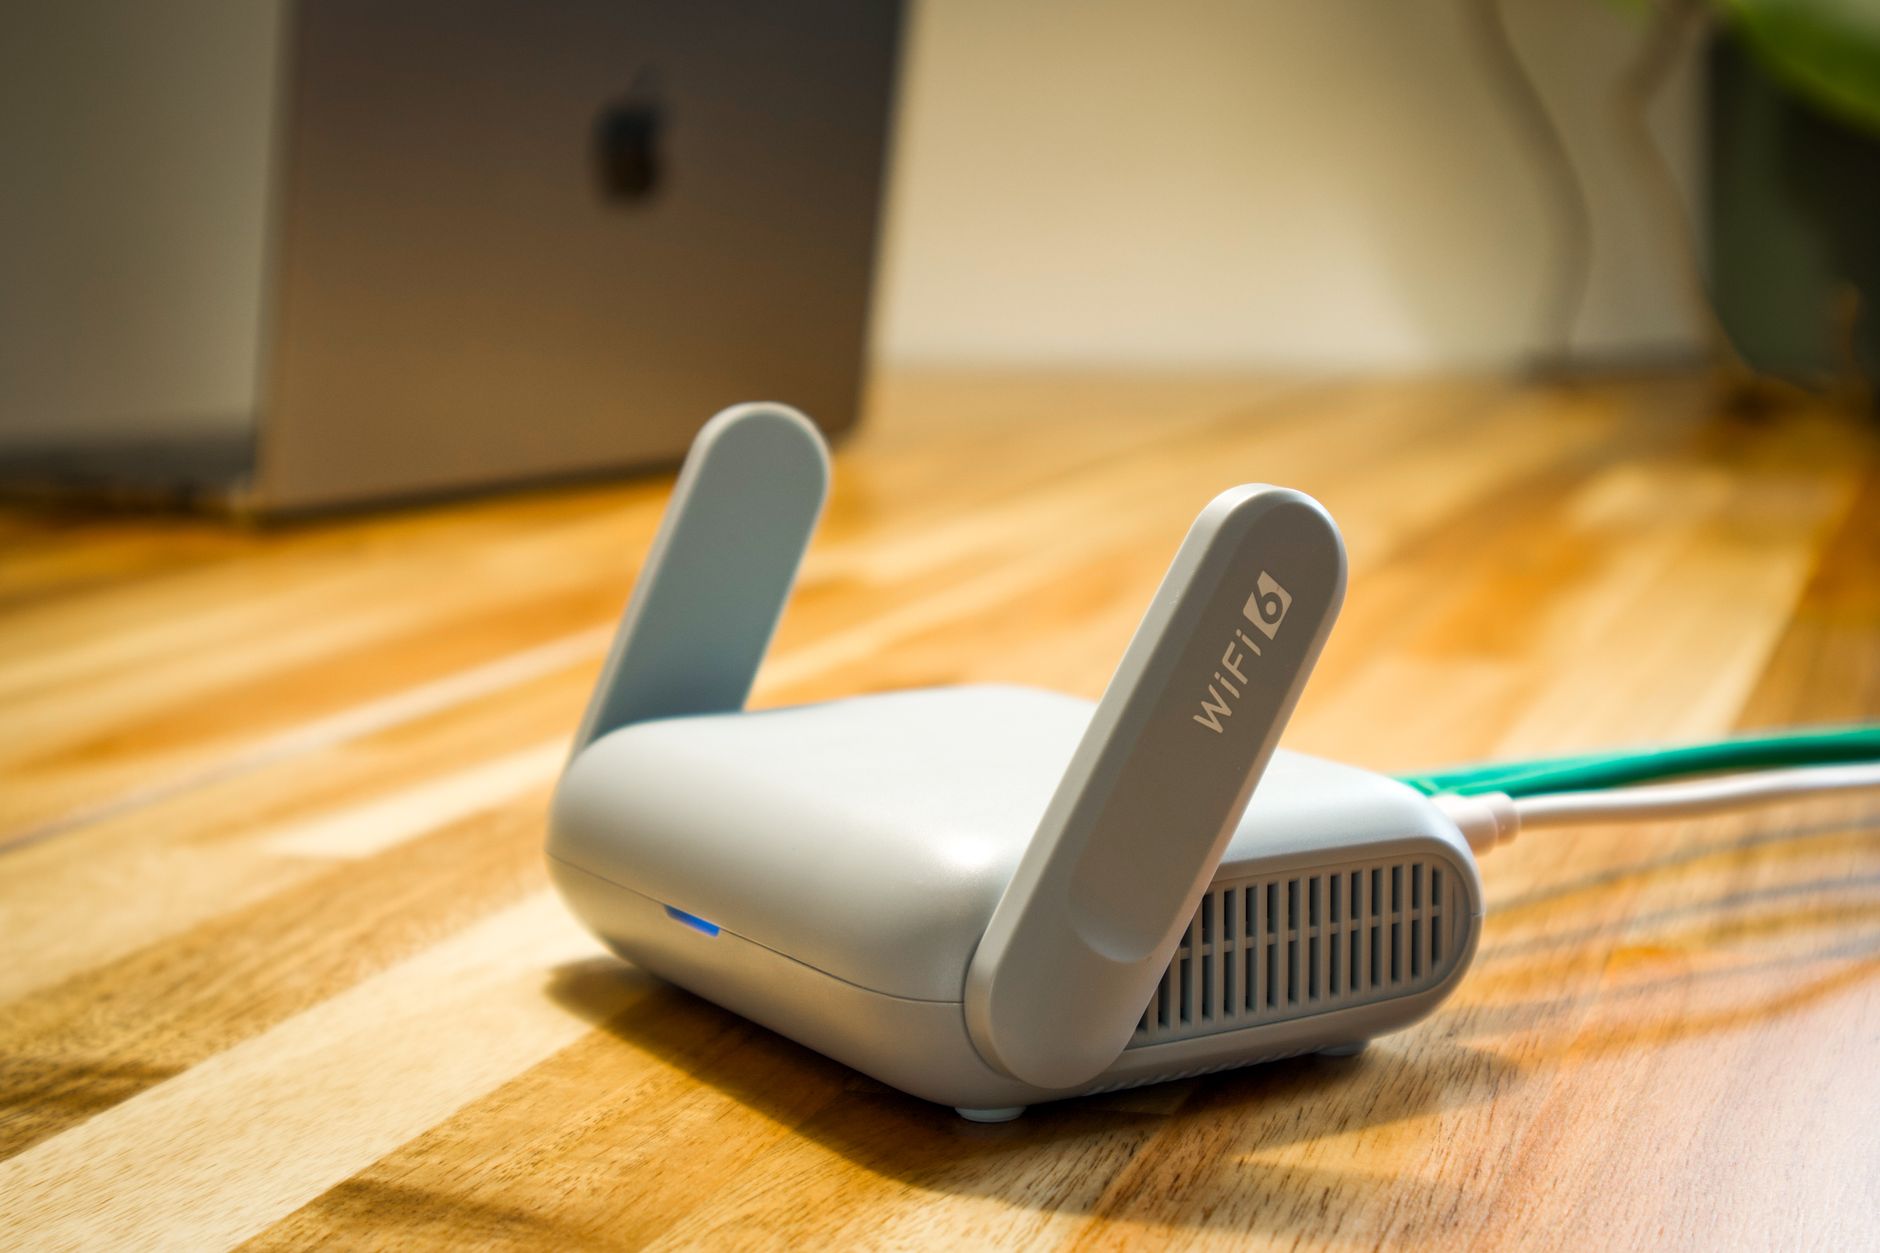
Router Mini is a router; Starlink Mini is a terminal with its own networking hardware. Identify both the dish and the router before planning an upgrade. Similar product names do not make their cables or power arrangements interchangeable.
Decide whether you are replacing or extending
Write down the current connection order, from terminal and power equipment to the main router and any mesh nodes. Decide whether Router 3 will replace a supported main router or become an additional mesh node. These are different jobs.
Starlink lists Router 3 compatibility with Router Mini and other supported Starlink hardware, but it cannot directly replace the main Gen 2 router attached to a Gen 2 terminal. Retain the required power and connection arrangement for that family. Compatibility as a mesh node does not mean compatibility as a direct terminal power supply.
Assemble the correct instructions and components
Open the current Router 3 setup guide for your exact terminal arrangement. Confirm the approved supply, cable, required adapter and the role of each port before disconnecting anything. Do not reuse a supply merely because its plug appears to fit.
For a connection to Starlink Mini, consult the Mini-specific cable instructions so the terminal's connector protection is maintained. For Gen 2, follow the appropriate Ethernet-adapter and router guidance. Ask Starlink support if the documentation does not clearly match your kit.
Prepare a reversible change
Record the old network name, configuration and mesh arrangement privately. Keep account recovery access available. Schedule the work when a short interruption will not disrupt essential tasks and keep the old equipment labelled until testing is complete.
Follow the setup guide to connect and configure the new router. Use the documented WAN and LAN ports rather than treating every Ethernet socket as equivalent. Do not enable bypass or factory reset simply because a video for another generation does so.
Test where the improvement is needed
Before the change, record results near the old router and in the problem room using the same device. Repeat the same ordinary tasks after the change. Check printers, cameras and smart-home equipment, then review whether a better location or a supported wired mesh node is still needed.
A router upgrade changes the local network; it does not increase the satellite plan's capacity. Keep the old setup available until the new arrangement is stable.
The linked DISHYtech tutorial provides a specific upgrade example. The published metadata was checked, but this guide does not certify every step in the video for every terminal generation.
Related question
How do I check that a Starlink accessory fits my kit?
Sources and further reading
- Starlink Router 3 setup guide
- Starlink router specifications and compatibility
- Official Router 3 product compatibility notes
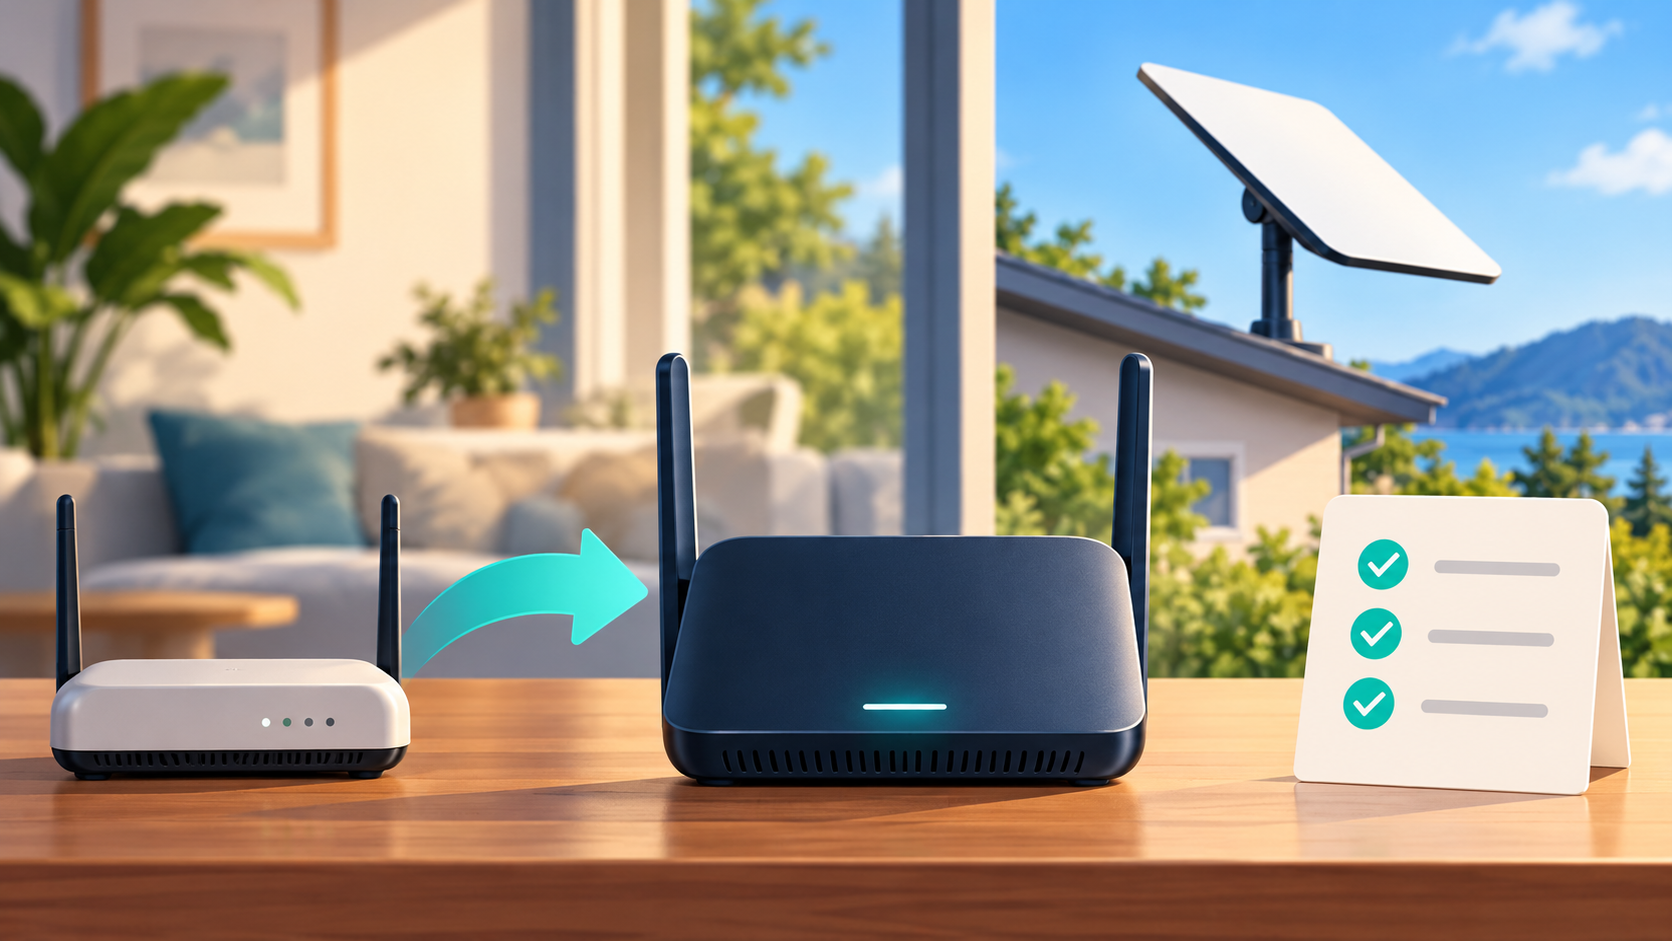
Independently written Starlink Tips guide, reviewed 1 November 2026. Thumbnail: original AI-generated conceptual artwork, not an equipment, wiring or measurement diagram. Follow current instructions for your exact hardware.