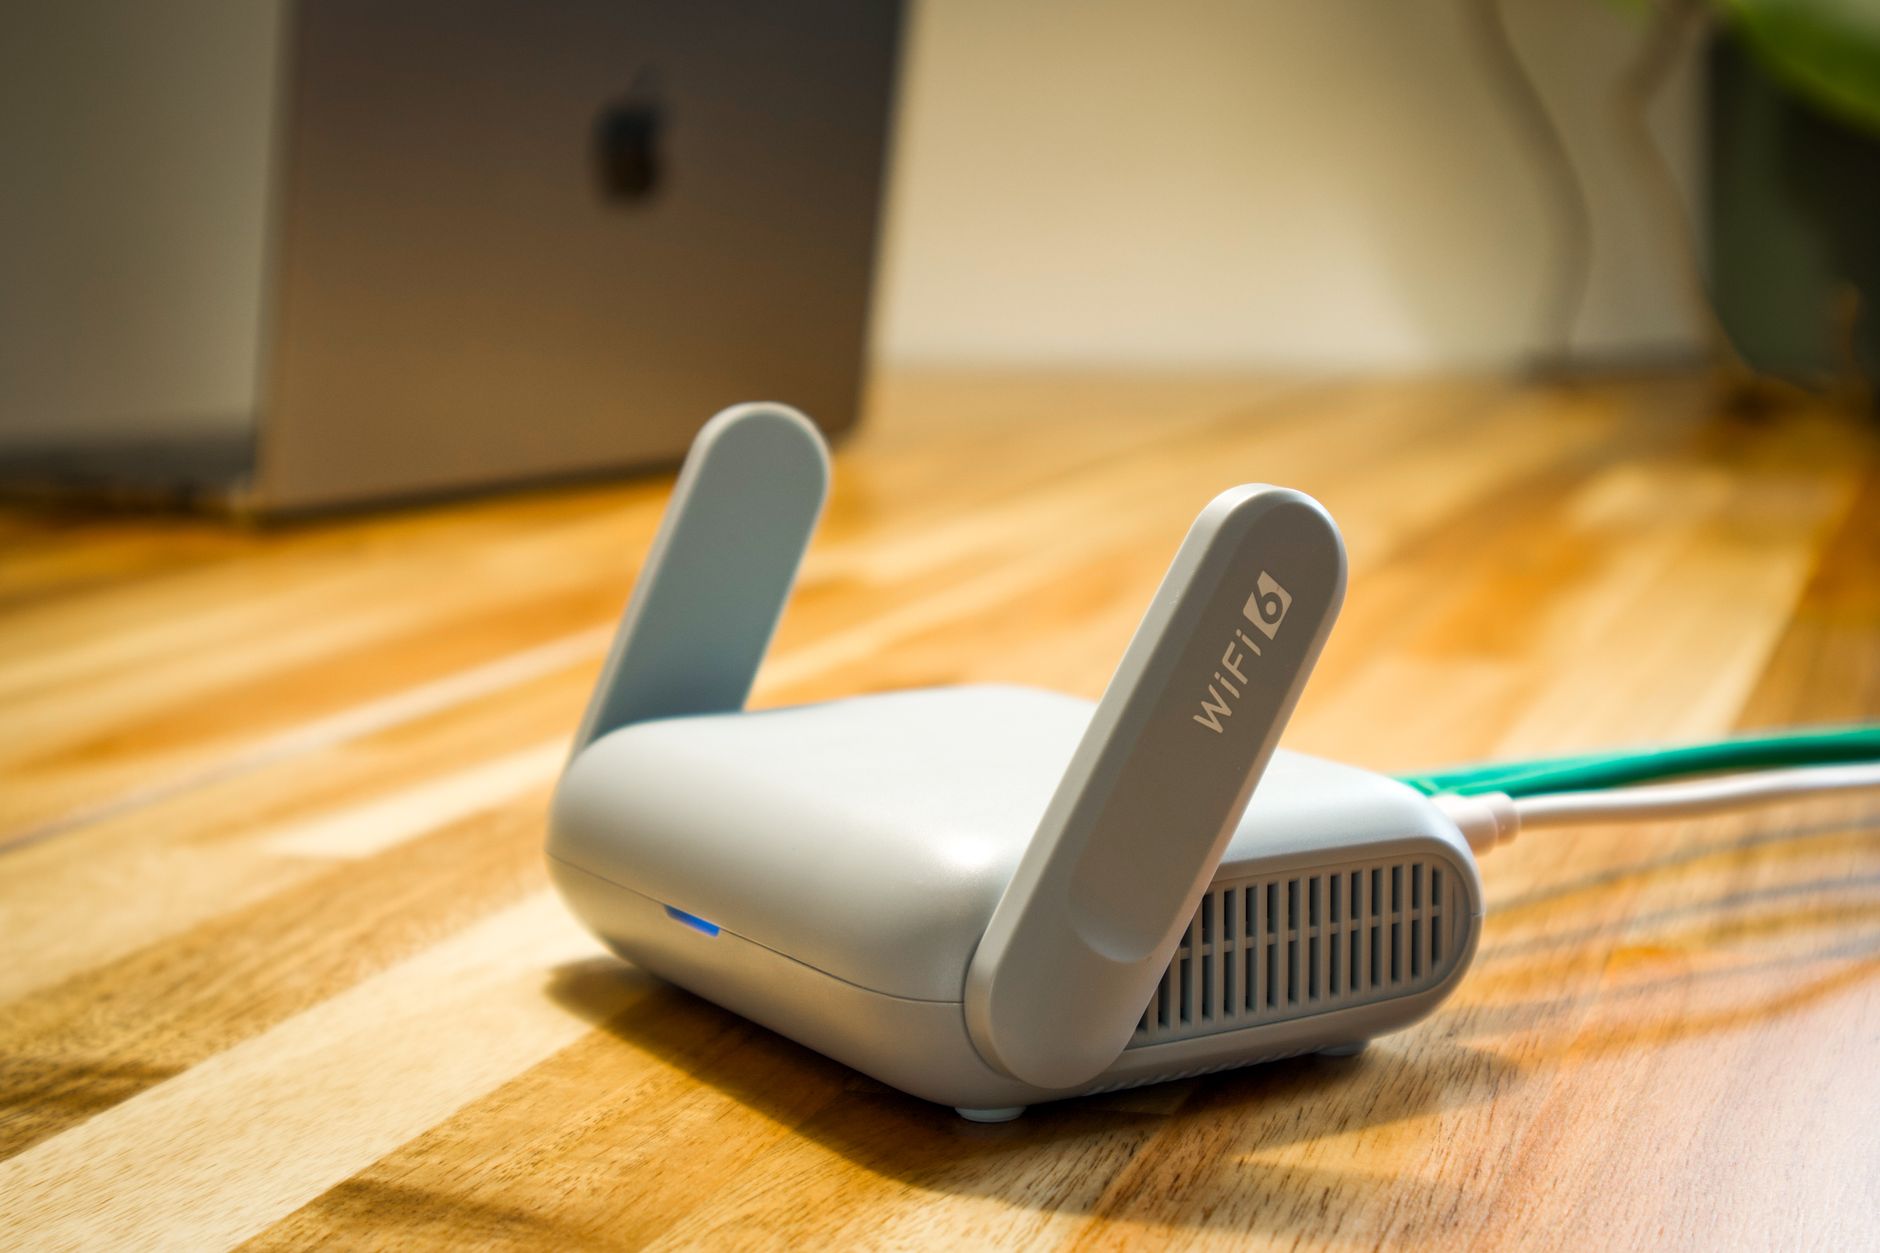
Starlink DNS Problems: Test Name Resolution Before Blaming the Dish
Troubleshooting & Fixes
Starlink DNS Problems: Test Name Resolution Before Blaming the Dish
A page that will not open can make Starlink look offline, but the fault may be name resolution rather than the satellite link. DNS turns a name such as example.com into an address. A DNS problem can affect every device, one device, or only a browser or VPN.
This guide uses model-neutral tests. Starlink app labels, router controls and third-party networking menus vary by equipment generation and software version.
Before you change anything
Write down:
- The exact symptom and the time it started
- Whether one device or several devices are affected
- Whether the Starlink app shows the terminal online
- Whether already-open sites, new sites and apps fail in the same way
- Any VPN, ad blocker, parental-control service or custom DNS device in use
Do not factory-reset the Starlink router just because one website fails. A reset removes useful settings and rarely proves that DNS was the cause.
1. Check whether the failure is local or shared
Try the same site or app from a second device on the same Starlink network.
- One device fails while others work: check that device's DNS, VPN, browser and network settings.
- Several devices fail together: check the router, local DNS service, upstream connection and Starlink app status.
- Wi-Fi devices fail but a wired device works, or the reverse: investigate that local path before changing DNS.
- The Starlink app and several devices show offline at the same time: this is probably not only a DNS problem.
If possible, temporarily disconnect a VPN or filtering service on one test device. Record the result before changing anything else.
2. Test DNS directly
Open a terminal or command prompt and run:
unknown nodeThe command should return one or more addresses and identify the DNS server that answered. The exact output differs by operating system.
Interpret the result carefully:
- An address is returned quickly: DNS worked for that lookup. Investigate the browser, VPN, application or wider connection next.
- The request times out: the configured DNS server may be unreachable, overloaded or blocked.
- The server reports that the name does not exist: check for a typo, local filtering or a bad DNS override.
- The result changes between devices: they may be using different DNS settings or different security software.
Run a second lookup for a different well-known domain. One failed domain is not enough evidence to blame the network.
3. Compare the configured resolver with a test resolver
If your network allows it, compare the normal resolver with a public resolver from one test device:
unknown nodeThese addresses are examples of public DNS services, not a requirement to use them permanently. A response from a test resolver shows only that the query reached that resolver; it does not prove that every DNS or internet problem is fixed.
Use the comparison as evidence:
- The normal resolver times out but a test resolver answers: inspect the router's DNS setting, local filtering service or upstream DNS path.
- All resolvers time out: check the broader internet connection, firewall, VPN and device network path.
- Lookups work but applications still fail: DNS may not be the problem. Check the application, browser, certificate error, VPN or IPv4/IPv6 behaviour.
- The test resolver is blocked or unreachable: do not keep changing settings. Some networks intentionally restrict external DNS.
If nslookup is unavailable, use the DNS diagnostic tool built into your operating system or router. Avoid installing an untrusted utility just for this test.
4. Check which device controls DNS
Find the first place where DNS is configured:
- The Starlink router
- A third-party router
- A mesh system or access point
- A Pi-hole, AdGuard Home or similar local service
- The individual laptop, phone or tablet
- A VPN or browser feature such as secure DNS
Only change the setting at a device you control and understand. If the Starlink router does not expose a custom DNS option, that is normal for some hardware and software combinations. Use the supported controls on your own router or test device instead.
When a third-party router is connected to Starlink, make sure you are editing the active router's WAN or LAN DNS setting, not an unused device. If bypass mode or a separate access point is in use, document the current layout before making a change.
5. Make one temporary change
If the evidence points to a resolver you control, change DNS on one test device or the active router, not every device at once.
- Record the current DNS addresses or choose Automatic and note the current state.
- Change one setting to a resolver you trust and that your network permits.
- Save the setting and reconnect the test device if required.
- Clear the device's DNS cache only using the normal operating-system control.
- Repeat the same
nslookupand application test. - Leave the change in place only if it improves the tested problem without breaking local services.
A DNS change does not increase the satellite link's capacity. It may improve lookup reliability or filtering compatibility, but it cannot repair an obstruction, a damaged cable, a power fault or a Starlink outage.
6. Check for local overrides and split behaviour
If a public lookup works but one site or app still fails, inspect the layers that can override DNS:
- A VPN that sends DNS through its own tunnel
- Browser secure-DNS settings
- Parental controls or content filters
- A local ad blocker or home-lab DNS server
- A manually edited hosts file
- Security software that intercepts encrypted traffic
- A broken IPv6 path when a name returns both IPv4 and IPv6 addresses
Change or disable one layer at a time. A device that works on a phone hotspot but not on Starlink may be using a different DNS, VPN or IPv6 path; that comparison is useful evidence, not proof that the dish is faulty.
7. Restore the original setting
When the test is complete:
- Restore the previous DNS setting unless you have a documented reason to keep the new one.
- Reconnect devices that were given manual DNS addresses.
- Re-enable any VPN, filter or browser setting you disabled.
- Repeat a normal lookup and open a few ordinary sites.
- Record what changed and whether the result lasted.
Do not leave a temporary public DNS address in place if it bypasses a household, business or safeguarding policy. DNS is part of the network's security and filtering design.
When to contact Starlink support
Contact Starlink Support when several devices fail with the normal network configuration, DNS lookups fail through more than one permitted resolver, and the Starlink app also shows an outage, reboot or offline terminal. Include:
- The time of the failure
- Whether one or several devices were affected
- The Starlink hardware and router arrangement
- The
nslookupresult or error, without sharing private addresses or account details - Whether a wired and a Wi-Fi device were tested
- What the Starlink app reported at the same time
Do not send your Starlink password, payment details or verification codes. Explain whether DNS lookups failed or whether lookups worked but websites and apps still could not connect.
Quick checklist
- Test a second device on the same Starlink network.
- Check the Starlink app before changing settings.
- Run
nslookupfor two ordinary domains. - Compare the normal resolver with a permitted test resolver.
- Identify whether DNS is controlled by Starlink, your router, a local service, a device or a VPN.
- Change one setting on one test device.
- Re-test the same symptom and record the result.
- Restore temporary settings and re-enable anything you disabled.
- Contact support with timestamps and evidence if the whole service remains affected.
For current account-specific diagnostics and support options, use Starlink Support.