Where to Place a Starlink Router for Better Wi-Fi
Tips & Tricks
The short answer
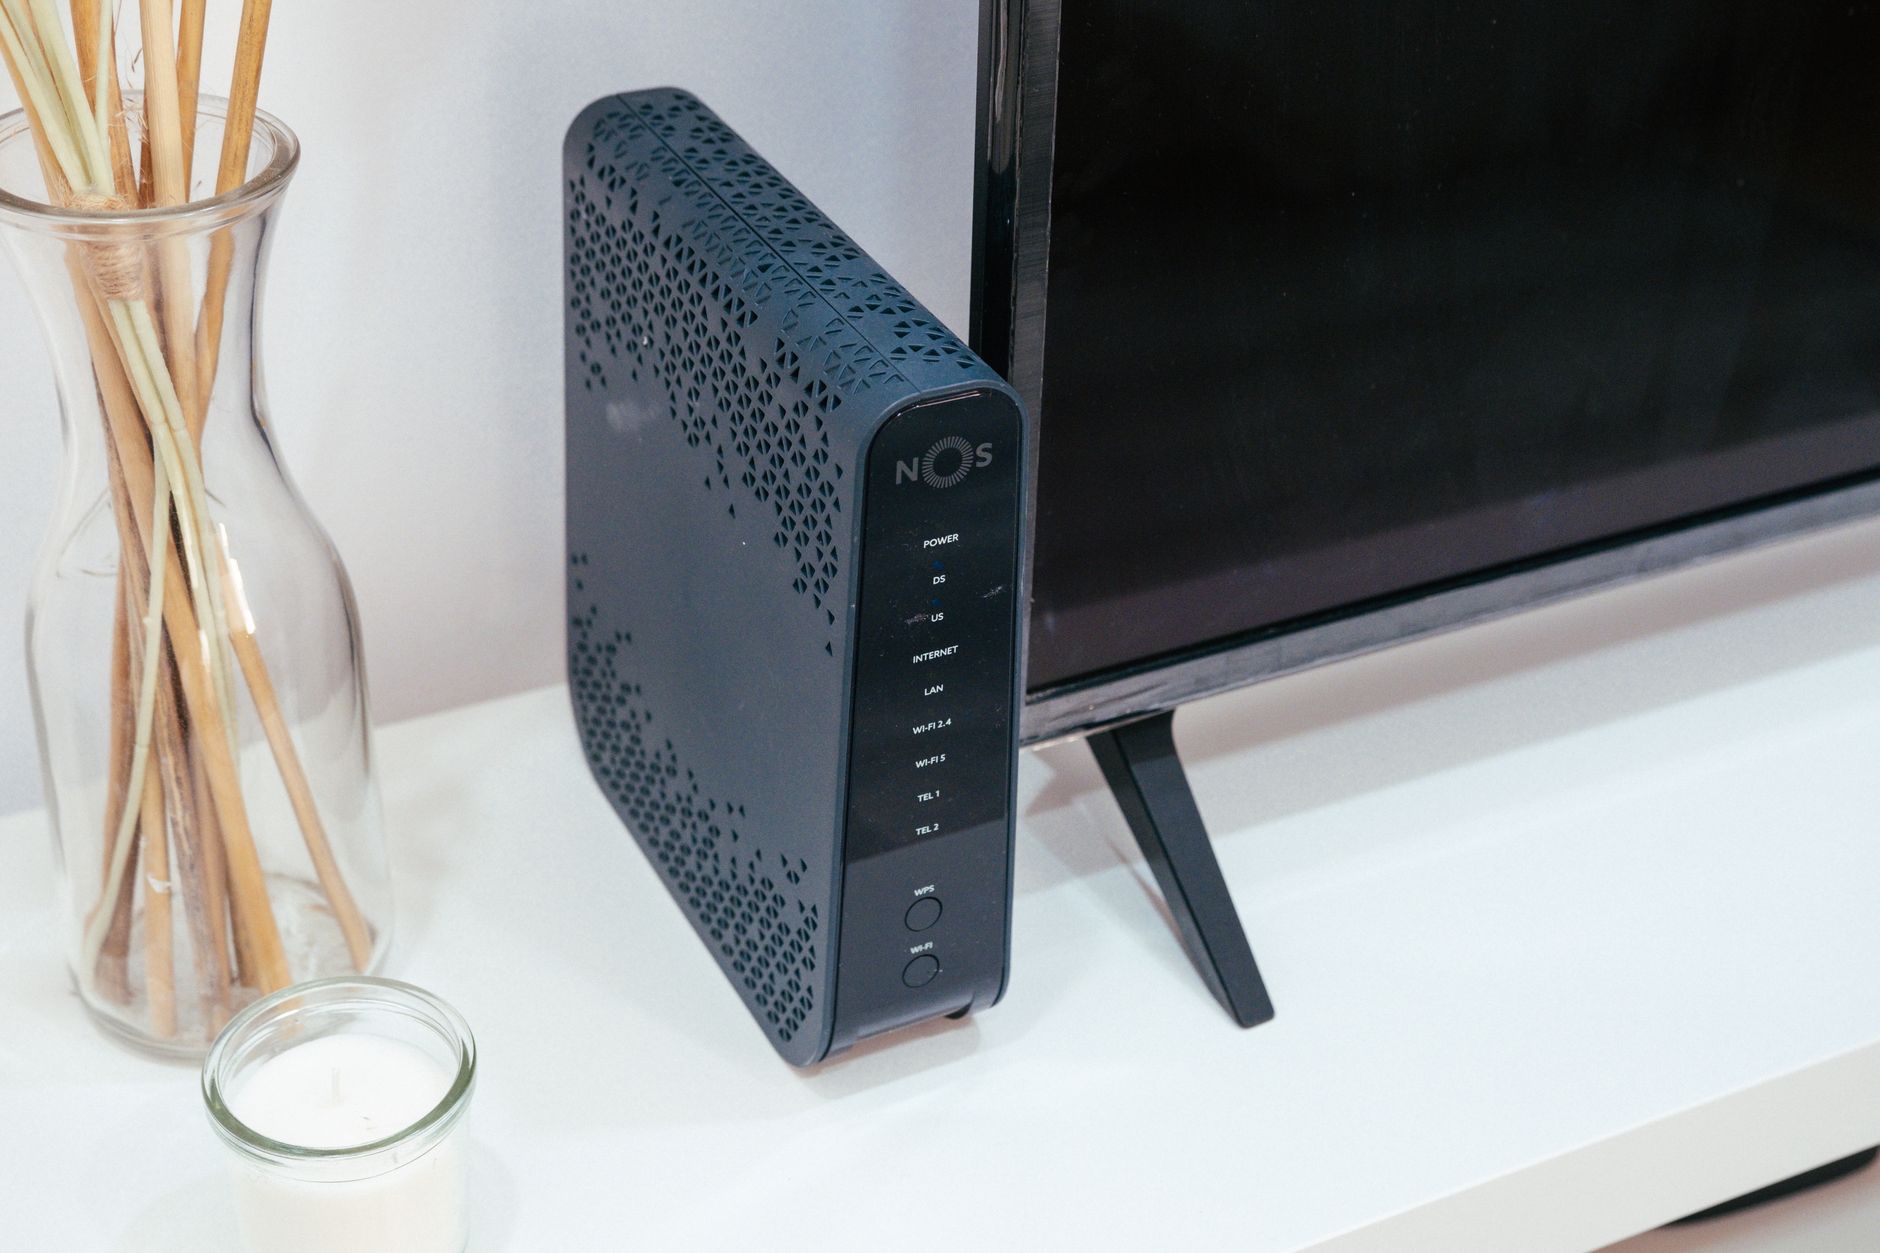
Put the Starlink router in an open, central place near the people and devices that use the connection most. Keep it upright on a shelf or table, off the floor, and away from thick walls, metal, large appliances, cabinets and other sources of interference.
A better router position can improve Wi-Fi in the same room and nearby rooms. It cannot fix a dish obstruction, a service outage or congestion on the Starlink connection itself, so test the local Wi-Fi before assuming the dish or plan is the problem.
Choose the best room first
Start with the area where reliable internet matters most. That might be a home office, living room, workshop or the room where you regularly make calls.
Use this order of preference:
- Central enough for the devices you use: A router at one end of a long house has to push the signal through more walls than one placed closer to the middle of the active living space.
- Open and visible: A shelf, table or countertop is usually better than a cupboard, closed media unit or wardrobe.
- Elevated: Put the router above floor level when practical. Starlink recommends an elevated surface such as a shelf for better coverage.
- Clear of dense barriers: Keep it away from concrete, brick, metal shelving, large mirrors and bulky furniture that sits directly between the router and your devices.
- Cool and dry: Do not cover the router, block its ventilation, or place it where heat, water or accidental knocks are likely.
Do not move the dish just to improve indoor Wi-Fi. The dish needs a clear view of the sky; the router needs a useful position inside the building. Those are related parts of the system, but they solve different problems.
Avoid common bad locations
These locations often make coverage worse even when the Starlink service is working normally:
- On the floor behind a sofa
- Inside a cabinet or drawer
- Behind a television or large speaker
- Beside a refrigerator, microwave or other large appliance
- Next to metal shelving, a boiler, electrical panel or dense masonry wall
- In a far corner chosen only because the cable reaches there
- Under piles of papers, clothing or other objects that block airflow
You do not need a perfect empty room. Move the router a small distance at a time and retest. A position with a clear path through a doorway can work better than a more central position hidden behind dense materials.
Think about 2.4 GHz and 5 GHz
If your Starlink router or app lets you separate the Wi-Fi bands, use the difference as a troubleshooting clue:
- 5 GHz is often faster at short range, especially in the same room, but it is more easily weakened by walls and distance.
- 2.4 GHz generally travels farther and passes through more barriers, but it is more vulnerable to congestion and may be slower.
- Older smart-home devices may only support 2.4 GHz. Pair them close to the router first, then move them to their final location.
Do not judge the whole Starlink connection from one device in one corner. Compare a nearby device and a distant device, and note whether the problem follows the distance or affects both.
A simple placement test
You can find a better location without guessing.
- Record a baseline. Connect a phone or laptop to Starlink Wi-Fi in the room where performance matters. Note the download speed, upload speed, latency and whether pages or calls actually feel stable.
- Check the app. Look for service alerts, outages or obstruction warnings before changing the router position. If the app reports a dish-side issue, moving the router may not help.
- Pick two or three candidate locations. Keep the dish, cables and test device unchanged. Only move the indoor router.
- Test nearby first. Stand a few feet from the router and run the same speed test. This shows what the local Wi-Fi can deliver when distance is not the limiting factor.
- Test the problem room. Use the same device in the same place each time. Run more than one test and look for a repeatable pattern rather than the single highest number.
- Compare wired and wireless when possible. A wired test, or the Starlink app's advanced speed test if available, helps separate the service reaching the router from the Wi-Fi reaching the device.
- Test at the times you care about. Evening congestion can change the internet speed even when your router placement is good.
If the nearby test is strong but the distant-room test is weak, improve the indoor layout or consider mesh. If nearby and distant tests are both poor, investigate the dish, cables, alerts, obstructions, plan or wider service conditions.
When mesh is the better answer
A single router cannot create strong coverage through an unlimited number of walls. Consider a Starlink mesh node or another compatible network design when:
- The router is already open, elevated and reasonably central, but one area remains weak.
- The building has thick masonry, multiple floors or a long layout.
- You need reliable coverage in a room more than one or two rooms away.
- You can place an additional node partway between the main router and the weak area.
Do not put a mesh node in the dead zone and expect it to repair its own connection. Place it where it still receives a solid signal from the main router. A wired connection between network points can perform better when the building or layout blocks wireless links.
What not to change first
Avoid changing several things at once. Before replacing equipment or changing advanced settings:
- Confirm the router is upright, powered and not covered.
- Check the Starlink app for alerts and service status.
- Check the cable ends for looseness or visible damage.
- Test a second device so you do not mistake a device problem for a Starlink problem.
- Keep a note of the router location, test room, time and results.
A router move is a low-risk first step. Factory resets, bypass mode changes and new hardware are not good substitutes for a controlled Wi-Fi test.
Final checklist
A good Starlink router location is:
- Open rather than enclosed
- Elevated rather than on the floor
- Upright on its intended base
- Close enough to the rooms and devices that matter
- Away from thick barriers, metal and major appliances
- Cool, dry and clear of anything that blocks ventilation
- Tested with the same device and room before and after the move
For model-specific placement diagrams, compare your hardware with Starlink's official support guidance. Starlink's recommendations can change with router generations and app updates, so use the app labels shown on your own system.
Sources and attribution
This guide was checked against Starlink's official support guidance on improving Wi-Fi connectivity, intermittent internet troubleshooting, and Router Mini installation. Menu names and hardware recommendations may vary by model and software version.