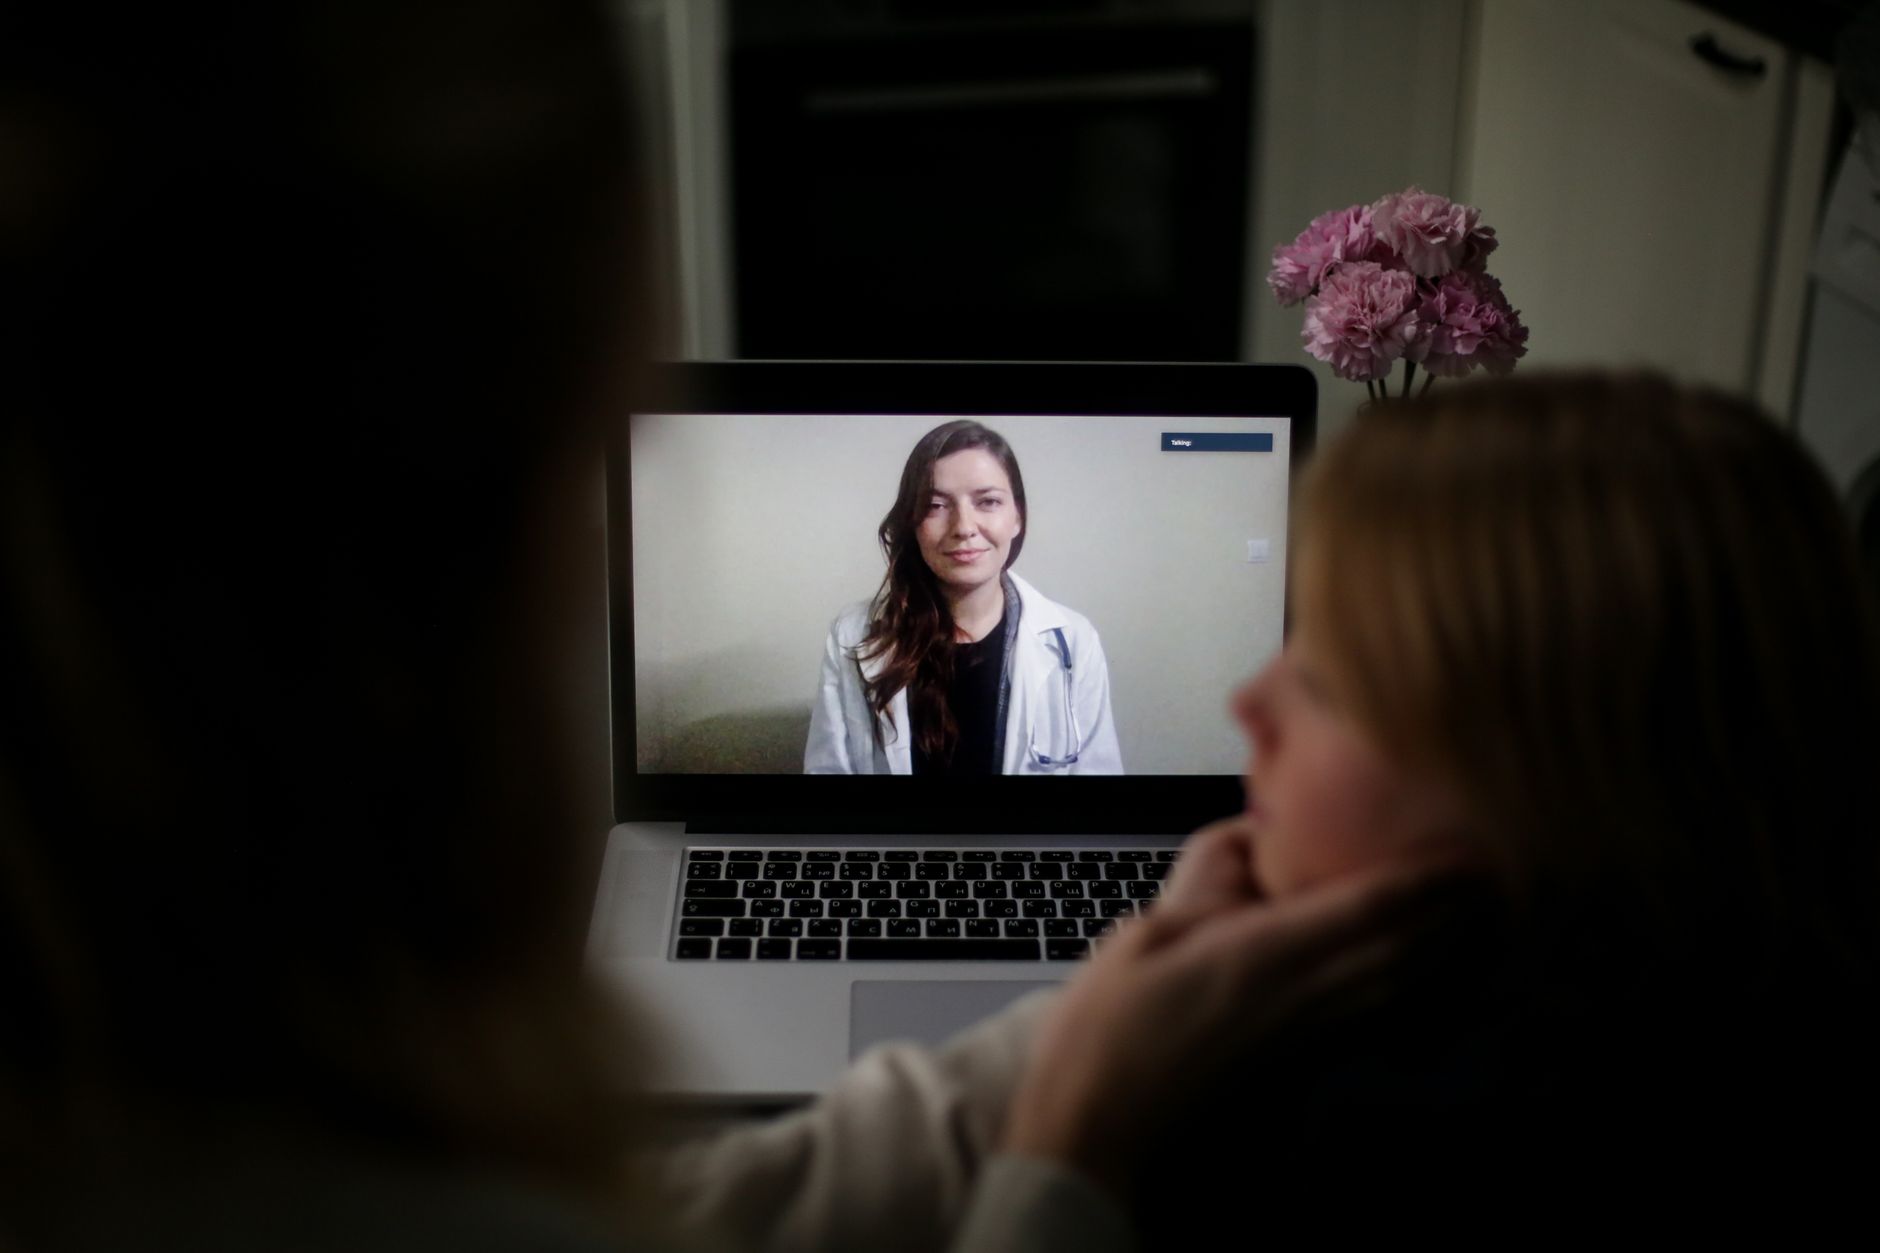
How to Use Starlink for Telehealth: A Reliable Appointment Checklist
Tips & Tricks
How to Use Starlink for Telehealth: A Reliable Appointment Checklist
A telehealth appointment depends on the whole path between you and the clinic: the Starlink connection, your local Wi-Fi or Ethernet, the device camera and microphone, the provider's website or app, and a backup way to contact the clinic. Test that complete path before the appointment instead of waiting to discover a problem at the start time.
This guide is about connection planning. Follow the clinic's instructions for privacy, supported devices, consent, and what to do if the consultation is interrupted.
1. Choose the room where the appointment will happen
Use the room where you will actually sit for the consultation.
- Put the laptop, tablet, or phone in its normal position and check that the camera, microphone, speakers, and charging cable are comfortable to use.
- If you use Wi-Fi, test from that seat. A fast connection beside the Starlink router does not prove that the signal is strong enough across the house.
- Use Ethernet when it is practical and supported by your equipment. Otherwise, move the appointment device closer to the router or improve the local Wi-Fi path before changing the dish position.
- Keep a clear view of the screen and make sure you can reach the router and power switch without disturbing the call.
2. Test the clinic's actual service
A general speed test is not a substitute for the provider's own check.
- Sign in to the clinic portal or video service in advance.
- Confirm that the browser or app can use the camera and microphone.
- Complete any built-in test call, device check, or waiting-room test offered by the provider.
- Learn how to rejoin if the page refreshes or the call drops.
- Check whether the clinic has a phone number, patient reference, or alternative audio procedure for an interrupted session.
Do this on the same device and in the same room you plan to use. Provider requirements vary, so the clinic's instructions take priority.
3. Reduce avoidable traffic during the appointment
Starlink performance can vary, and a busy home network can make a short appointment less dependable.
Before the call:
- Pause large downloads, game updates, cloud uploads, and video backups.
- Ask other people in the home to postpone high-bandwidth activity until the appointment ends.
- Close unused streaming tabs and applications on the appointment device.
- Connect the device to power so a low battery does not interrupt the call.
- Keep the Starlink app available for checking status, but avoid repeatedly changing settings during the consultation.
Do not make a speed promise based on one test. The useful question is whether the complete appointment path remains usable for the length of the consultation.
4. Check the private setting as well as the connection
A reliable connection is only part of a suitable telehealth setup.
- Use your own secured home network rather than an unknown public hotspot.
- Confirm that the camera is showing only the intended room and that headphones are available if others may be nearby.
- Keep smart displays, recording devices, and screen-sharing tools out of the conversation unless the provider and everyone involved have agreed to use them.
- Do not record a consultation unless the provider and everyone required by local rules have consented.
- Follow the clinic's privacy and identity checks even if the connection is working normally.
5. Prepare a fallback that does not depend on Starlink
The fallback should be ready before you need it.
Write down or save:
- The clinic's phone number and the appointment reference.
- The link or instructions for rejoining the appointment.
- A phone with enough battery for a call.
- A separate cellular connection or hotspot, if one is available and permitted by your plan.
- A quiet place where you can continue by phone if video is no longer usable.
A phone fallback may not support every part of the consultation. Ask the clinic in advance what they want you to do if video, audio, or the internet connection fails.
6. Run a short pre-appointment drill
At least once before an important consultation, simulate the first few minutes.
- Sit in the appointment room with the final device and headset.
- Open the provider's portal and complete its device check.
- Pause the same background activity you will pause on the day.
- Confirm that you can reach the clinic and that your phone fallback is charged.
- Restore normal household activity afterward so temporary changes are not forgotten.
If the test fails, change one thing at a time: local Wi-Fi position, Ethernet connection, device, headset, or background traffic. That makes the result easier to understand.
7. Use a simple recovery order when the call fails
If the appointment becomes unstable, keep the clinic informed while you troubleshoot.
- Check whether the problem affects only the appointment device or every device in the home.
- If only one device is affected, check its Wi-Fi signal, cable, browser permissions, camera, and microphone.
- If multiple devices are affected, check Starlink and router status without repeatedly rebooting equipment.
- Rejoin using the provider's link or contact the clinic using the prepared phone number.
- If the provider switches to audio, follow its instructions rather than trying several network changes during the consultation.
Quick checklist
- [ ] Appointment room tested from the actual seat
- [ ] Provider portal and camera/microphone check completed
- [ ] Device charged or connected to power
- [ ] Large downloads and backups paused
- [ ] Headphones available
- [ ] Clinic phone number and appointment reference saved
- [ ] Phone fallback charged and understood
- [ ] Privacy of the room and camera view checked
Starlink can be a useful connection for telehealth, but reliability comes from testing the complete appointment path and having a clear fallback.