How to Use a Wi-Fi Extender With Starlink: Setup and Troubleshooting
Tips & Tricks
Short answer
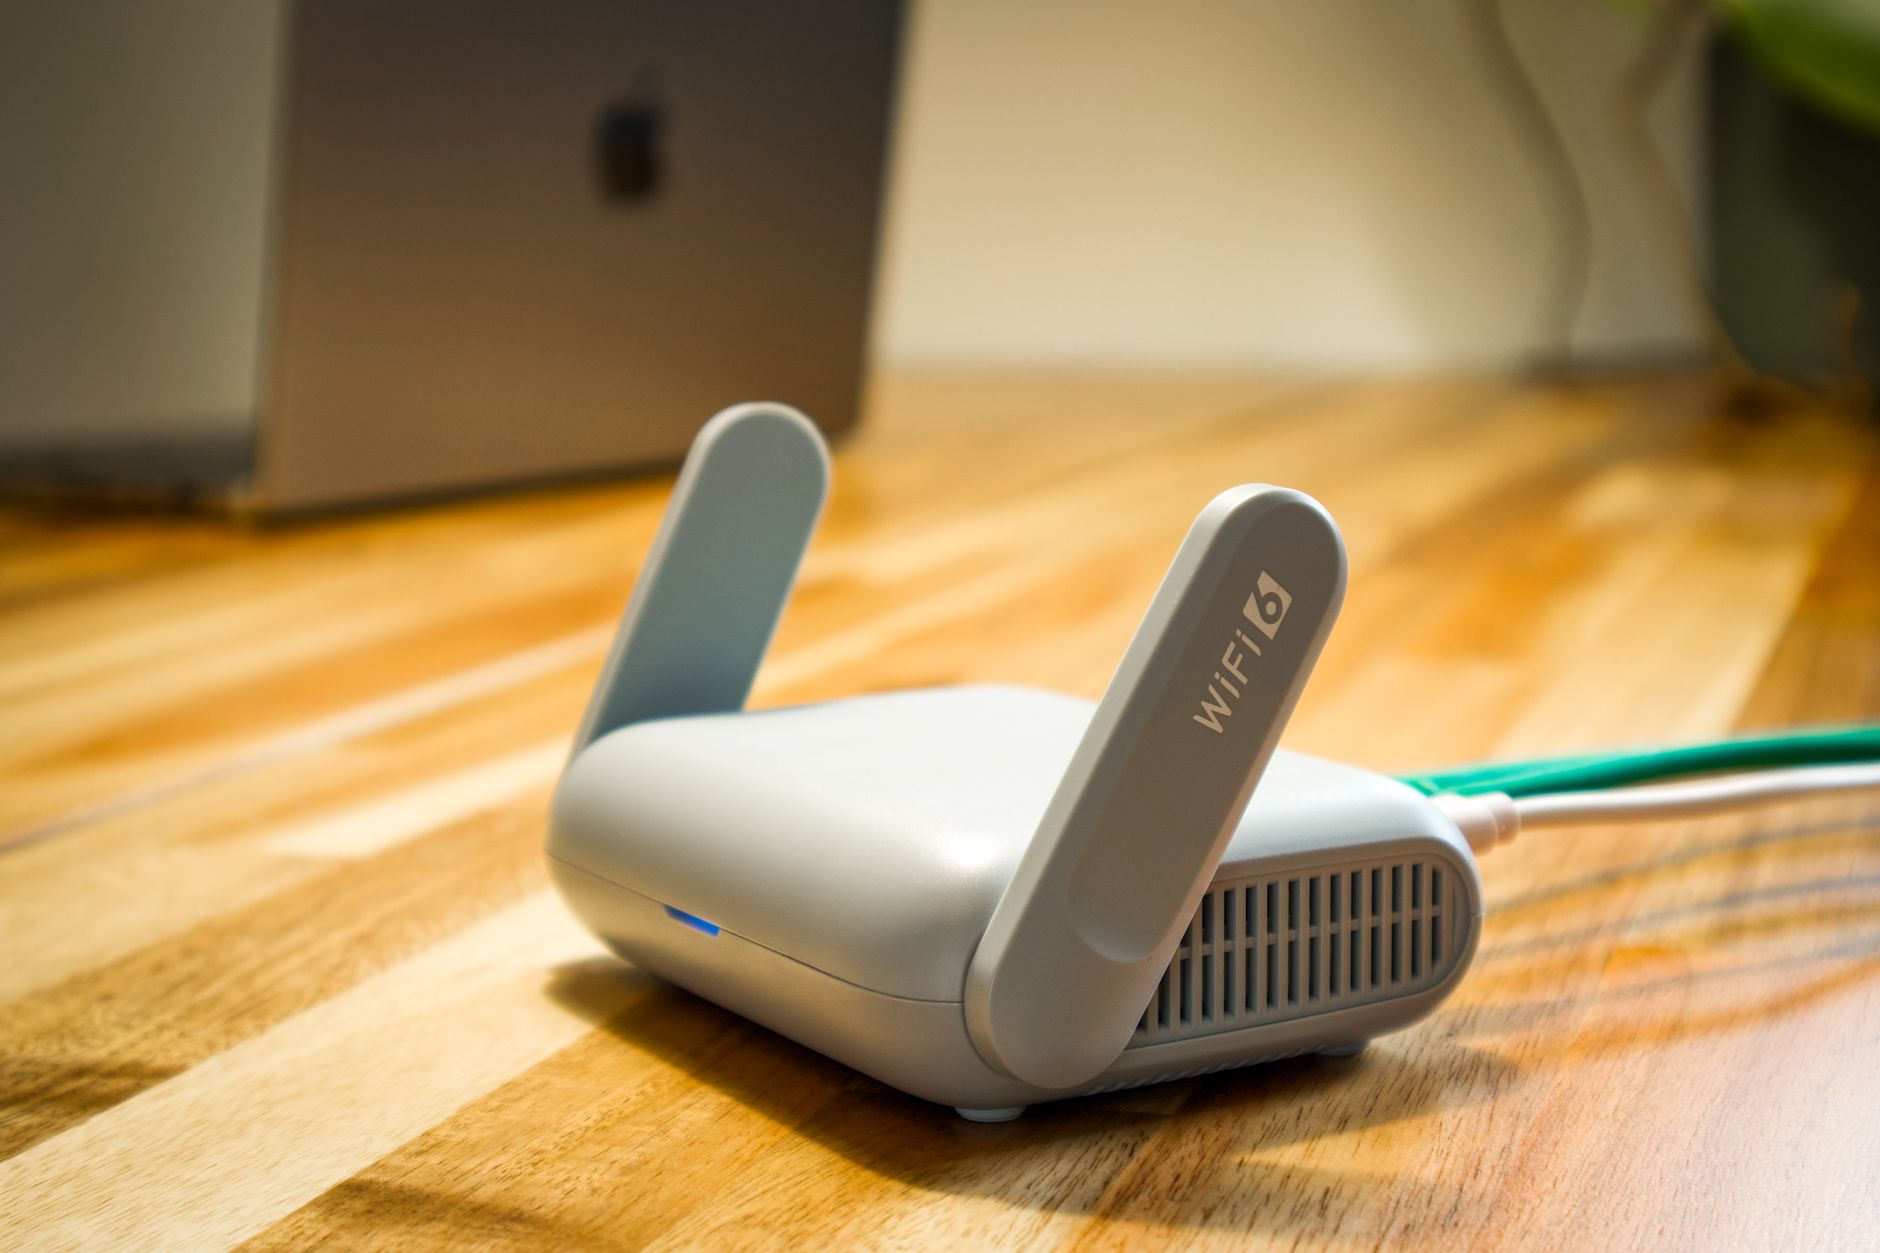
A Wi-Fi extender can improve Starlink coverage in a room that the main router barely reaches, but it is not always the best option. A wireless extender repeats the signal it receives, so its position matters as much as the device itself. For a large property, a wired access point or a compatible mesh system is usually faster and more reliable.
This guide covers a normal third-party Wi-Fi extender or repeater used with a Starlink router. Exact button names vary by extender and Starlink router model.
Before you buy
Check these points first:
- The extender must support your Starlink network bands. A dual-band model is the safer choice. Very old 2.4 GHz-only extenders may work, but they can be slow and crowded.
- You need a usable signal at the extender location. An extender cannot repair a signal that is already weak at the point where it is installed.
- Do not confuse an extender with a wired access point. An extender uses Wi-Fi for the link back to the router. An access point uses Ethernet, which normally provides better speed and stability.
- Check for an extender or repeater mode. Router mode can create another network and may cause double NAT or confusing device discovery.
- Avoid buying before checking the layout. If the problem is thick walls, metal insulation, or a distant outbuilding, a cable, access point, or point-to-point link may be the better investment.
Set up the extender near the Starlink router
- Plug the extender into a normal indoor outlet near the Starlink router. Keep it in an open, ventilated position rather than inside a cabinet.
- Use the extender's setup app or web page to select the existing Starlink Wi-Fi network.
- Enter the Starlink Wi-Fi password carefully. If the extender offers separate 2.4 GHz and 5 GHz choices, start with the band that gives the extender a strong connection during setup.
- Choose a clear extended-network name. A separate name such as Home-Extended makes testing easier. If the extender supports one network name, use that only after the connection is stable.
- Leave the extender in repeater, range extender, or equivalent mode. Do not enable a second DHCP server or a separate router mode unless you deliberately want a separate network.
- Finish setup and wait for the extender to report that its link to the main router is good.
If the extender asks you to press a WPS button, use that only if your Starlink router and the extender both support it and you are comfortable with the pairing process. App-based setup is usually easier to verify because it shows which network was selected.
Move it to the right place
After pairing, unplug the extender and move it partway between the Starlink router and the room with poor coverage. Do not place it in the dead zone.
Use the extender's signal indicator as a starting point, then test from the actual room where you need service. A shelf or open table is usually better than the floor, a cupboard, or a position directly behind a large appliance. Keep it away from microwaves, thick metal objects, and other sources of radio interference.
The best location is a compromise:
- Close enough to the Starlink router to receive a stable signal.
- Far enough away to improve coverage where people actually use the internet.
- High and open enough that furniture and walls do not block it unnecessarily.
If the extender shows a poor source signal after you move it, bring it closer to the router. Adding a second extender usually increases delay and makes roaming less predictable, so fix the first placement before adding more hardware.
Test the result properly
Test in three places:
- Beside the Starlink router.
- Beside the extender.
- In the room or outdoor edge area that needed better coverage.
At each location, check whether the device is connected to the intended network, then open several normal websites and run one speed test. Repeat the test at different times if the problem is intermittent.
Also test the things that matter to you:
- A video call or voice call.
- Streaming on the device that previously struggled.
- Printing or casting to a device on the main network.
- Access to local devices such as a NAS, camera, or smart-home hub.
- Movement between rooms if both networks use the same name.
An extender can improve coverage while reducing speed because the same wireless link is used for communication with the router and with local devices. Compare stability and latency, not only the highest download number.
Troubleshoot common problems
The extender cannot find the Starlink network
Move it close to the router, restart the setup, and confirm that you are selecting the correct Wi-Fi name. If the Starlink network uses a combined band name, follow the extender's instructions for band selection. Avoid changing the Starlink Wi-Fi password repeatedly while testing.
The extender connects but has no internet
Check that it is in repeater or extender mode, not router mode. Confirm that the extender received an address from the main network and that its status page reports an active uplink. Restart the extender after saving changes. If it still fails, remove the saved network profile and pair it again near the router.
The extended network is slow
The extender may be too far away, using a crowded channel, or connected over a weak band. Move it closer, compare 2.4 GHz and 5 GHz performance, and test with one device before reconnecting the whole household. Do not judge the setup from a test taken through several walls.
Devices keep switching badly between networks
A separate network name makes the problem visible but requires you to choose the right network manually. A shared name may make roaming more convenient, but the extender and client devices decide when to switch. If devices cling to a distant signal, a wired access point or purpose-built mesh system is usually a better fix.
Local devices cannot see each other
Make sure the client devices are not split between an extender guest network and the main network. Disable guest isolation on the extender if you need local discovery, and confirm that the extender is not running its own router or NAT mode. Check the privacy and isolation settings before exposing any device to the internet.
When an extender is the wrong tool
Choose a wired access point when you can run Ethernet to the weak area. Choose a compatible mesh system when you need several coordinated nodes and simple roaming. For a detached building, a weather-protected cable or a properly installed point-to-point wireless bridge may be safer and more dependable than a consumer repeater.
Use the extender as a focused coverage fix, not as a substitute for a good network layout. Keep the Starlink router, dish power equipment, and any added networking hardware ventilated and dry, and do not run indoor equipment outdoors.
Quick checklist
- Pair the extender close to the Starlink router.
- Use extender or repeater mode, not a second router.
- Move it halfway toward the weak area, not into the dead zone.
- Keep it open, elevated, and away from interference.
- Test coverage, speed, latency, and local-device access.
- Use a wired access point or mesh when the extender cannot maintain a strong uplink.