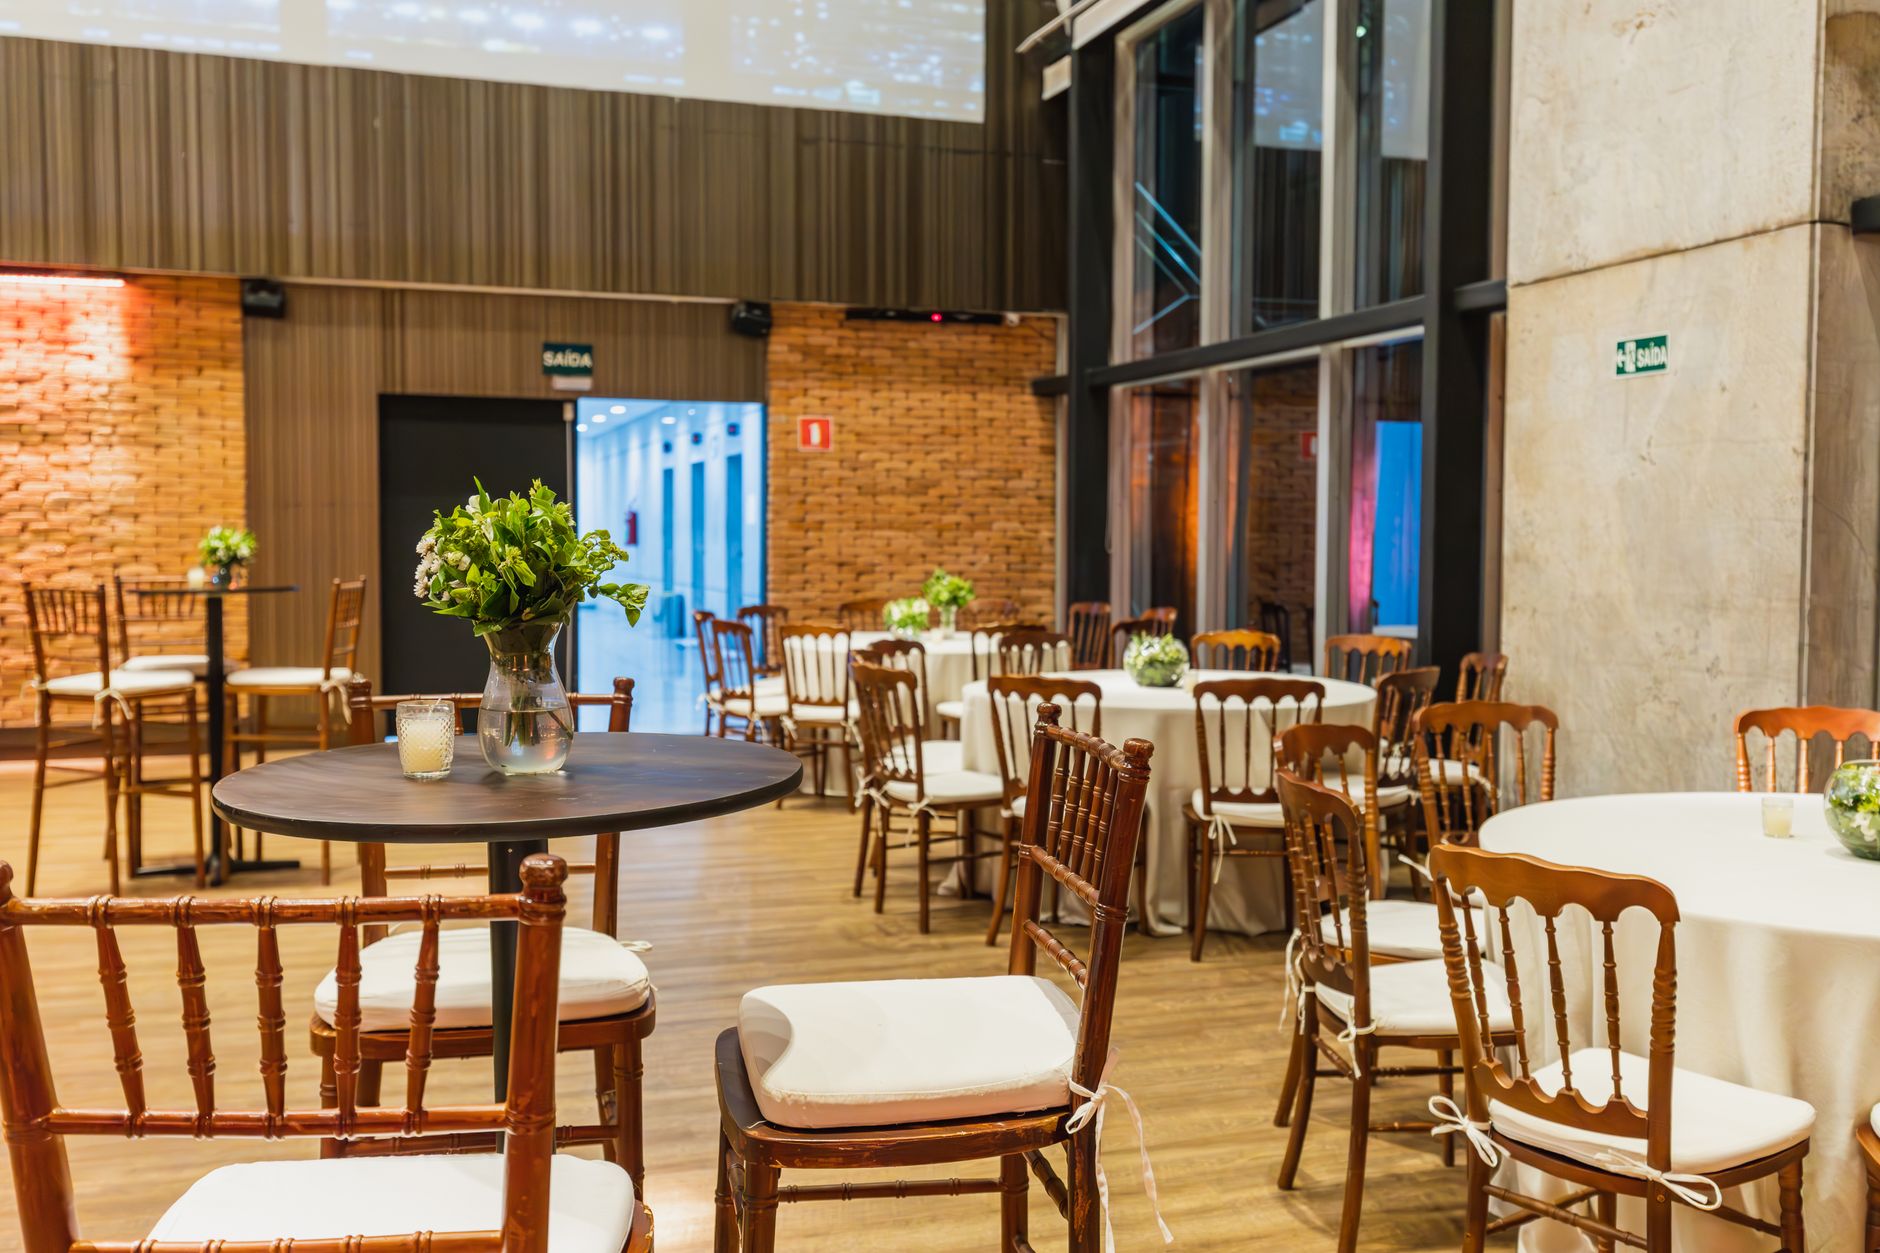
Starlink for a Community Hall: Staff Network, Guest Wi-Fi and Event-Day Checks
Tips & Tricks
Why a community hall needs a plan
A community hall may use one Starlink connection for committee laptops, card readers, printers, volunteer phones, visitor Wi-Fi, cameras, streaming and occasional video calls. The connection can be working while the event still fails because the wrong people have access, a device is in the wrong room, or background traffic consumes the upload capacity.
Treat the hall as a small shared venue. Decide which devices must work, which users need internet access, and who is allowed to change the network before you publish the Wi-Fi details.
1. Map the service before an event
Write down the complete path:
- Starlink terminal and its power supply
- Router or network equipment
- Any access points, switches or Ethernet runs
- Staff devices, printers, payment devices and displays
- Guest Wi-Fi areas
- The safe place for the printed recovery sheet
Check the terminal's view of the sky and its physical protection. A hall may have a clear indoor Wi-Fi signal while the terminal is partly blocked by a roof edge, tree or nearby building. Do not solve an obstruction problem by repeatedly restarting the router.
Check power at every point in the path. If the hall uses a switched socket, extension lead or shared equipment cupboard, label it and confirm that an authorised person can reach it. Keep cables away from doors, fire exits and walkways. Use an installation method that the building owner and insurer permit.
2. Separate staff, guests and equipment
Use at least two logical groups:
- Staff or operations: committee laptops, payment devices, printers, venue displays and equipment used to run the event.
- Guests: visitors' phones and laptops.
A separate Wi-Fi name is helpful, but a different name alone is not proof of separation. If both names lead to the same local network, a guest may still be able to discover a printer, router or management page. Confirm that the guest network has client isolation and cannot reach the staff network. If the Starlink router cannot provide the controls you need, use a compatible router or access point that supports separate networks.
Do not give guests the administrator password, the staff Wi-Fi password or a QR code that contains either one. Keep an event guest password or access method that can be changed without disrupting staff equipment.
Before the event, test these boundaries:
- From a guest device, confirm that the internet works.
- From that same device, confirm that staff printer, router and management pages are not reachable.
- From a staff device, confirm that the required printer, display or payment device works.
- Confirm that only authorised people can change network settings.
Do not assume that a captive portal or guest login automatically provides network isolation. Treat the portal as an access and convenience feature; verify the underlying network boundary separately.
3. Decide what must work first
Make a short priority list. For example:
- Emergency contact and organiser communications
- Payment or booking system
- Staff access to shared files and printers
- A planned live stream or video call
- General guest browsing
This list helps when the hall is busy. A guest streaming video should not be allowed to make a payment terminal or organiser call unreliable. If your router supports traffic controls, use them carefully and test them at the expected event size. If it does not, pause large cloud backups, operating-system downloads and camera uploads during the event window.
A speed test in an empty hall is not an acceptance test. Repeat the check with several phones and laptops connected, and include the task that matters, such as a small payment, a video call or an upload. Starlink performance changes with location, time, weather, obstructions and network load, so record the result as a baseline rather than a guarantee.
4. Check coverage where people will actually sit
Walk the hall with a phone or laptop and test:
- The organiser's table
- The entrance or reception desk
- The main seating area
- The stage or presentation position
- The kitchen or side room if it is used for operations
- The point where a payment device or printer will be used
- The outdoor area if guest Wi-Fi is intentionally offered there
A strong connection beside the router does not prove that it works at the back of the hall. Improve coverage with a correctly placed, wired access point where possible. Avoid adding repeaters until you know that the problem is Wi-Fi coverage rather than Starlink performance; a repeater can extend a weak or congested connection without fixing the underlying issue.
If a printer, display or payment device is important, test it from its permanent position. Do not rely on a device working on a workbench and assume it will behave the same way in the hall.
5. Prepare an event-day checklist
Give one named person responsibility for the network. Before doors open:
- Check that the terminal, router and access points have power.
- Confirm that the Starlink app or local network status shows the expected connection.
- Test one staff device and one guest device.
- Test the highest-priority task, not just a speed-test page.
- Confirm that staff equipment is reachable and guest devices are isolated.
- Pause known large transfers and unnecessary updates.
- Check that the guest access details are displayed only where intended.
- Keep the recovery sheet and the installer or equipment contact details available.
The recovery sheet should contain the equipment names, power locations, cable labels, normal indicator state, the person authorised to make changes and the first three checks to perform during an outage. Do not print the administrator password in an open public area.
6. Close the loop after the event
When the event ends, remove temporary equipment and check that no cable, power adapter or access point has been left in a public area. If the guest password or access method was shared widely, rotate it before the next private meeting. Review any temporary router rules, guest access exceptions or changes made for the event.
Record what happened while it is fresh:
- Approximate number of connected devices
- The busiest period
- Any task that failed
- Where coverage was weak
- Whether the problem was local Wi-Fi, the hall's network equipment or the Starlink connection
- What should be changed before the next event
This small record is more useful than a single headline speed result. It lets the next volunteer repeat the working setup without guessing.
Quick fault guide
Guests can browse but staff devices disappear: check that the guest network is not being bridged into the staff LAN, and confirm that the staff devices have not moved to the guest SSID.
The internet works near the router but not at the event table: test the access point placement and any wired link before changing Starlink settings.
Everything slows during an event: identify uploads and large downloads first. Pause non-essential transfers, then retest the priority task.
A payment device or printer cannot connect: check its required band, local network, address reservation and physical location using the device documentation. Do not factory-reset the Starlink router as a first step.
The connection is down for everyone: check power, cables and the Starlink status before changing several settings at once. Record the time and symptoms so a recurring obstruction, power or service problem can be investigated.
Final checklist
A community hall setup is ready when:
- Staff and guest access are separated and tested.
- The priority task works with realistic event traffic.
- Coverage has been checked where people will use it.
- Guest details do not expose administrator access.
- A named person can perform the first recovery checks.
- Temporary changes, passwords and cables are cleaned up after each event.
The goal is not to promise perfect Wi-Fi for every visitor. It is to keep the hall's important work dependable, make guest access deliberate, and leave the next organiser with a setup they can understand.