How to Use Starlink in a Warehouse: Scanner Coverage, Loading Areas and Safe Network Design
Tips & Tricks
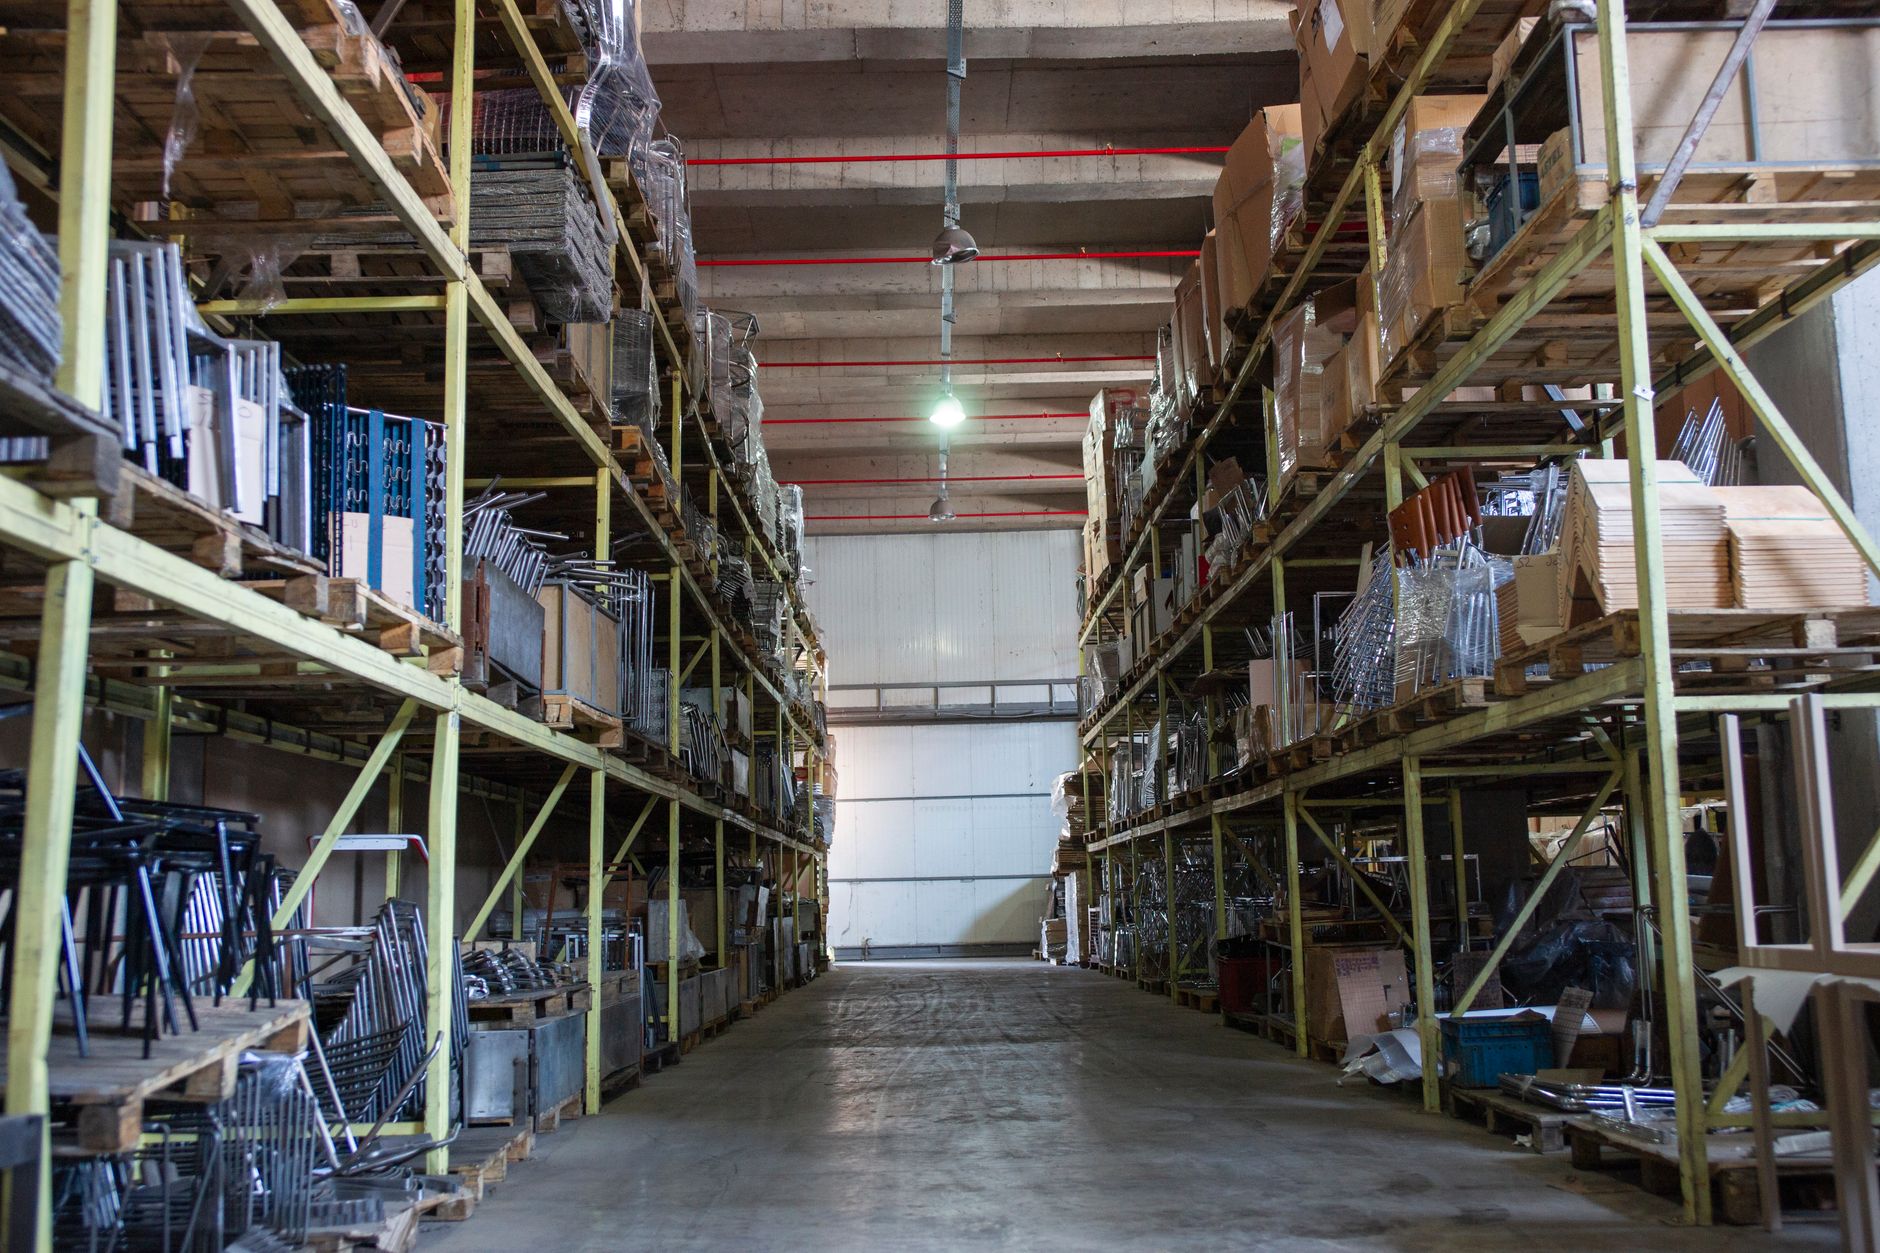
Warehouses often have a working internet connection at the Starlink router and poor service where the work actually happens. Steel racking, insulated panels, loading doors and moving stock can make a simple one-router setup unreliable for handheld scanners and tablets.
This guide is about planning and testing the network around warehouse work. It does not replace the safety rules for forklifts, loading equipment, electrical work or roof access.
Start with the work, not the speed test
Before moving hardware, draw a simple site map and mark:
- Receiving and dispatch desks
- Loading bays and the apron immediately outside them
- Aisles where scanners or tablets are used
- Office, break room and visitor areas
- Charging stations for handheld devices
- Cold rooms, metal-clad rooms or other difficult areas
- Any cameras, printers, label stations or fixed terminals
- The location where the Starlink terminal and network equipment could be installed
For each area, record what must work there and when. A scanner that only needs to upload a completed pick is a different requirement from a live voice call, cloud warehouse application or continuously connected terminal.
Build a clear network path
Treat the Starlink terminal, the internet router and the warehouse Wi-Fi as separate parts of the system:
- Place the Starlink terminal where it has the required view of the sky and where its cable can be protected.
- Put the router or compatible network gateway in a dry, secure location with accessible power.
- Use a wired Ethernet backbone to reach access points around the building where practical.
- Install access points for the work areas, rather than expecting the Starlink router to pass through every rack and wall.
- Label both ends of every cable and leave a small diagram near the network equipment.
Do not assume that a stronger internet plan will fix a weak indoor Wi-Fi signal. If a test fails beside a metal rack or at a loading door, the problem may be local coverage, roaming or cabling rather than the satellite link.
Avoid modifying or extending a Starlink terminal cable unless the exact equipment and approved method support it. Plan the terminal location and the downstream LAN separately.
Plan separate access for different people and devices
Use the features your router and access points actually support to keep traffic understandable:
- Operations: scanners, tablets, label stations and approved work devices
- Staff: laptops and phones used by employees
- Guest: visitors and contractors, isolated from internal devices
- IoT or cameras: devices that need network access but should not share staff credentials
- Management: router and access-point administration, restricted to authorised people
Use different passwords and document who can change them. Do not give visitors the staff or management password. If your equipment supports VLANs or client isolation, configure and test those features; if it does not, keep the design simple and avoid claiming that separate Wi-Fi names alone provide full security.
Give loading bays their own coverage test
Loading areas are easy to miss because a door may be open during work and closed at other times. Test each bay in the conditions that matter:
- Door closed with vehicles or stock in the normal position
- Door open while a worker moves between the building and the apron
- The busiest expected rack or pallet arrangement
- Rain, cold or other normal conditions that affect the work area
- Any outdoor handoff point where a device must remain connected
Place an access point where it can serve the work area without being exposed to impact, water or heat beyond its rating. Use protected, correctly rated cabling for outdoor or harsh routes. Keep network equipment out of vehicle paths and away from places where pallets, ladders or stored goods can strike it.
If the coverage must extend outside, test the outdoor device, enclosure, cable route and power source as one system. A Wi-Fi signal that appears strong beside the access point is not proof that the full path is reliable.
Test scanners as users will use them
A speed test on one laptop is not an acceptance test. Walk the normal receiving, picking and dispatch routes with the actual scanner or tablet and record:
- Whether the device joins the intended network
- Whether it holds a session while moving between access points
- Whether scans reach the warehouse system promptly
- Whether a device clings to a weak access point after moving
- Whether labels print where expected
- Whether errors come from Wi-Fi, the local network, DNS, the application or the internet path
Change one thing at a time. First test beside an access point, then at the work location, then along the route. If a device fails only in one aisle, do not reset the entire Starlink system before checking local coverage and roaming.
Ask the warehouse application provider how offline work, queued scans and re-authentication behave. Do not assume that a scan is safely stored just because the screen accepted it. Confirm the recovery process with a small, controlled test.
Test the busy period, not just an empty building
Repeat the route test with the number of devices you expect at the busiest time:
- Multiple scanners processing real or test jobs
- Label printers and fixed terminals active
- Staff laptops and phones connected
- Guest access enabled if it is offered
- Cameras or other background traffic running
- The loading doors in their normal position
Record the time, location, device, task and result. If the application reports an error, save the exact message and the approximate time. This makes it easier to separate a local Wi-Fi problem from an internet or service problem.
Keep management traffic off the guest network. Restrict router administration to a wired device or an authorised management network where the equipment supports it.
Prepare for an outage
A warehouse should still have a safe operating procedure when Starlink, power or a local access point is unavailable. Write down:
- Which tasks can continue offline
- How queued scans are stored and later reconciled
- Which paper or local fallback process is approved
- Who decides when to pause receiving or dispatch
- How staff can identify a Starlink outage versus a local Wi-Fi issue
- Where the router, access-point and power labels are kept
- How to restart equipment in a documented order
- Who can contact the internet or application provider
If you use backup power, test the complete path from the power source to the Starlink equipment, router, switches and access points that are needed for the critical workflow. A UPS that keeps only the router alive does not preserve warehouse coverage if the switch or access point loses power.
Keep a small acceptance record
Before relying on the setup, save a one-page record containing:
- A site map with terminal, router, switch and access-point locations
- Cable labels and the location of spare equipment
- Network names and the process for changing passwords
- The tested scanner routes and the date of the last test
- The busiest test conditions and any known weak spots
- The approved offline and outage procedure
- The person responsible for reviewing changes
Review the record after moving racks, adding cameras, changing the application or altering the Starlink equipment. A warehouse network can become unreliable after a layout change even when no network setting has changed.
Warehouse Starlink checklist
- [ ] Map receiving, picking, dispatch, offices, charging and outdoor work areas
- [ ] Separate terminal placement from warehouse Wi-Fi coverage
- [ ] Use a wired backbone to access points where practical
- [ ] Create tested access for operations, staff, guests and IoT devices
- [ ] Test loading bays with doors open and closed
- [ ] Walk real scanner routes with the expected device count
- [ ] Check roaming, label printing and application recovery
- [ ] Confirm offline scan behavior with the application provider
- [ ] Keep equipment and cables clear of impact, water and heat hazards
- [ ] Test backup power and the documented outage procedure
- [ ] Label the installation and keep the acceptance record current