How to Connect a NAS or Home Server to Starlink Safely
Tips & Tricks
Starlink works well with a NAS or home server for local backups, shared files and media, but the safest setup depends on which device is doing the routing. The goal is simple: keep local access reliable, avoid two routers fighting over the same network, and never expose the server's admin page just to make remote access work.
Before you start
You need:
- A Starlink kit and router, or a compatible third-party router
- A NAS or home server with its latest updates installed
- An Ethernet connection to the Starlink router, Ethernet Adapter or your own router/switch
- One phone or computer on the same home network as the server
- A current backup of anything important on the server
Write down which router is connected to the dish and which router provides Wi-Fi. Also note whether your NAS is connected directly to the Starlink router, to a switch, or to a second router. This small inventory prevents most setup confusion.
Do not use the NAS admin password as your Wi-Fi password. Turn on two-step verification on the NAS if it supports it.
1. Connect the NAS to the local network
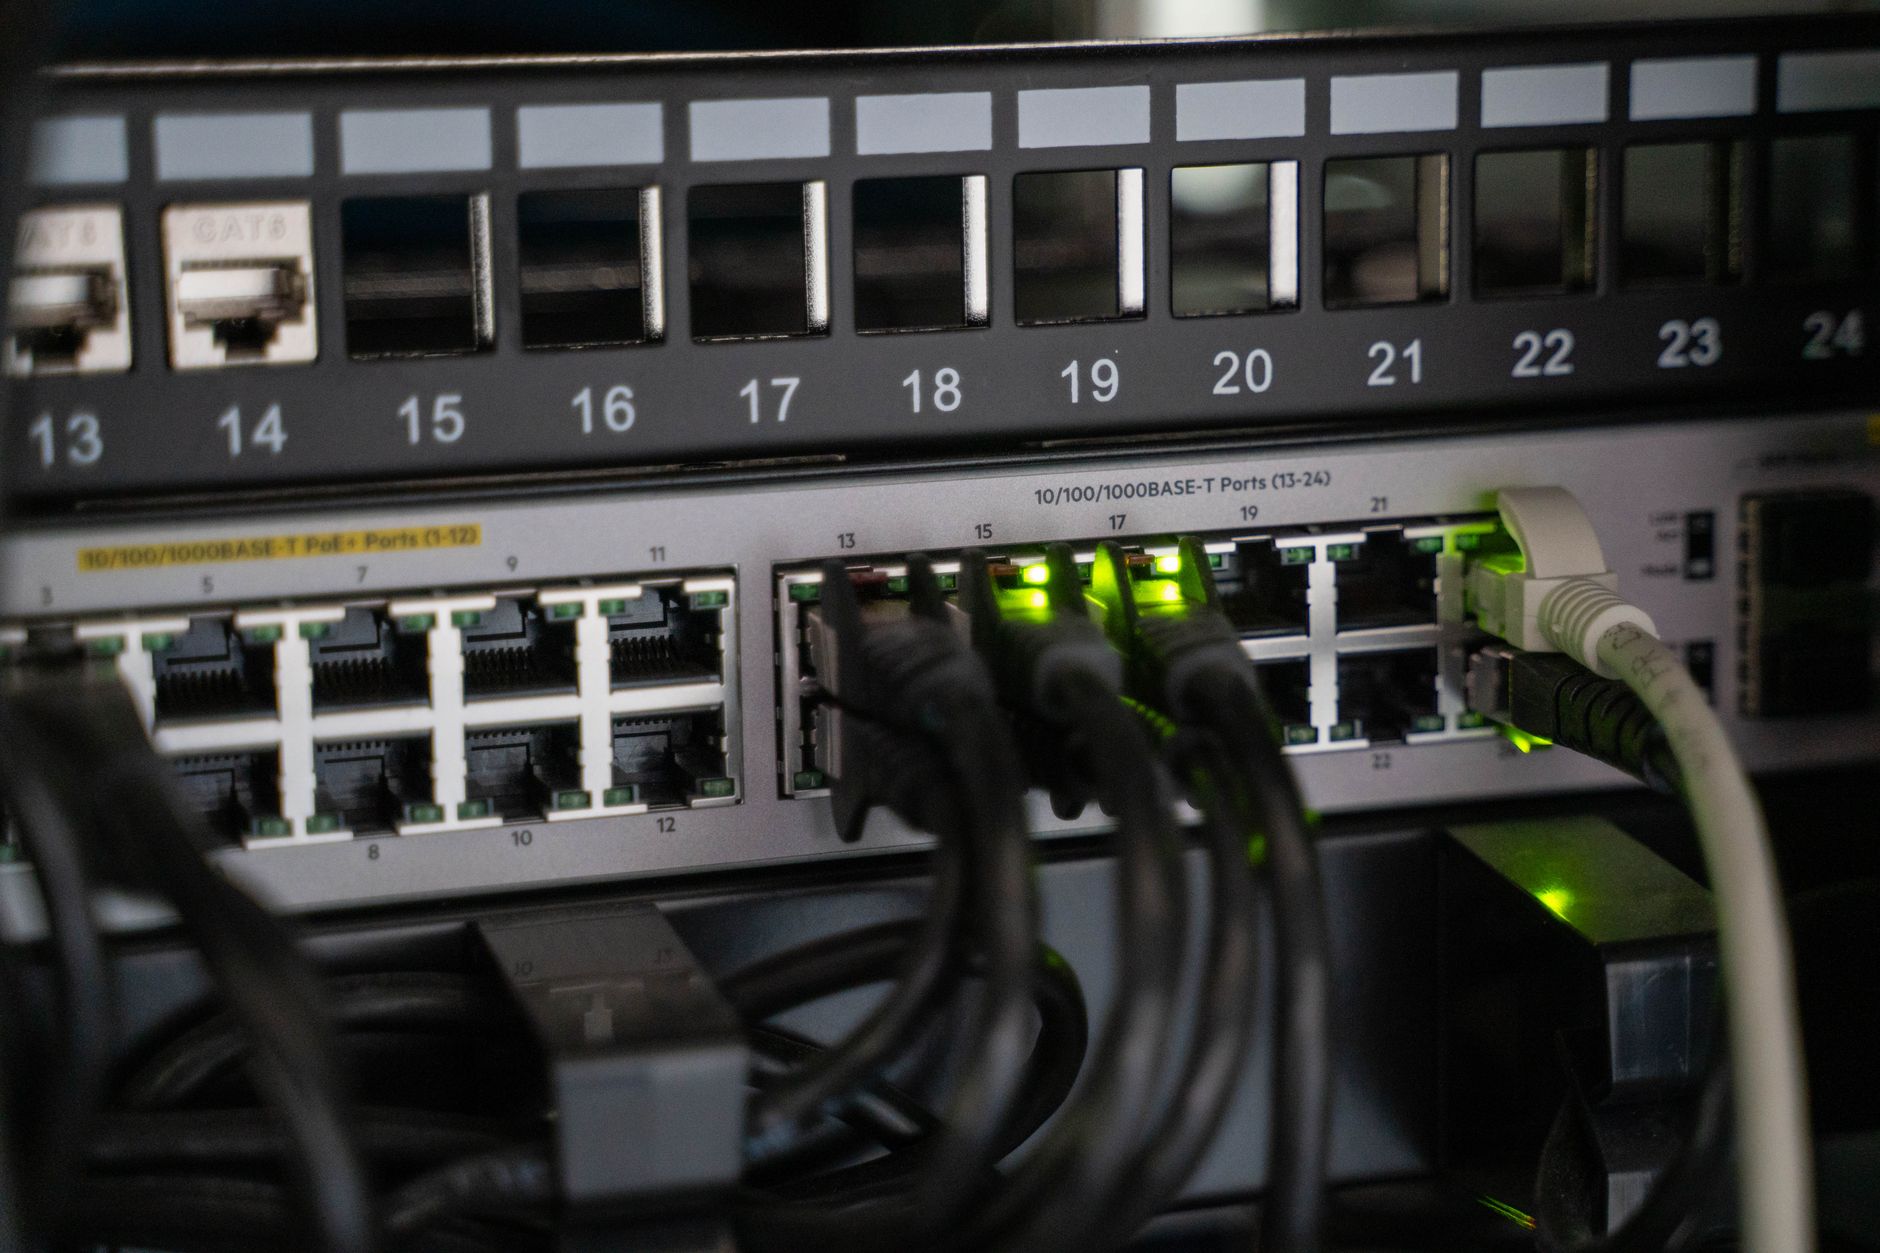
For the simplest Starlink-only setup, connect the NAS by Ethernet to the Starlink router, an Ethernet Adapter, or a network switch connected to the router. Put your phone or computer on the same Starlink Wi-Fi network.
Open the NAS discovery tool or its local web address. If you do not know the address, check the Starlink app or router client list, or use the NAS maker's discovery utility. Confirm that:
- The NAS has an address in the same local network as your computer
- The NAS is not connected to a guest network
- You can open the NAS dashboard from a device on the home network
- A small test folder or file can be read and written
Use a wired connection for the NAS where possible. It avoids Wi-Fi interference and makes large backups more predictable.
2. Give the NAS a consistent local address
A NAS can work with a changing address, but mapped folders, backup jobs and media apps are easier to maintain when the address stays consistent.
Create a DHCP reservation for the NAS in the router that provides addresses. The menu may be called IP reservation, DHCP reservation or static lease. Reserve the current NAS address using its Ethernet MAC address, then reconnect the NAS or renew its network lease.
Prefer a reservation in the router over manually typing a random static address into the NAS. If you do set a manual address, record the subnet, gateway and DNS values first. A wrong gateway can make local access appear to work while breaking updates and other internet-dependent features.
3. Use one main router
If you add your own router, mesh system or firewall, choose one device to perform routing and DHCP. Two routing devices can create double NAT, split device discovery and make remote-access troubleshooting harder.
You have two common options:
Keep the Starlink router as the main router
Connect the second device in access-point or bridge mode if it supports that mode. Let Starlink provide DHCP and keep the NAS and your clients on the same local network.
This is usually the least disruptive choice when you only need better Wi-Fi or more Ethernet ports.
Use your own router as the main router
If your Starlink equipment supports bypass mode, enable it only after recording the current settings and confirming that your own router is ready to provide DHCP, Wi-Fi and firewall protection. Some hardware combinations require an Ethernet Adapter or a suitable Ethernet port.
After changing modes, reconnect one computer and confirm that it receives an address from the intended router. Then test the NAS locally before reconnecting every household device.
Do not leave both devices in full router mode unless you have a specific design and know which services are meant to cross the boundary.
4. Test local file access before remote access
Test from two local devices before trying to reach the NAS away from home:
- Open the NAS dashboard by its local address.
- Create a test folder and copy a small file.
- Open the same folder from a second device.
- Restart the client device and confirm the NAS is still discoverable.
- Run one small backup job and check that it completes.
If the dashboard works by address but not by name, the problem is usually local name discovery or DNS rather than Starlink service. Keep using the reserved local address while you fix naming. Do not make the NAS public just because a hostname is inconvenient.
5. Choose a safe remote-access method
Remote access is a separate problem from local file sharing. Starlink connections may use carrier-grade NAT, and the address shown by your router may not be reachable from the public internet. A working local NAS does not prove that inbound connections will work.
Safer choices include:
- The NAS manufacturer's authenticated relay service, with two-step verification enabled
- A reputable mesh VPN that places your approved devices on a private overlay network
- A VPN endpoint on a network or service that has a reachable public address
- A private sync or backup service that does not require opening a port to the NAS
Avoid exposing the NAS admin interface, SMB file-sharing ports or remote-desktop ports directly to the internet. Turn off UPnP port mapping unless you have a clear reason to use it, and review the router's port-forwarding list after installing apps.
If a remote-access service asks for a public address, compare the router's WAN address with a public address shown by a trusted check. Do not post either address or your admin details in a support forum. If the addresses do not match, CGNAT or another upstream router may be blocking inbound connections; use a relay or private VPN instead of repeatedly opening ports.
6. Troubleshoot in a controlled order
The NAS is not visible locally: Check the cable and link lights, confirm the client is not on guest Wi-Fi, and verify that both devices received addresses from the same router.
The NAS dashboard works but mapped folders fail: Recreate the mapping with the reserved local address, check the account permissions and confirm that the file-sharing service is enabled on the NAS.
The NAS works locally but not away from home: Check the remote-access service status, account sign-in and two-step verification. Do not assume a Starlink outage or buy a static IP before confirming whether CGNAT is the actual problem.
Backups are slow: Test from a wired client, pause large downloads and uploads, and compare local transfer speed with the NAS's internet sync speed. Starlink upload capacity and busy-period congestion can affect off-site backups even when local file copies are fast.
Devices lost access after adding a router: Check which router is providing DHCP, remove the accidental second DHCP service and confirm that the NAS and clients are on the same subnet.
A safe finished setup
Before you rely on the server, confirm that:
- The NAS has a DHCP reservation and current backups
- The NAS and local clients share the intended private network
- Only one device is providing routing and DHCP
- The NAS admin account has a strong unique password and two-step verification
- UPnP and unused port forwards are disabled
- Remote access uses an authenticated relay or private VPN where possible
- You can still reach the NAS locally if the remote-access service is unavailable
This gives you dependable local storage on Starlink without turning a home server into an unnecessary internet-facing target.