How to Document a Starlink Setup: Diagram, Labels and Recovery Notes
Tips & Tricks
A Starlink setup is much easier to support when the physical wiring, network roles and safe recovery steps are written down in one place. The goal is not a complicated engineering diagram. It is a clear record that lets you answer three questions quickly:
- What is connected to what?
- Which settings are intentional?
- What can someone safely try when the internet is down?
This guide shows how to make that record for a home, campervan, outbuilding, small office or backup connection.
Start with a one-page network map
Draw the connection from the sky-facing terminal to the people and devices that use the internet. Use boxes for equipment and arrows for cables or wireless links.
A typical map might look like this:
unknown nodeAdd the real location beside each item, such as "roof," "utility cupboard," "office" or "campervan locker." If the system uses a cellular backup, campsite Wi-Fi, a VPN or a second Starlink connection, draw that path too.
Keep the map at the level a helper needs. You do not need to record every phone or laptop. Record fixed equipment, important wired devices and the point where a backup connection enters the network.
Record the equipment and its job
Create a short inventory next to the diagram. For each item, record:
- Device type and exact model.
- Where it is installed.
- Which power supply belongs to it.
- Which port or cable connects it to the next device.
- Whether it is routing, operating only as an access point, acting as a switch, or providing a backup link.
- Firmware version and the date you recorded it.
- The date you last tested the device.
Use the exact model printed on the equipment rather than a family name such as "Starlink router" or "mesh node." Similar-looking products can have different ports, power requirements and management options.
If a device is supplied by an installer, record the installer or supplier contact separately from the network notes. Do not put account passwords in the same document.
Make the physical cabling unambiguous
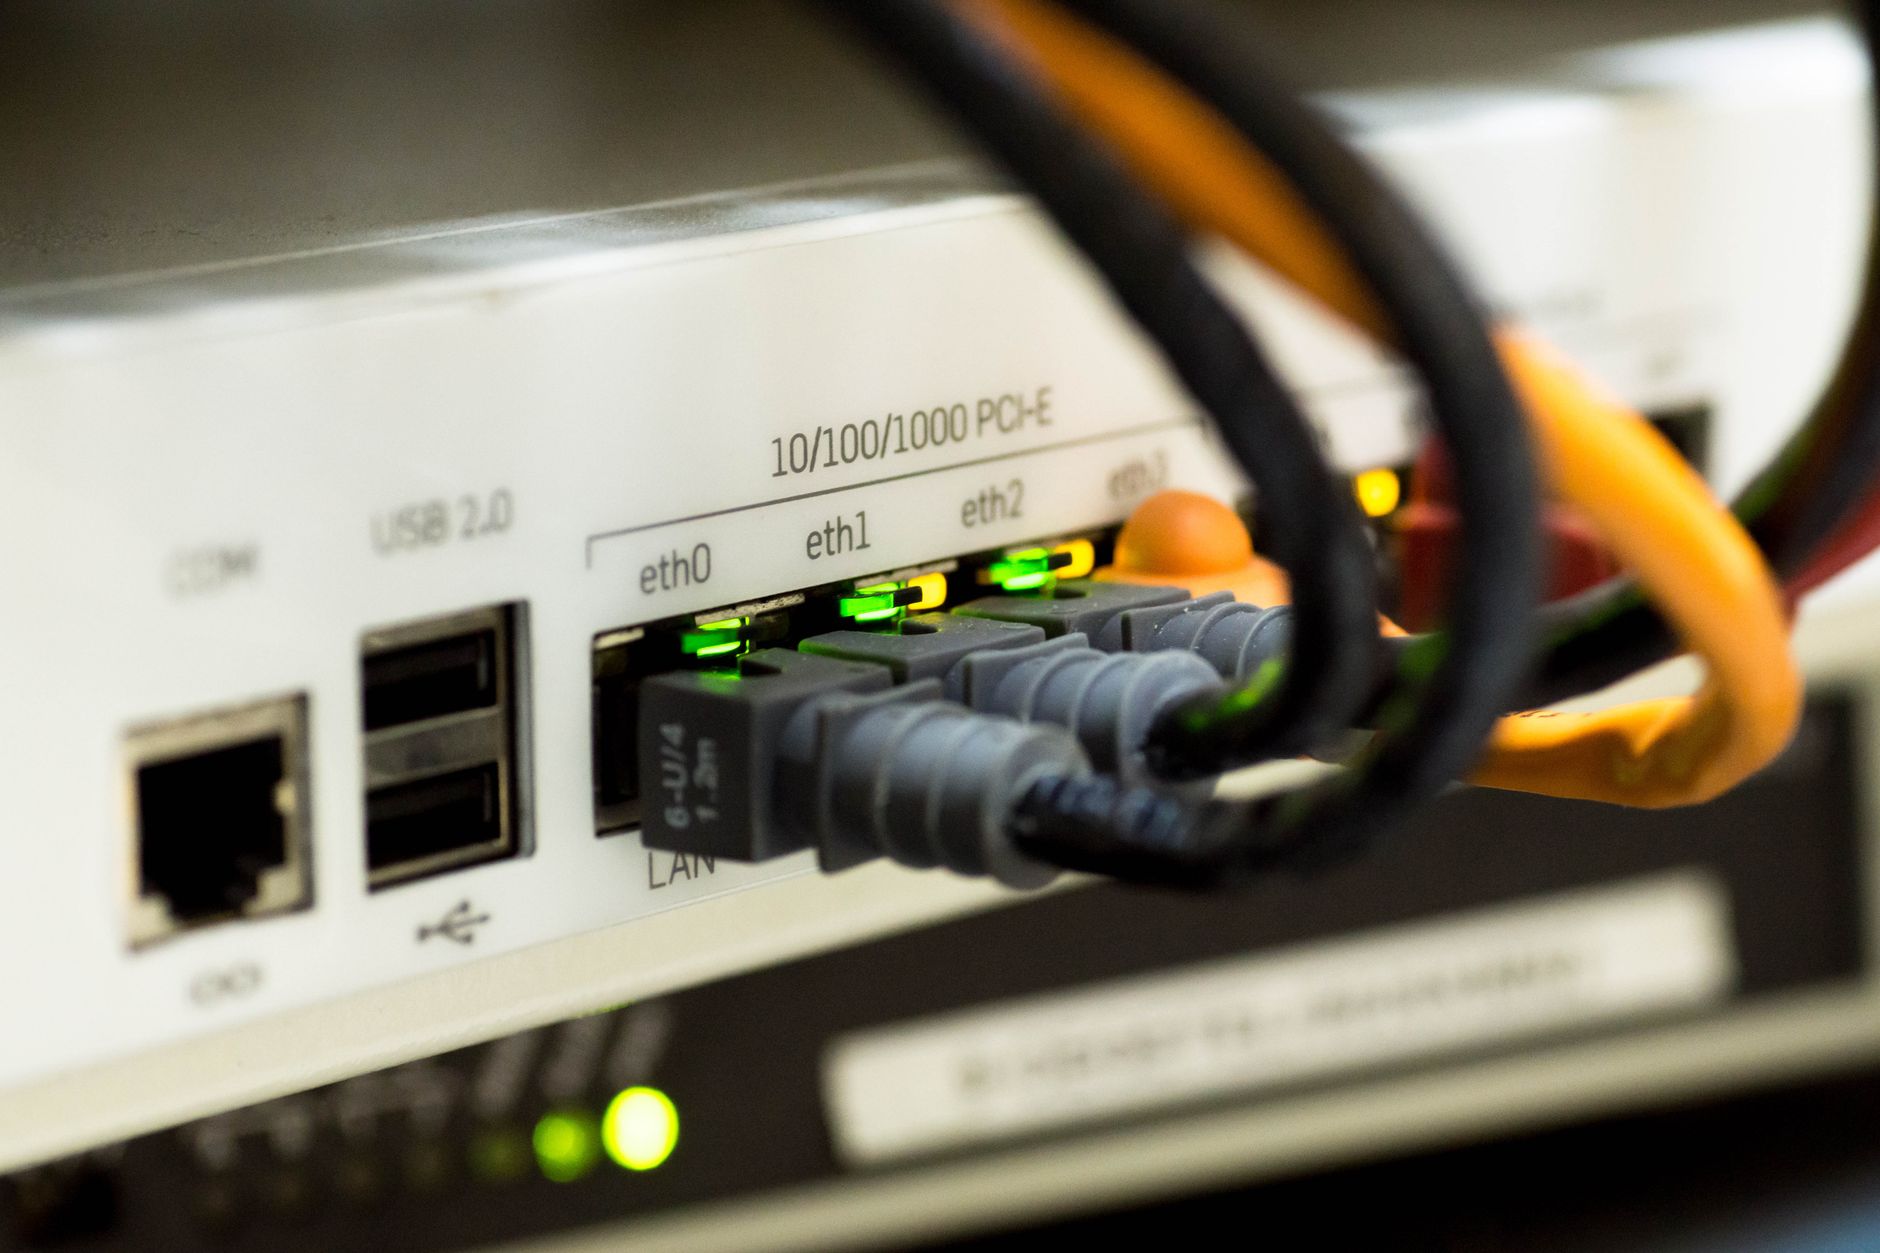
Cable labels are most useful at both ends. A label on only one end still leaves someone guessing after the cable disappears behind a wall or cabinet.
Use short, durable names such as:
DISH-WANROUTER-SW1SW1-OFFICE-01SW1-CAMERA-01UPS-ROUTER
Write the same name on the diagram and in the equipment inventory. If a cable is temporary, mark it as temporary and add the date it should be reviewed.
Also label power supplies where several adapters look similar. Record the device they power, not just the voltage printed on the adapter. Do not substitute a power supply because its plug fits.
Take a few photographs after labeling:
- The terminal and its cable route.
- The router or firewall showing the WAN connection.
- Each switch or patch panel with the labels visible.
- The power arrangement and UPS connections.
- Any cable entry, outdoor joint or enclosure that may need inspection later.
Keep the photographs with the map, and avoid including passwords, QR codes, account numbers or full public addresses.
Record the settings that affect recovery
The most valuable notes are the settings that explain why the network is arranged this way. Record the values, not the secrets:
- Starlink router mode or bypass mode.
- Service address or operating location label.
- Primary Wi-Fi network name, but not its password.
- Guest network name and whether it is enabled.
- Third-party router model and routing mode.
- LAN address range, such as
192.168.1.0/24, if you use one. - DHCP range and any important local reservations.
- DNS choice, if it is manually configured.
- VPN, firewall, VLAN or remote-access services that must remain enabled.
- Backup WAN name and the condition that triggers failover.
- Which device should be rebooted first and which device should be left powered.
Keep passwords, recovery codes and private keys in a password manager. If the network notes need a login reference, write "stored in password manager" and record the item name there instead.
Do not share a document containing full IPv6 addresses, public IPv4 addresses, Wi-Fi QR codes, router serial numbers or service-account details. Redact those fields before sending the diagram to an installer or helper.
Add a safe recovery sequence
Write a short sequence for the most common outage, using the names from your map. For example:
- Check whether the router and terminal have power.
- Check the Starlink app or router status without changing settings.
- Confirm whether the outage affects one device, one room or the whole network.
- Test one known-good device near the router.
- Check the labeled WAN cable and power connections.
- Reboot only the device named in the notes, then wait for it to recover.
- Test the connection again before rebooting switches, access points or client devices.
- Record what happened, what changed and when service returned.
- Escalate to the installer or Starlink support with the map, timestamps and status information.
Avoid writing "reboot everything" as the first step. A complete power cycle can hide the original symptom and may bring network equipment back in the wrong order.
If your setup has a UPS, write down which devices it supports and approximately how long they can remain online. If it has a generator, inverter or battery system, record the safe operating procedure separately. Do not treat a network diagram as electrical installation instructions.
Keep a change log
Add a small table to the bottom of the document:
| Date | Change | Equipment or setting | Result | Revert note | | --- | --- | --- | --- | --- | | 2026-11-02 | Example: moved access point | Office access point | Better coverage | Restore previous location if heat rises |
Use it whenever you:
- Move the terminal or router.
- Change bypass, mesh or guest-network settings.
- Add a switch, camera, printer or access point.
- Replace a cable or power supply.
- Change DNS, DHCP, VPN or firewall settings.
- Install a firmware update.
- Change a service plan or backup connection.
A change log turns "it used to work" into a useful timeline. It also makes it easier to undo one change without resetting unrelated parts of the network.
Test the document with someone else
A good record should help a person who did not install the network.
Give the map and recovery notes to a family member, colleague or installer and ask them to identify:
- Where the Starlink connection enters the network.
- Which box supplies Wi-Fi.
- Which cable is the WAN cable.
- Which equipment is on the UPS.
- What they should check first during an outage.
- Where credentials are stored without revealing them.
If they cannot answer from the document, add labels, a photograph or one sentence of explanation. Do not solve the problem by putting passwords into the diagram.
Review it after real changes
Review the map after any hardware move, network redesign or service change. Set a reminder to check it at least twice a year, and after a serious outage.
The document is complete when a helper can trace the connection, identify the important equipment, follow a safe first response and know when to stop. A plain one-page record is more useful than a beautiful diagram that omits the cable, power or recovery details people need under pressure.