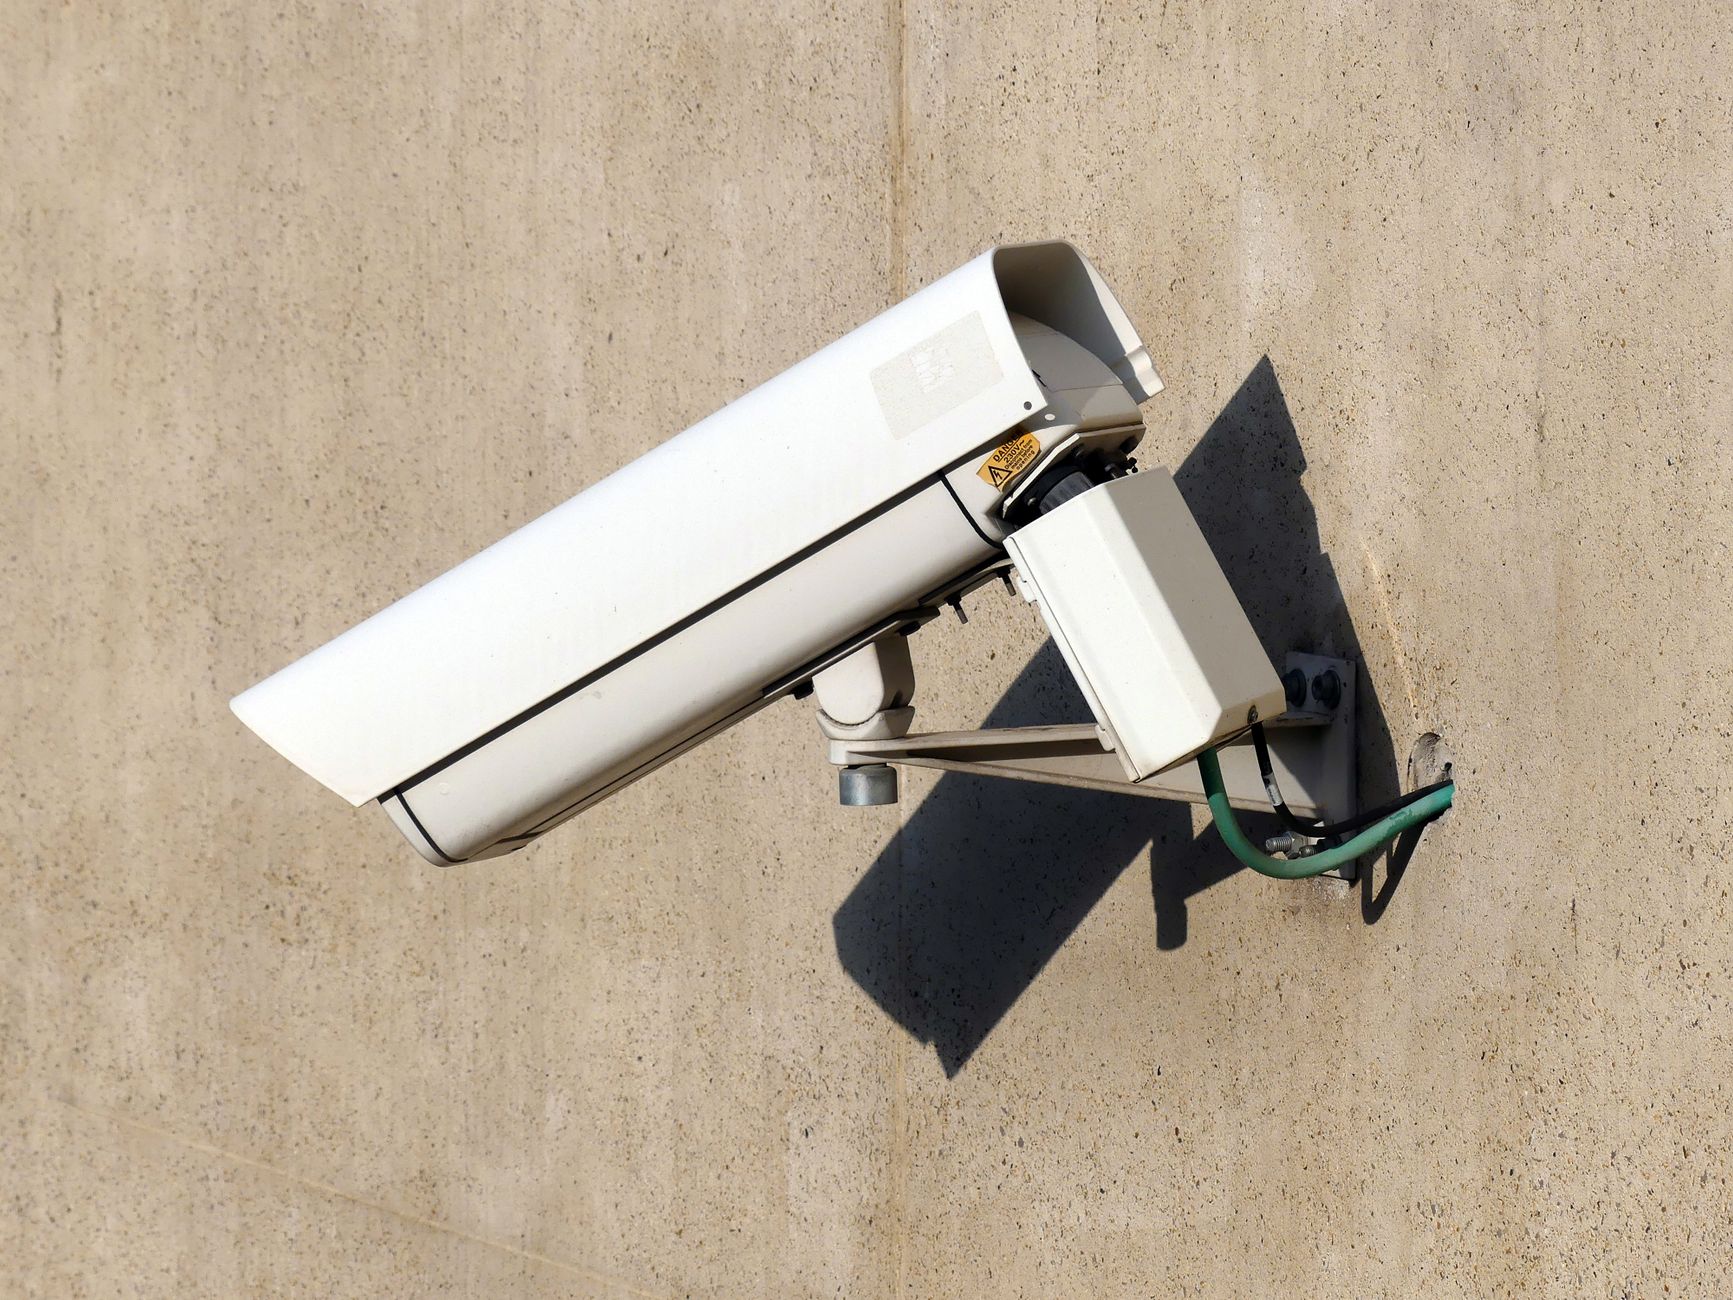
How to Connect Security Cameras to Starlink Wi-Fi Safely
Tips & Tricks
Security cameras can work well on a Starlink connection, but there are two separate jobs to solve: getting each camera onto your local Wi-Fi and choosing a safe way to view recordings when you are away. A camera can have a strong Starlink internet connection and still fail because of 2.4 GHz pairing, weak indoor Wi-Fi, guest-network isolation or an unsafe remote-access design.
Camera menus, Wi-Fi band controls and plan features vary by model, router and country. Use the camera maker's current instructions for model-specific steps.
Decide how the camera will record
Before changing Starlink settings, identify which setup you have:
- Cloud camera: the camera sends clips to the manufacturer's service, and you view them through its app.
- Local recorder: an NVR or DVR stores footage in your home, often using Ethernet or a dedicated PoE switch.
- Local storage camera: the camera records to a microSD card or similar storage and may offer optional cloud backup.
- Hybrid setup: local recording is combined with an app or vendor relay for remote viewing.
Cloud and vendor-relay apps usually initiate outbound connections, so they may work even when your Starlink connection is behind CGNAT. A local recorder can work perfectly inside the house while still needing a carefully chosen remote-access method.
Prepare the Starlink network
Before pairing the first camera:
- Confirm Starlink is online and that your phone can browse over the home Wi-Fi.
- Put the camera near the Starlink router for initial setup, even if its final location is outside or in another room.
- Connect the phone to the main household Wi-Fi, not a guest network, unless the camera maker explicitly supports isolated setup.
- Check the camera's power supply, reset instructions and supported Wi-Fi bands.
- Update the camera app and camera firmware when the manufacturer offers an update.
- Temporarily disable mobile data and any VPN on the phone if the setup app cannot find the camera.
- Allow the app's Bluetooth, local-network and location permissions when it needs them for discovery.
Many cameras support only 2.4 GHz Wi-Fi. Some setup apps can handle a combined 2.4/5 GHz network automatically; others need the phone to be connected to the 2.4 GHz band during pairing.
Pair one camera at a time
Use the camera maker's normal setup flow first:
- Reset only the camera if it was previously linked to another account or Wi-Fi network. Follow the manufacturer's reset method rather than guessing.
- Add the camera in its app and enter the Starlink Wi-Fi name and password carefully.
- Complete any QR-code, Bluetooth or local-network step shown by the app.
- Give the camera a clear name such as Driveway or Back Door.
- Confirm that live view works while the phone is on the home Wi-Fi.
- Unplug or move the camera only after it has stayed connected for a few minutes.
If the app offers a choice between cloud and local storage, read the retention and subscription terms before enabling recording. Do not treat a successful live view as proof that recordings or alerts are working; test those separately.
If pairing fails on 2.4 GHz
Try these changes one at a time:
- Move the camera and phone closer to the router.
- Re-enter the Wi-Fi password and check for spaces or typing mistakes.
- Split the 2.4 GHz and 5 GHz network names temporarily if your router settings provide that option.
- Connect the phone to the 2.4 GHz network, then repeat the camera setup.
- Restart the camera and its app before restarting the whole Starlink system.
- Check that the camera supports the Wi-Fi security mode and channel settings it is being offered.
- Avoid a guest network during setup if the phone and camera need to communicate locally.
- Factory-reset the camera only when the manufacturer's instructions call for it.
After pairing, you can leave the bands separate or return to the previous network arrangement. Keep the network name and password unchanged where possible, then test the camera again from its intended location. A camera that works beside the router but drops offline in a garage or outbuilding has a local Wi-Fi coverage problem, not necessarily a Starlink service problem.
Connect an NVR or local recorder safely
For a local recorder:
- Connect the NVR to the most reliable local network path available. Ethernet is usually preferable to a weak wireless link.
- Add cameras through the NVR's supported discovery or manual-add process.
- Confirm that the recorder sees each camera and that its clock, storage and recording schedule are correct.
- Test playback from the local network before attempting remote viewing.
- Change default recorder credentials and enable multifactor authentication if offered.
- Keep the recorder and camera firmware current.
If the NVR cannot discover a camera, first check that both devices are on the same local network and that guest isolation is not blocking discovery. For a wireless camera, check signal strength at its final location. For a PoE camera, check the cable, switch port and power budget before changing Starlink settings.
Choose remote viewing without exposing the network
When you are away from home, prefer the camera maker's authenticated cloud or relay service if it has a good security history and meets your storage needs. These services commonly use outbound connections and do not require you to open an inbound router port.
For a local NVR or camera that needs private remote access, consider a supported mesh VPN or another authenticated outbound solution. Starlink residential service may use CGNAT, and ordinary port forwarding may not create a reachable public service. Do not expose a camera, NVR, router administration page or plain HTTP login directly to the internet just to make remote viewing work.
Before enabling remote access:
- Change every default password.
- Turn on multifactor authentication where available.
- Use encrypted connections and the smallest access scope possible.
- Update the camera, recorder, router and viewing app.
- Test from mobile data with home Wi-Fi turned off.
- Review signed-in devices and access logs periodically.
- Keep a local recovery path in case a remote setting locks you out.
A public address or port-forwarding feature, where available, does not make a camera safe by itself. Treat it as a network exposure that needs a strong password, updates, firewall rules and regular review.
Troubleshoot the finished setup
The camera pairs but keeps going offline: test it at the final location, check 2.4 GHz signal strength and inspect power and cable connections. If several cameras fail at once, check the local router and power first.
Live view works at home but not away: check the vendor account, remote-viewing setting and phone permissions. Test over mobile data. If the system depends on direct inbound access, CGNAT or a second router may be blocking it.
Recordings are missing: verify the storage card or NVR disk, recording schedule, time zone, subscription or retention plan, and whether the camera was offline when the event occurred.
Notifications do not arrive: check app permissions, notification schedules, account sign-in and the camera's motion or alert zones. A working live view does not guarantee that push alerts are enabled.
The picture is unreliable at night or in bad weather: inspect the camera's power supply, condensation, glare, infrared reflections and mounting position before blaming the satellite link.
Final security checklist
- Pair cameras on the main network, then use guest or IoT isolation only when the camera system supports it.
- Use unique passwords for the camera account and NVR.
- Test local live view, recording, playback, alerts and remote view separately.
- Keep remote access private whenever possible.
- Do not open router, NVR or camera administration ports to the public internet.
- Record the camera names, locations and recovery steps without storing passwords in plain sight.
- Re-test after changing the Starlink Wi-Fi name, password, router mode or camera account.
Considering Starlink for your home?
Order through my referral link and activate eligible service to receive the current referral benefit shown at checkout.
Check the Current Starlink Offer