How to Route a Starlink Cable Safely Through a Wall
Installation & Setup Guides
Independent guide: Starlink Tips is independent of Starlink. Follow the current official setup instructions for your hardware and account.
Claim Your Free Month
Order through my referral link and activate your service. Your second month of Starlink service will be free.
Start with the safe, simple option
Plan the route before drilling. Choose the router position first, then trace the shortest safe path from the dish that avoids sharp bends, doors, walkways, hot surfaces and places where the cable can be crushed.
Work in this order
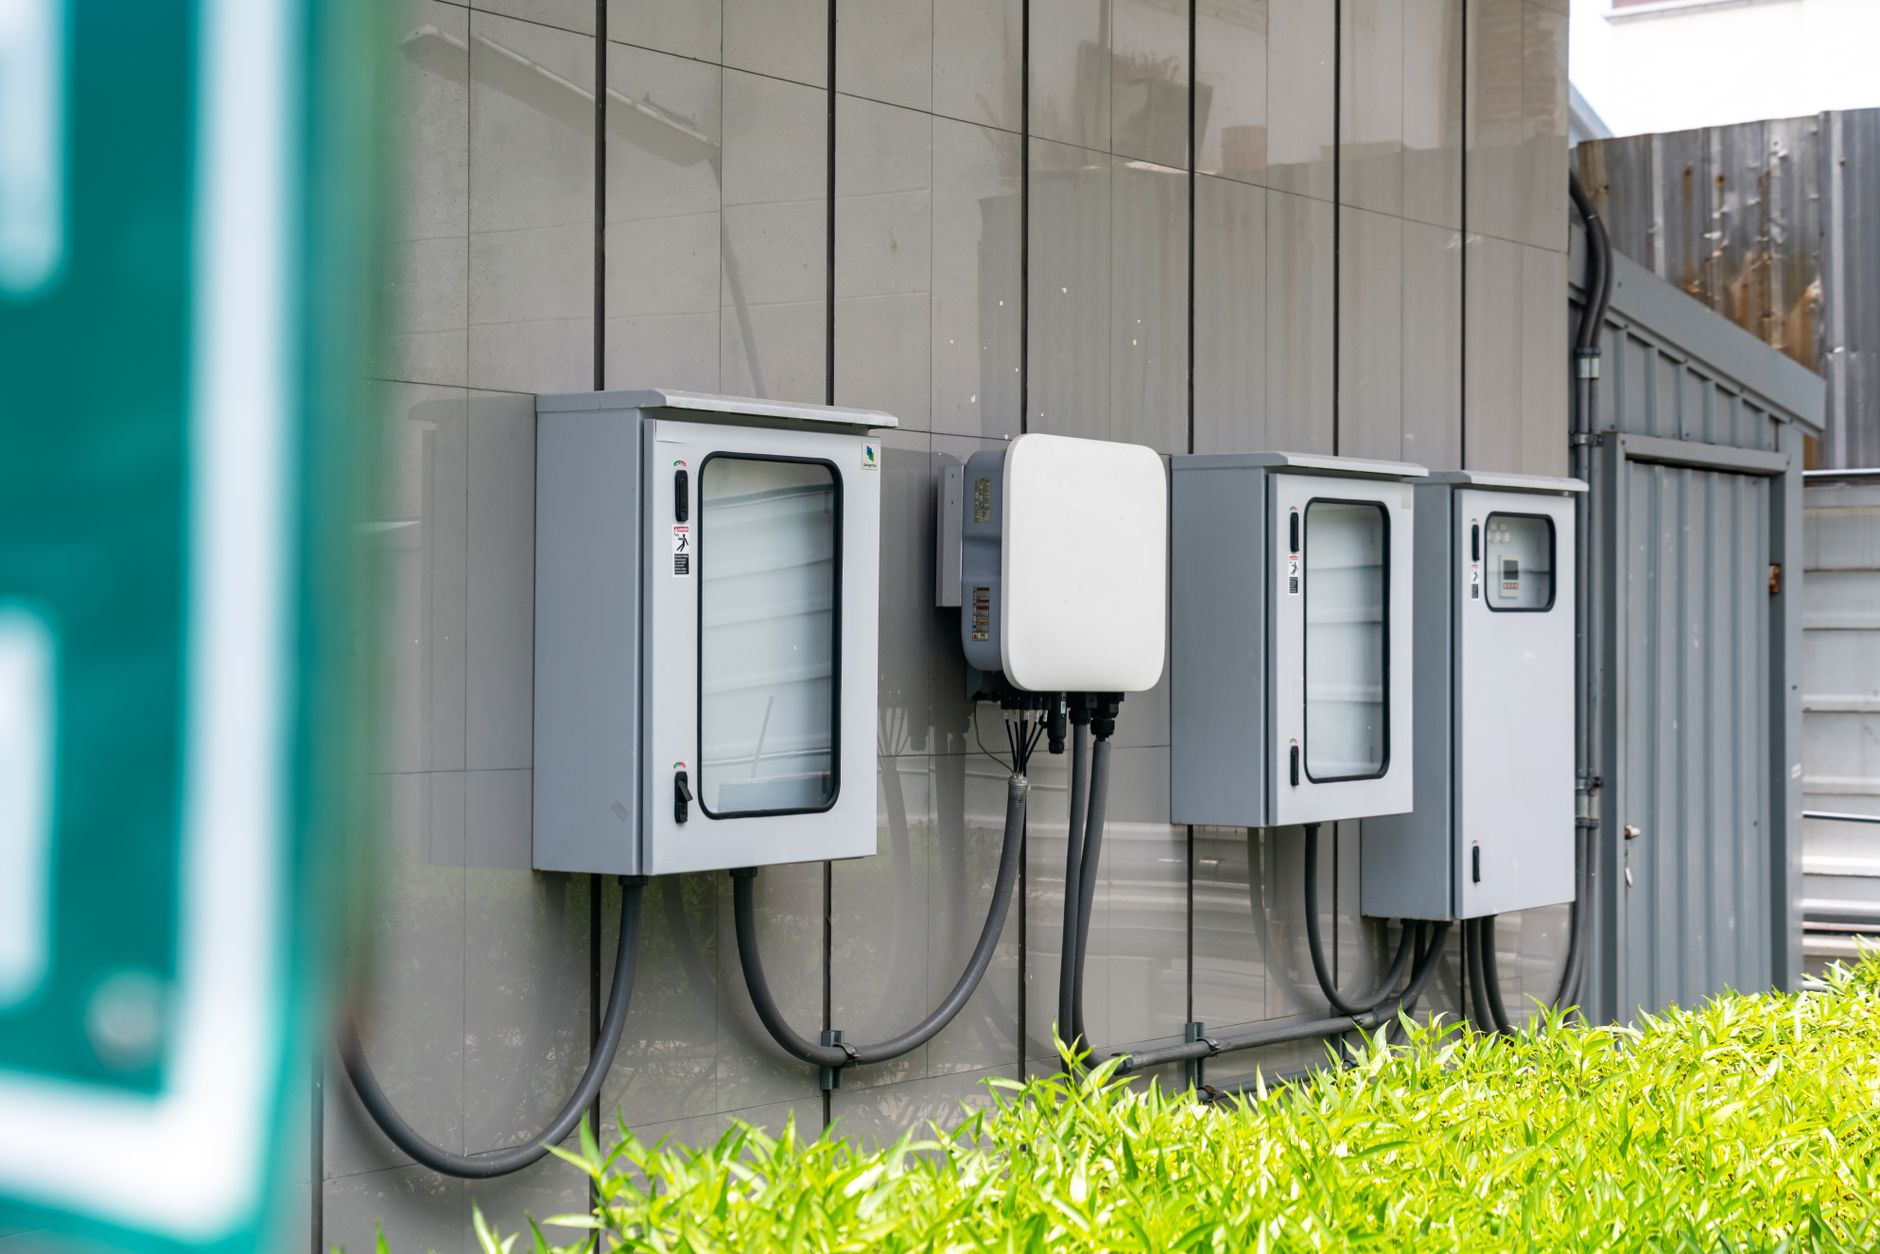
An external entry point needs appropriate weather protection and a tidy drip loop so water does not run along the cable into the building. Use suitable materials and methods for the wall construction rather than forcing a cable through an unsuitable gap.
Claim Your Free Month
Order through my referral link and activate your service. Your second month of Starlink service will be free.
Test before changing anything expensive
Leave strain relief at both ends and keep the cable protected where it passes near ground level, garden tools, pets or vehicles. Do not use a damaged cable or conceal an unsafe join inside a wall.
Avoid these common mistakes
If the building fabric, electrical safety or access is uncertain, use a competent professional. A clean cable route improves reliability and avoids turning a simple installation into an avoidable repair.
Quick checklist
- Confirm the current official instructions for your kit.
- Keep cables protected and connectors undamaged.
- Use the Starlink app to guide location and diagnosis.
- Change one variable at a time.
- Ask a competent installer for height, roof or structural work.
Claim Your Free Month
Order through my referral link and activate your service. Your second month of Starlink service will be free.