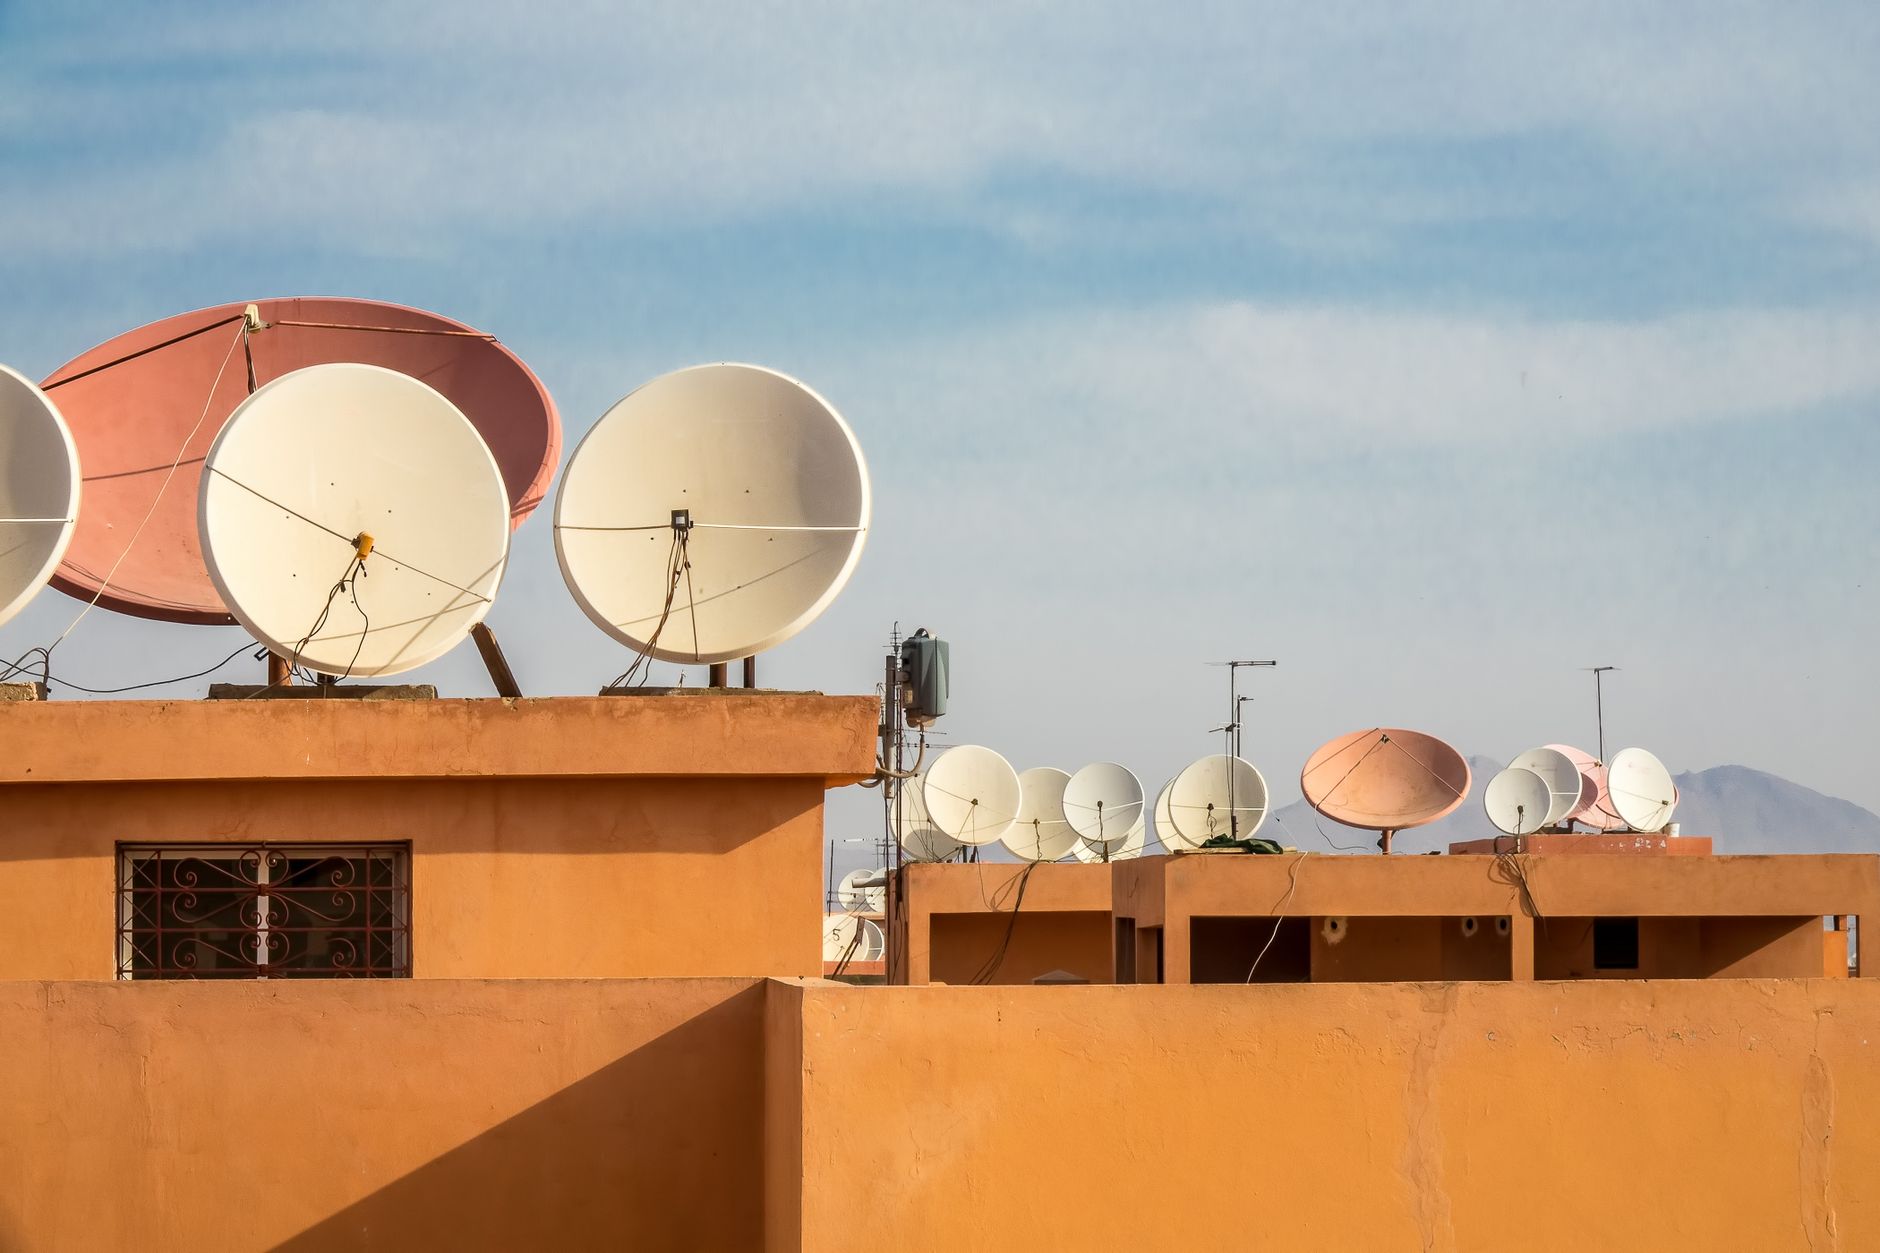
How to Clean a Starlink Dish and Router Without Damaging the Hardware
Equipment & Accessories
Starlink hardware is designed to live outdoors, so routine cleaning should be gentle and limited to visible dirt, salt, pollen, leaves, and light grime. Cleaning can restore a clear surface, but it will not fix an obstruction, damaged cable, failing power supply, account problem, or regional outage.
Before cleaning
Do a quick check before touching the hardware:
- Open the Starlink app and note the current status, alerts, obstruction view, and any recent service interruptions.
- Choose a dry, calm time. Work from the ground whenever possible, and do not climb onto a roof or reach beyond a safe position.
- Power the system down before cleaning the router, power supply, cable connectors, or any area where liquid could reach a connection. Unplug only when the equipment and your hands are dry.
- Gather a clean microfiber cloth, clean water, and a soft brush for loose dust. Starlink also says a microfiber cloth and glass cleaner, such as Windex, may be used to gently clean the Starlink surface.
- Keep a second dry cloth available. The hardware and every connection must be dry before power is restored.
Do not use a pressure washer, hose spray, abrasive pad, scraper, pick, solvent, paint, or metal tool. Do not spray liquid directly onto the dish, router, power supply, or cable ends.
Clean the dish surface
- Inspect the dish from a safe position. Look for dust, salt residue, pollen, bird debris, leaves, and anything sitting on the face or around the base.
- Remove loose leaves and twigs with your hand or a soft brush. Do not pull on the Starlink cable or use the cable as a handle.
- Lightly dampen the microfiber cloth with clean water, or use a small amount of suitable glass cleaner on the cloth. Wipe the surface with light passes rather than scrubbing one spot.
- Keep liquid away from the cable connection, the dish base, and any exposed connector. Never pour water over the hardware to rinse it.
- Let the surface air-dry, then check that no cloth fibers or debris remain in the dish's field of view.
Starlink advises against painting the radome, covering the unit, or applying hydrophobic treatments intended for other satellite dishes. A coating or cover can interfere with the dish's ability to shed rain and snow.
Handle snow and ice differently
Do not scrape the dish. Starlink hardware includes a Snow Melt feature on supported models, and light snow or ice may clear without manual work.
If heavy snow or ice must be removed, only clear it when you can do so safely from the ground and the buildup is soft enough to move gently. Use no pick, chisel, scraper, or other hard tool. Clear ice around the base only if it is preventing an actuated dish from moving, and stop if the material is bonded or the installation would need a ladder.
For more detail, see Starlink's Snow Melt guidance.
Clean the router and power equipment
With the system powered down:
- Wipe the outside of the router and power supply with a dry microfiber cloth, or one that is only slightly damp.
- Keep vents, openings, and the space around the equipment clear of dust and stored items.
- Never open the router or power supply to clean inside.
- Do not put a wet cloth over the equipment or use compressed air that could drive dust or moisture deeper into an opening.
- Leave the equipment disconnected until all surfaces are dry.
If the router is unusually hot, smells burned, shows discoloration, or has liquid inside, stop cleaning and do not power it back on. Use the app or Starlink support for the next step.
Inspect the cable without wetting the connectors
A clean dish cannot compensate for a damaged cable. While the system is off, look along the cable for:
- cuts, crushed sections, sharp kinks, chew marks, or exposed shielding
- water, green corrosion, or dirt at a connector
- a cable route that rubs against a sharp edge or holds water against a connection
- a connector that is not fully seated
Keep connector pins dry. Do not scrape them, brush them with metal, or apply household cleaner. If a connector is wet or visibly corroded, leave the system disconnected and contact Starlink support rather than forcing it back into service.
Power up and verify
Once the dish, router, power supply, cable, and connectors are dry:
- Reconnect the equipment without changing the cable route.
- Wait for the system to complete its startup and check the Starlink app for alerts.
- Confirm that the dish has a clear view and that the router is online.
- Run one speed test from the same device and location used before cleaning, if you recorded one.
- Watch for the original symptom to return. If it does, compare the result with the app's obstruction, outage, and hardware information instead of repeating the cleaning.
Cleaning is useful maintenance, not a general reset. If the connection remains offline, the dish reports a hardware or cable fault, or the issue appears only on one device, continue with the relevant troubleshooting path. Starlink's maintenance and troubleshooting guidance is a useful starting point.
Stop and get help when
Stop the job and contact Starlink support if you find a cracked radome, exposed conductors, water inside a connector, repeated router shutdowns, a burning smell, or damage that would require an unsafe climb. Do not paint, seal, modify, or cover the dish as a substitute for repair.
A safe cleaning routine should leave the hardware dry, unmodified, and easier to inspect than before.