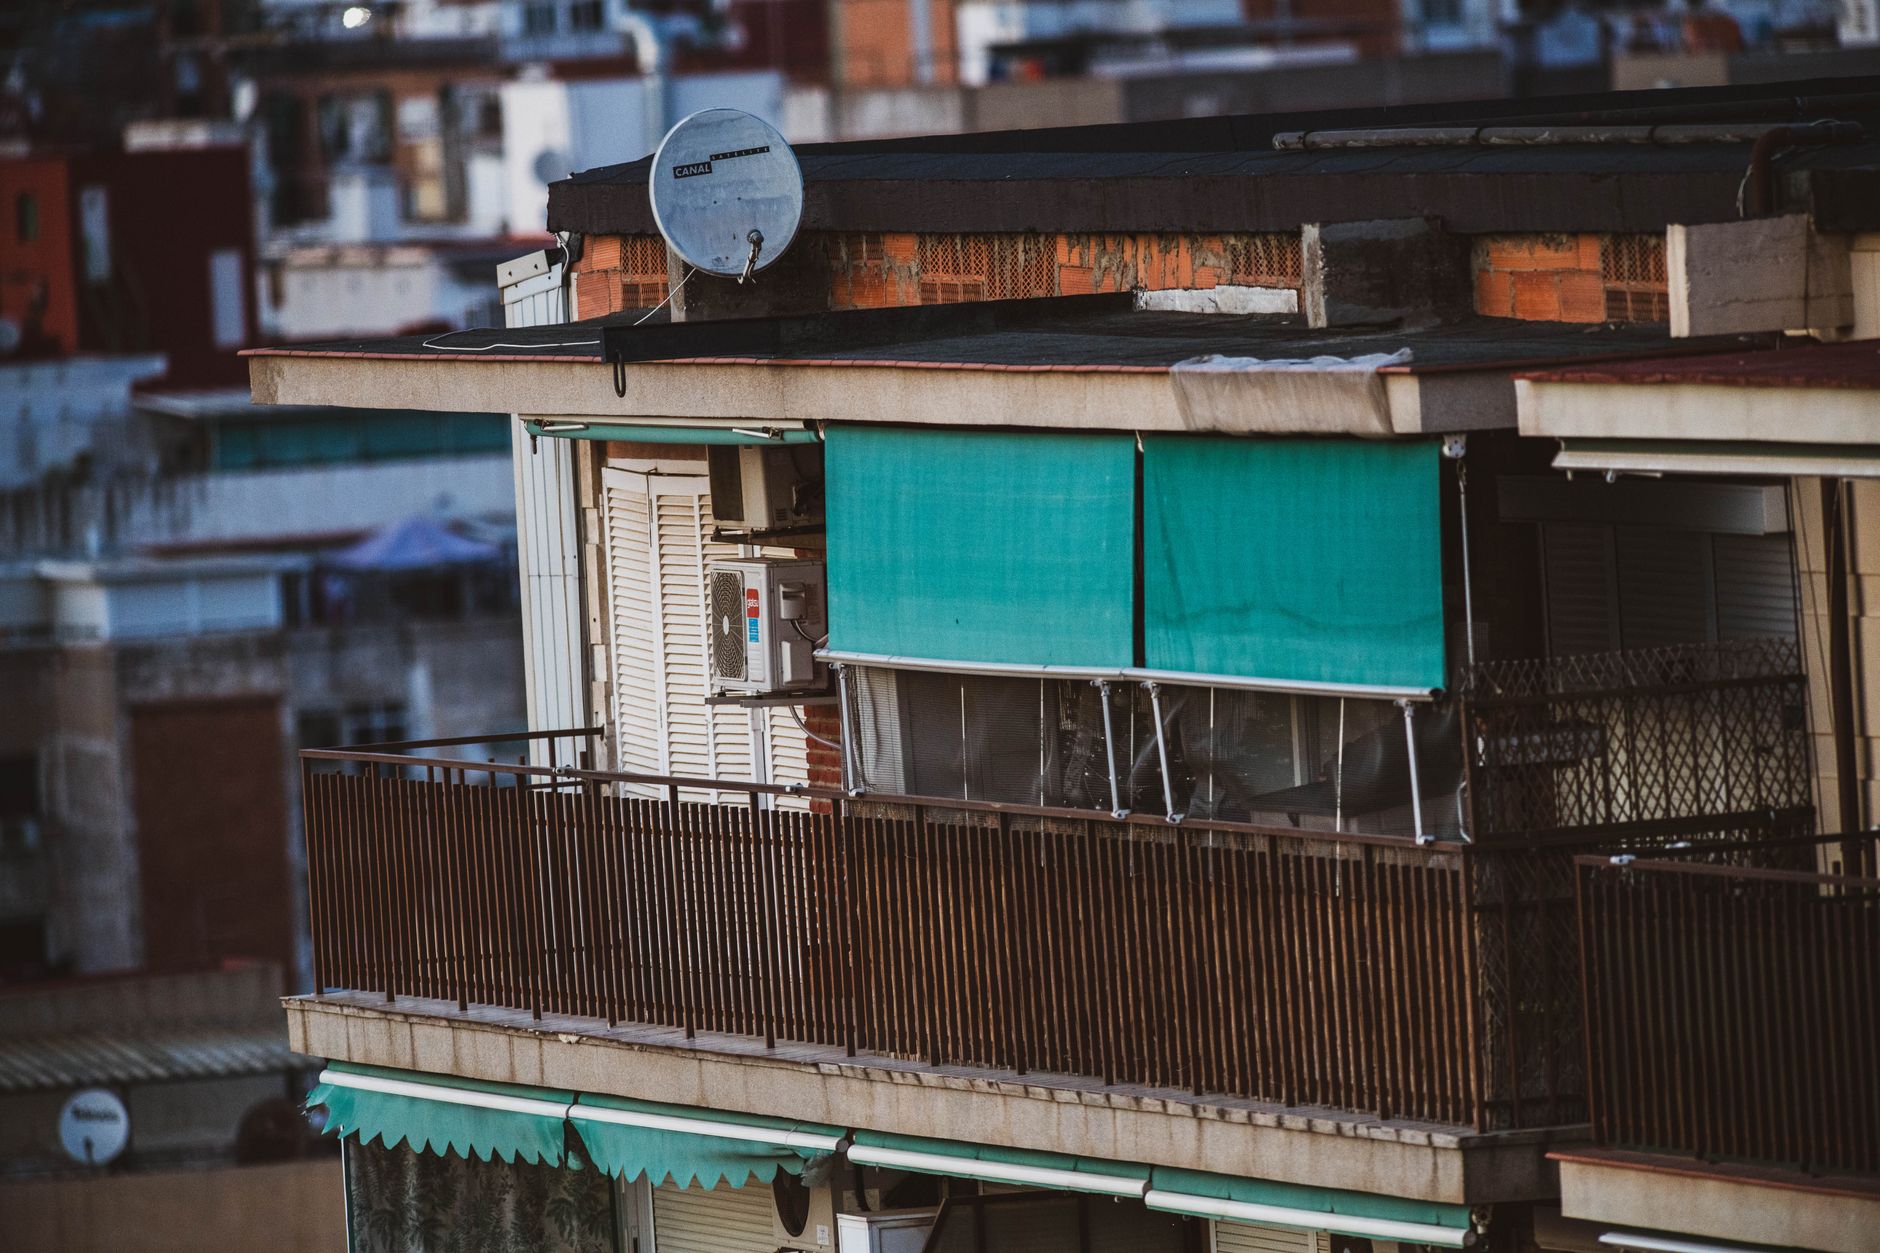
How to Use Starlink in an Apartment or Flat: Balcony and Shared-Property Setup
Installation & Setup Guides
Starlink can work well in an apartment or flat, but the hard part is usually not the Wi-Fi setup. It is finding a safe place for the dish, confirming that you are allowed to use it, and routing the cable without damaging the building or creating a trip hazard.
This guide covers a balcony, terrace, or other private outdoor space. A shared roof, exterior wall, or communal balcony needs written permission from the owner, landlord, managing agent, freeholder, body corporate, or homeowners association before you install anything.
The short answer
An apartment Starlink setup is usually workable when all four of these are true:
- The dish can see a broad, unobstructed section of sky.
- You have permission for the proposed location and cable route.
- The mount or base is stable in wind and cannot fall, slide, or block an escape route.
- The cable can reach the router and power equipment without being pinched, crushed, left across a walkway, or exposed to avoidable damage.
If any one of these is missing, solve that problem before ordering extra mounting hardware.
Check permission before buying hardware
Start with the rules for the exact space you want to use.
- Read your tenancy agreement, lease, building handbook, or building-management rules.
- Ask who controls the balcony, roof, outside wall, parapet, and any service risers. A balcony that you can access may still be a shared or controlled part of the building.
- Get written permission for drilling, clamps, brackets, roof access, cable penetrations, and any equipment visible from outside.
- Ask whether the building has rules about wind loads, external appearance, fire doors, waterproofing, and work at height.
- Keep the approval, a simple sketch, and photos of the original condition. That makes it easier to reverse the installation when you move.
Do not attach a dish to a railing, parapet, chimney, or shared roof simply because it seems convenient. A loose or poorly loaded mount can damage property or injure someone below.
Find a usable view of the sky
Use the Starlink app's obstruction or visibility tool from the proposed dish location, holding the phone where the dish will sit. Check more than one point on the balcony if you can.
Look for:
- The open part of the sky above and in front of the dish.
- Nearby towers, roof edges, trees, balconies, walls, and overhead cables.
- New obstructions that appear when the dish tilts or moves through its normal field of view.
- A place where the dish can remain still and upright during wind and rain.
A view that looks open from eye level can still be blocked by the building above the balcony. Test the actual mounting height, not just the view from inside the room.
An indoor placement behind a window is generally a poor permanent solution. Glass, frames, walls, and the balcony above can block the view the dish needs, and the dish should be installed according to the hardware's outdoor-use instructions.
Pick the safest balcony arrangement
Prefer a stable, approved, non-penetrating setup that is designed for the dish and the surface. The exact mount depends on the Starlink hardware generation and the building, so confirm compatibility before buying.
A good arrangement should:
- Sit on a level, load-bearing surface.
- Keep the dish and cable clear of doors, handrails, drainage paths, and escape routes.
- Resist sliding or tipping in the strongest local wind conditions.
- Avoid drilling into waterproofing, render, insulation, or structural elements unless the work is approved and properly carried out.
- Leave enough room to inspect connectors and remove the equipment without leaning over a guardrail.
Do not use loose paving slabs, improvised brackets, sandbags that can spill, or a temporary clamp as a substitute for a mount designed for the dish. Do not place the dish where a falling part could reach a public path, neighbouring balcony, car park, or lower flat.
If the only suitable location is a roof or exterior wall, use a qualified installer who can confirm the fixing method, waterproofing, fall protection, and permission requirements.
Plan the cable route
Measure the real route before fixing anything. Include vertical drops, door or window positions, and a little service slack for inspection, but do not coil excess cable tightly.
For an apartment, the safest routes usually follow an approved existing entry point or a professionally installed cable entry. Keep the following in mind:
- Never pinch the cable in a closing window or balcony door.
- Do not run it across a shared walkway or across a fire door.
- Protect it from sharp edges, crushing, abrasion, heat, pets, and standing water.
- Avoid tight bends and any connector that is hanging under tension.
- Where a cable enters the building, use the correct weather seal and leave a small drip loop outside so water does not run directly into the opening.
- Do not enlarge a hole or drill through a wall, frame, fire barrier, or waterproof layer without written approval and the correct repair method.
- Do not replace the Starlink cable with a random network cable or join cables with an unprotected outdoor connector.
If the supplied cable cannot reach the router without an unsafe route, the answer is usually a different approved location or professional installation, not a longer improvised cable.
Keep the power equipment dry and accessible
Follow the electrical instructions for your hardware and local rules. Keep the power supply, plugs, and connections dry, ventilated, and protected from rain. Do not seal a power supply in a small unventilated box, bury it under cushions, or run an indoor extension lead through a door where it can be crushed.
A qualified electrician should handle any new outdoor socket, cable entry, or circuit change. Use the required local protection for your region, and keep the setup away from water that can collect on a balcony.
Put the router where it helps
The dish needs the clearest sky view; the router does not. Put the router inside, near the centre of the flat if practical, with space around it for airflow. Avoid hiding it behind a television, inside a metal cabinet, or in a utility cupboard that weakens Wi-Fi.
If the balcony is far from the room where you need service, test the router's normal Wi-Fi range before buying mesh equipment. A wired access point or approved mesh arrangement may be more reliable than placing the router beside the dish and trying to send Wi-Fi through several walls.
Test the installation before you tidy it away
After the dish is connected:
- Confirm in the Starlink app that the dish, router, and internet service are online.
- Check the obstruction view and leave the system running long enough to reveal intermittent interruptions.
- Run a speed test from the room where you actually use the connection.
- Test a video call or other important activity while another device is using the connection.
- Check that the cable, mount, balcony door, and drainage path are still safe after rain or wind.
- Label the power and network equipment so nobody unplugs the dish by mistake.
Do not factory-reset the system just because the first connection takes time. Check power, connectors, the app status, sky view, and the cable route first.
When an apartment setup is not suitable
Pause the installation and ask for professional help when:
- The balcony has no usable sky view.
- The only possible fixing is on shared or structural property.
- The cable must cross an escape route or be trapped in a door.
- The dish would be exposed to a fall hazard or strong wind without a proper mount.
- The property manager will not approve the work.
- You cannot keep the power equipment dry and safely supplied.
In those cases, a different approved location, a qualified installer, or another broadband service may be safer and cheaper than repairing a damaged building or replacing fallen equipment.
Apartment Starlink checklist
Before you go live, confirm:
- [ ] Permission is written down.
- [ ] The app's obstruction check was done at the actual mounting point.
- [ ] The mount is compatible, stable, and clear of escape routes.
- [ ] The cable route is protected and not pinched by a door or window.
- [ ] Any penetration, fixing, or electrical work has been approved and correctly sealed.
- [ ] The power equipment is dry, ventilated, and accessible.
- [ ] The router location gives useful coverage inside the flat.
- [ ] The connection and cable route were tested in normal use.
A small apartment can support a dependable Starlink installation, but only when the dish location, permission, cable path, and weather exposure are treated as one plan rather than separate afterthoughts.