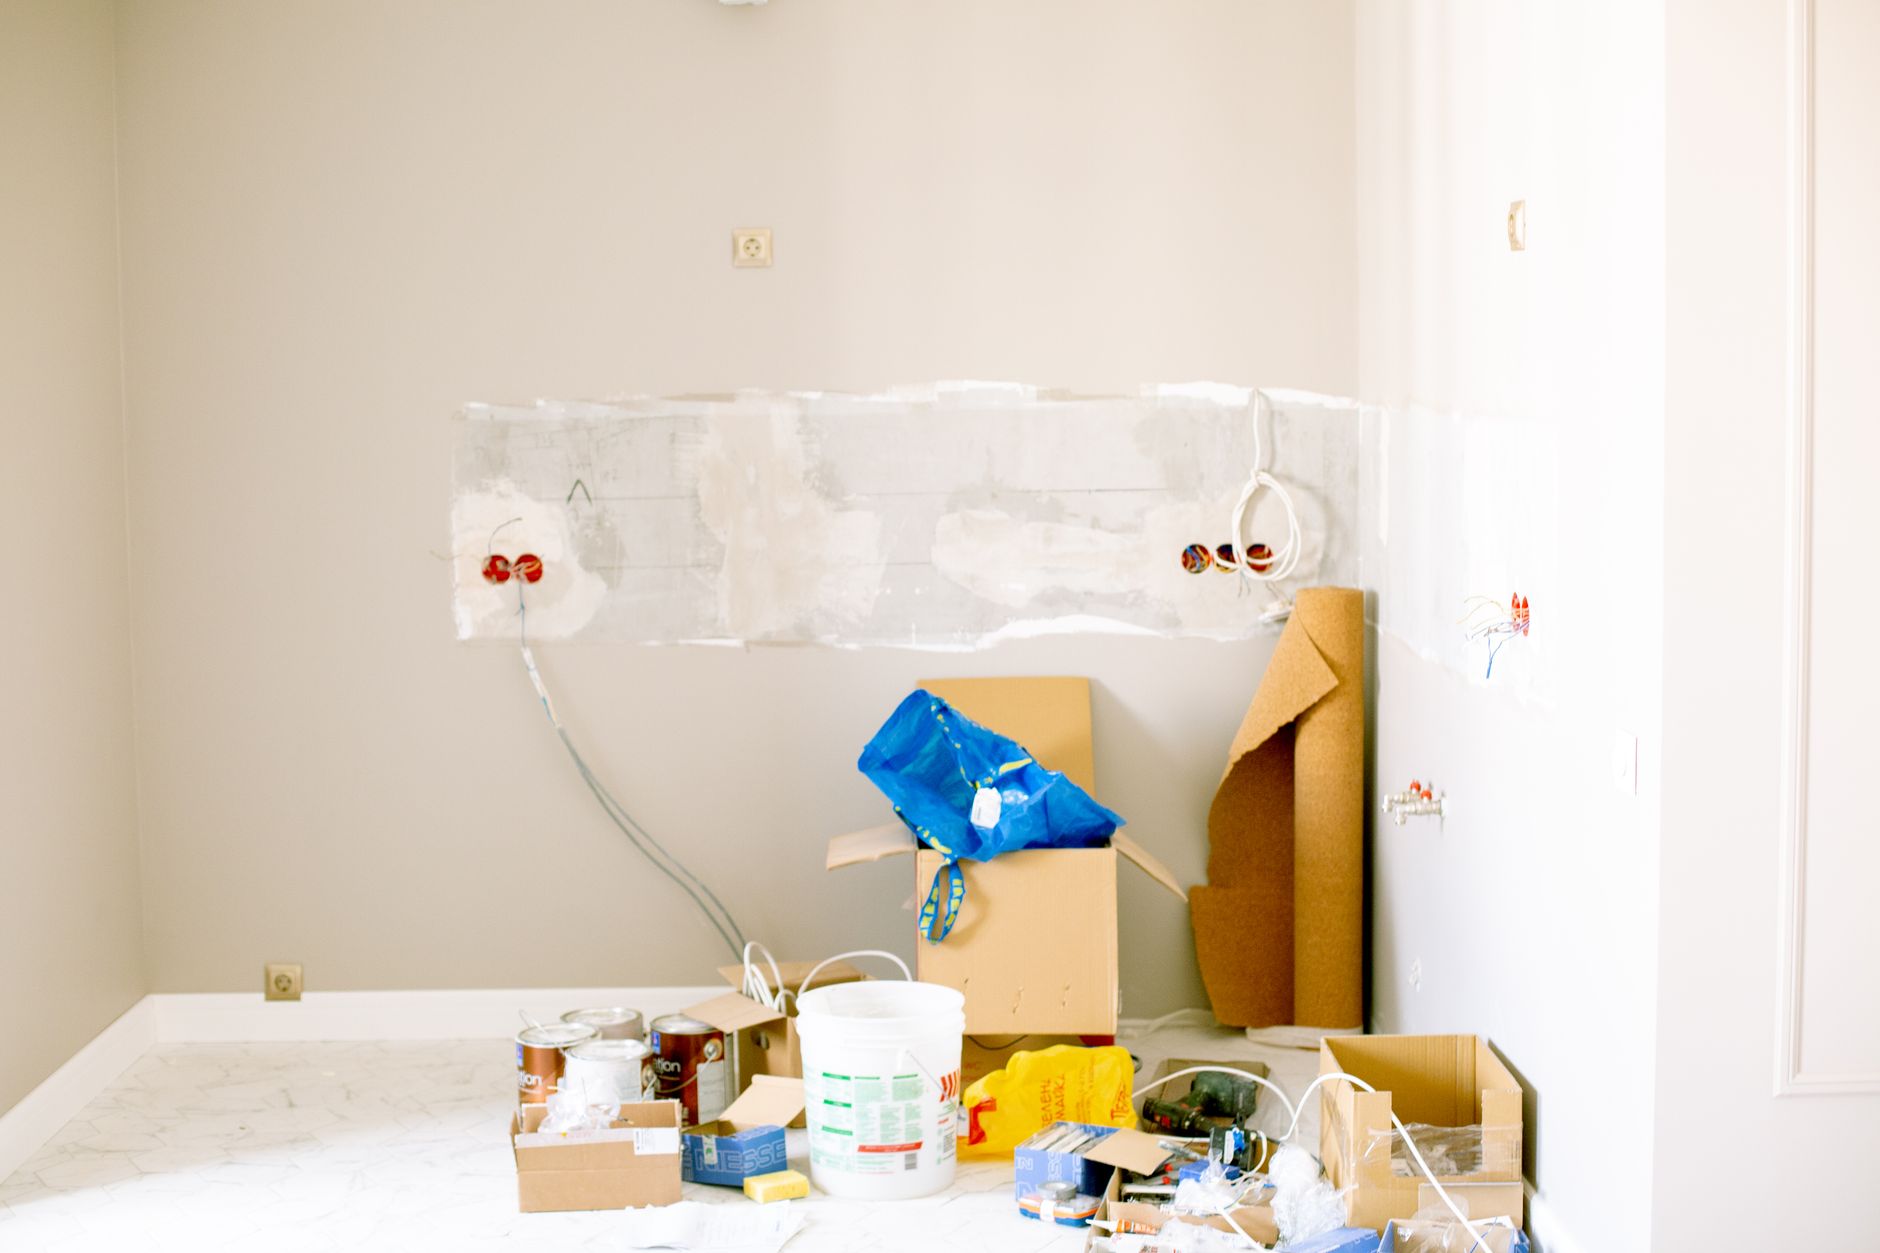
How to Plan Starlink During a Renovation: Cable Routes, Power and Handover Checks
Installation & Setup Guides
Research checked 4 November 2026. This planning guide helps you make Starlink part of a renovation without closing up a route, power point or access panel that you later need. It does not replace a qualified electrician, building professional or the current instructions for your exact Starlink hardware.
Decide what the finished connection must do
Write down the jobs the connection must support after the work is complete:
- everyday browsing and streaming
- work calls or uploads from a fixed desk
- wired devices in a study, office or media area
- cameras, smart-home equipment or a separate guest network
- a second room, workshop or outbuilding
Separate the internet link from the indoor Wi-Fi design. A reliable dish and router location does not automatically give good coverage in every room. Decide which locations need wired Ethernet, which can use Wi-Fi, and whether another access point or switch will be needed.
Also decide who will maintain the equipment. A router hidden above a finished ceiling may look tidy but can turn a simple reset, cable check or power-cycle into a building job.
Choose the dish location before the roof or walls are closed
Use the Starlink app and the current installation guidance for your kit to check candidate dish positions. Record:
- the proposed mounting surface and how it will be reached safely
- the likely cable entry point
- any obstructions that may change as trees grow or nearby work progresses
- the route from the dish to the equipment inside
- where water, snow, wind, ladders or future maintenance could affect the installation
Do not treat a renovation drawing as proof that a location works. Confirm the actual view and the safe mounting method before the final roof, wall or landscaping decisions are made.
If the dish will be installed by someone else, agree who is responsible for the mount, weather sealing, cable route and final test. Put those items in the written scope rather than relying on a general phrase such as “install Starlink.”
Plan the cable path around the complete connector
Measure the real route, including entry points, bends and the location of the power supply or router. Mark each measurement as measured, estimated or still unknown.
The cable and connector arrangement varies by Starlink kit. Before installing conduit, trunking or a sealed wall entry, check the complete factory connector and any approved replacement parts. A tube that accepts the cable itself may not accept the connector, and a route that is impossible to pull through can force a risky cut or splice later.
Use these rules:
- keep the factory cable intact unless the current manufacturer instructions explicitly allow another method
- avoid tight bends, crushing, staples and locations where furniture or doors can pinch the cable
- provide a protected, accessible route rather than burying an unknown connection permanently
- keep entry points sloping or sealed so water cannot be guided into the building
- leave a sensible service loop where the equipment can be inspected without pulling on the dish cable
- label both ends of the route before plasterboard, insulation or cabinets hide it
For any new penetration, agree the seal, flashing, fire-stopping and weatherproofing method with the appropriate trade. Do not copy a sealant or cable-entry recipe from a different building material without checking that it is suitable.
Reserve power and network space
Plan the equipment location as a small service area, not just an empty shelf. Allow room to:
- see status lights or access buttons where the hardware provides them
- unplug and replace the power supply
- remove cables without disturbing the dish mount
- ventilate the router and power equipment
- keep mains connections dry and mechanically protected
- reach a label or recovery note during an outage
If the renovation includes a network cabinet, decide whether the Starlink router stays there, feeds a separate router, or connects to a switch or access point. Draw the intended path from dish to Starlink equipment to the rest of the network. This avoids installing multiple sockets and Ethernet runs without deciding which device will actually perform routing.
Keep mains electrical work, dedicated circuits, earthing and protective devices within the scope of a qualified electrician. A network plan is not an electrical design, and an internet outage is not a reason to open a live consumer unit.
Pre-install the useful network routes
Run network cabling to the places where a wired connection will still be useful after the furniture moves:
- the main work desk
- a network cabinet or central equipment location
- a television or media area
- a security camera or access point location
- a workshop, office or other outbuilding where a separate link is planned
Record where each cable starts and ends. Photograph routes before they are covered, but store the images privately if they show security-sensitive details. Leave accessible termination points and label both ends; a beautiful cabinet with unlabelled cables is difficult to recover.
Do not assume that every cable run can carry power, outdoor signals or a Starlink dish connection. Treat Starlink's dish cable, ordinary Ethernet and mains wiring as separate design questions. Ask the installer or manufacturer about compatible parts before ordering adapters.
Agree the handover test before the work is finished
Write the acceptance checks into the renovation schedule. At handover, test from the places that matter, not only beside the router:
- the Starlink terminal reaches its normal online state
- the router or chosen network device provides the intended Wi-Fi and wired connections
- a wired device negotiates at the expected link speed for its equipment
- a representative work call, upload or streaming session works from the actual room
- guest, IoT or separate networks cannot reach devices they should not reach
- the dish cable, power supply and network labels match the diagram
- the equipment can be reached for a safe reboot without dismantling finished work
- the installer explains what was tested and what remains untested
Keep a copy of the final diagram, equipment list, cable labels, safe power-off method and support details. Record any seasonal obstruction, temporary route or unfinished weatherproofing as an action rather than assuming somebody will remember it.
A simple renovation checklist
Before walls or ceilings close, confirm that you have:
- a checked dish position and safe mounting plan
- a measured cable route that accepts the complete connector
- an agreed weather seal and any required fire-stopping
- accessible power and ventilation for the Starlink equipment
- planned Ethernet routes and labels
- a network diagram showing router, switch and access-point roles
- a named person responsible for electrical and structural work
- written handover tests and recovery notes
A few minutes spent on access and labeling can matter more than hiding every cable. Starlink should be easy to inspect, replace and recover after the renovation is complete.
Check the current Starlink offer
Check your current price and offer on Starlink. Starlink Tips is independent and may receive a reward for an eligible referral. Confirm the price, benefit and conditions shown for your location before ordering.