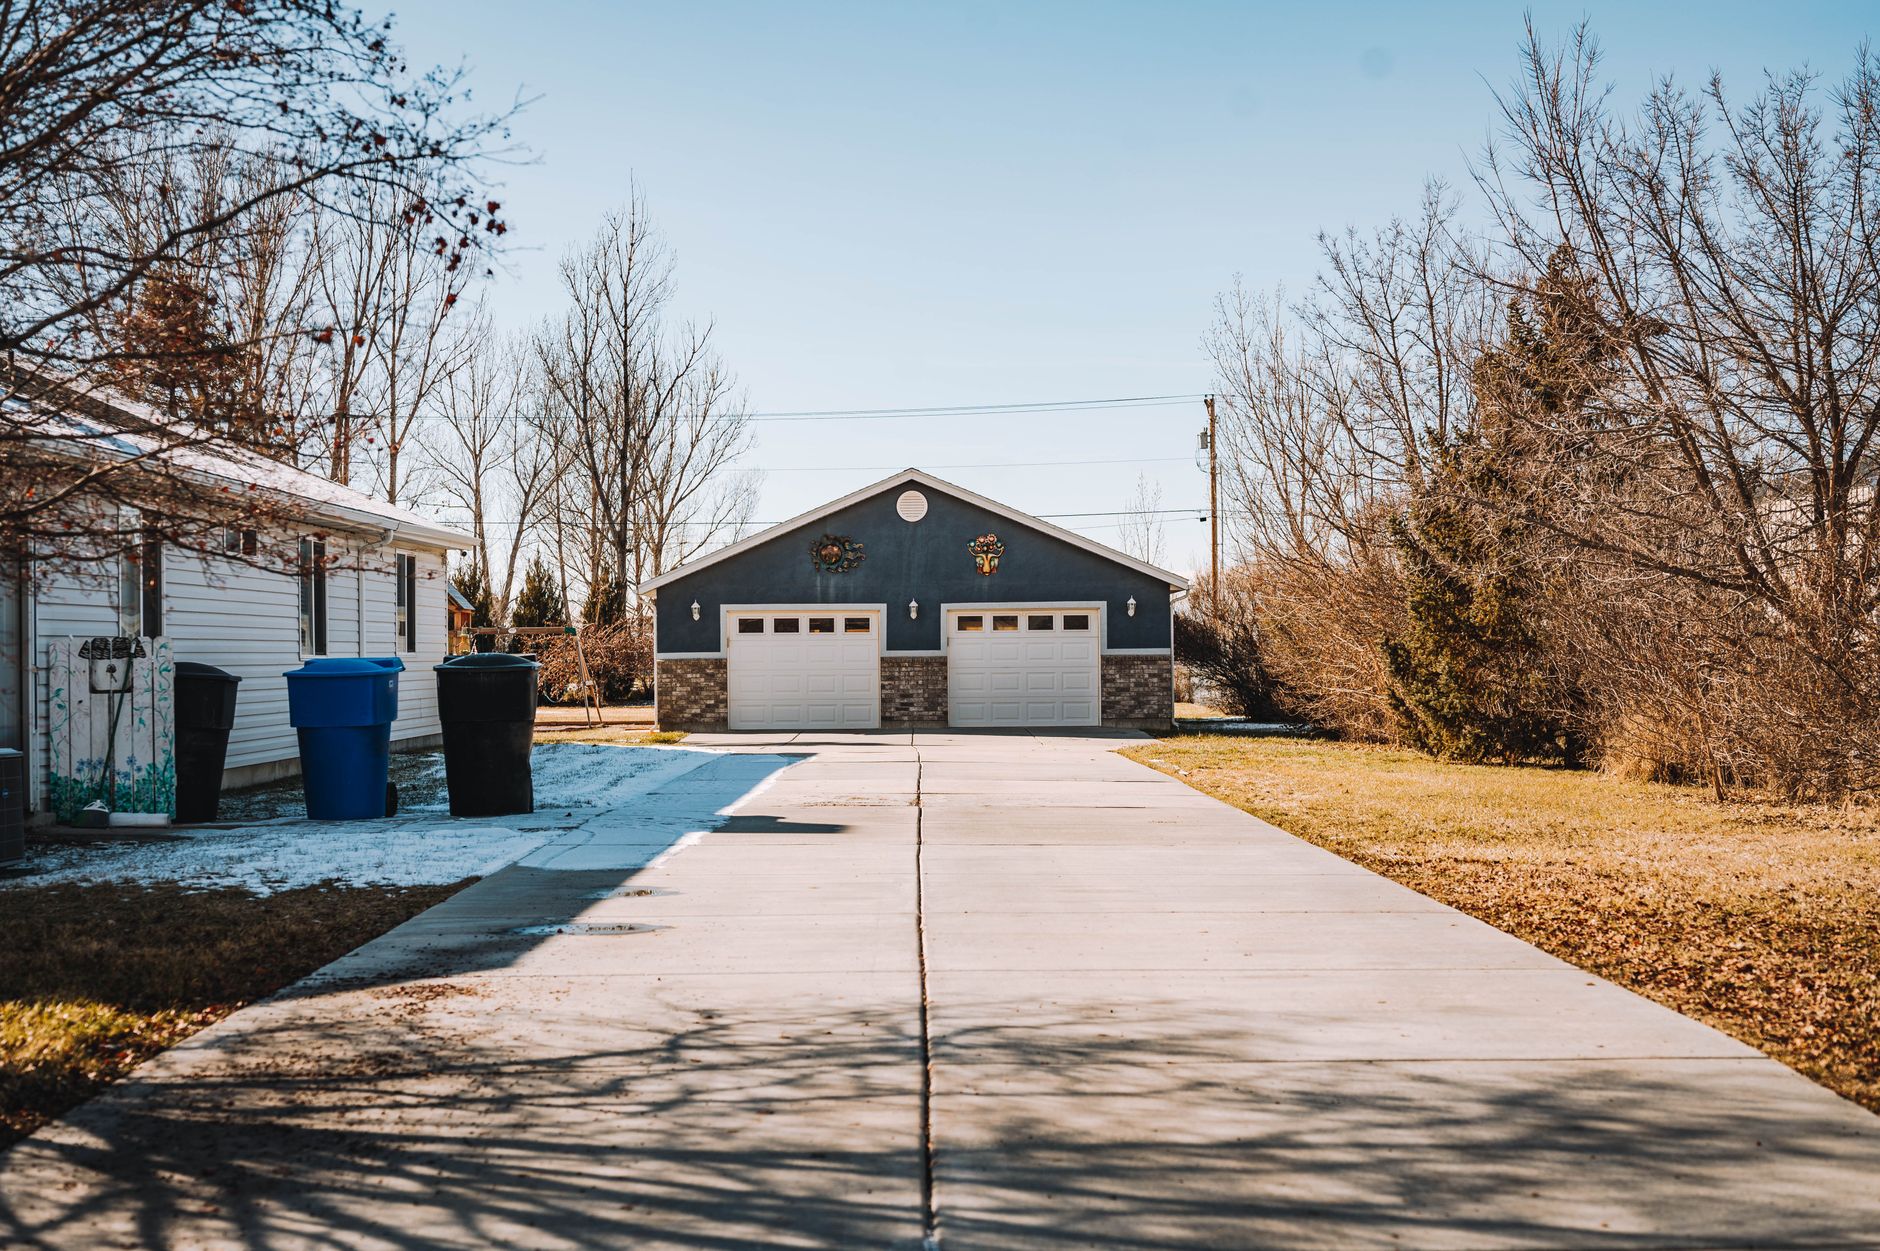
How to Extend Starlink to a Detached Garage or Outbuilding Without Double NAT
Installation & Setup Guides
A detached garage, workshop or garden office can use the same Starlink connection as the main house, but the best layout depends on the distance, the ground between buildings and how much reliability you need. The key decision is where the network link crosses the gap: a properly installed Ethernet run is usually the most predictable option, while a matched wireless bridge can avoid trenching.
This guide covers the network design and checks. It does not replace local electrical, building or underground-utility requirements.
Choose the link before buying hardware
Use this quick decision process:
- Choose wired Ethernet when you can install a suitable outdoor-rated cable or conduit between the buildings. It gives the most consistent latency and throughput.
- Choose a wireless bridge when trenching is impractical and the two buildings have a reasonably clear line of sight. A bridge uses one unit at each end and behaves like a long network cable.
- Use a mesh node only when the main Starlink router or access point already reaches the outbuilding reliably. A signal that barely reaches the garage is not a good foundation for cameras, work calls or large downloads.
- Do not add a second router in normal router mode by default. That can create a second DHCP server and double NAT, making local discovery, inbound connections and troubleshooting harder.
If the outbuilding needs its own internet connection, separate billing, or independent service, that is a different design. This guide assumes one Starlink connection and one home network.
Start at the main Starlink router
The dish should normally connect to the Starlink router or the compatible equipment that is already providing your home network. Extend the network after the router whenever possible.
Before running a cable or buying a bridge, record:
- The Starlink router location and any Ethernet port or compatible Ethernet adapter available
- The distance between buildings, including the route rather than a straight-line estimate
- Whether the route is above ground, inside a conduit, or underground
- Where the cable will enter each building
- Whether the outbuilding already has safe, code-compliant power
- Where the second access point, switch or bridge unit could be mounted away from water, heat and physical damage
If the Starlink router has no suitable Ethernet connection, check the exact router and adapter options for your model before committing to a wired design. Do not cut or splice the Starlink dish cable to make it longer.
Option 1: Run a protected Ethernet link
A wired link is usually the simplest design to support over time.
- Measure the complete route and leave a little service slack at each end.
- Use cable rated for the environment. An outdoor-rated Ethernet cable is appropriate for exposed sections; a cable intended for direct burial is needed where the cable is actually buried. A conduit protects a route but does not automatically make an indoor-only cable suitable for burial.
- Keep connectors and joins in accessible, dry locations. Do not bury a loose coupler or leave a connector sitting in a low point where water can collect.
- Seal wall entries with a suitable exterior-rated method and leave a drip loop so water cannot run along the cable into the building.
- Keep low-voltage network cable separate from mains wiring unless the installation meets local rules. Use a qualified electrician for new circuits, shared trenches or any work near electrical service.
- At the outbuilding, connect the Ethernet run to an access point, a switch followed by an access point, or a router configured in access-point or bridge mode.
The remote device should normally obtain its address from the main router. If the second device has a setting such as Access Point, Bridge, or AP mode, use the mode that disables its routing and DHCP functions. The exact labels vary by manufacturer.
If you need several wired devices in the garage, put a small switch after the building-side Ethernet termination and connect the access point and wired devices to that switch. Keep the design easy to unplug and test.
Option 2: Use a wireless bridge
A wireless bridge is useful when an Ethernet trench is not practical.
- Buy a matched pair designed for building-to-building links rather than relying on an ordinary indoor extender.
- Confirm that both buildings have a usable line of sight. Trees, metal cladding, foil-backed insulation and new construction can change the result.
- Mount each unit securely and follow its weatherproofing instructions.
- Connect the house-side unit to the main Starlink network and the outbuilding-side unit to an access point or switch.
- Put the outbuilding access point in access-point or bridge mode, just as you would with Ethernet.
A bridge link can be fast, but its performance may change with alignment, interference, weather and obstructions. Test it at the times you expect to work or stream in the outbuilding before treating it as permanent.
Configure the outbuilding network
The goal is one logical home network with better coverage, not two unrelated networks.
Use these checks:
- Give the access point a clear name and a fixed management address if your equipment supports that.
- Use the same Wi-Fi network name and security settings only when you want devices to roam between access points. Use a different name temporarily while testing if you need to see which access point a device is using.
- Leave DHCP enabled on the main router and disabled on the access point.
- Avoid connecting two router LANs together if one of the routers is still acting as a router. Follow the second device manufacturer's wiring guidance for AP or bridge mode.
- If the building needs a guest network or isolated devices, configure that intentionally on equipment that supports the required isolation. Do not assume a second consumer router automatically provides safe isolation.
If your home uses a separate firewall or mesh system behind Starlink, make that system's existing routing decision first. The remote building should extend the chosen home network rather than introduce another unplanned routing layer.
Test before closing walls or trenches
Run a controlled test while the route is still accessible.
- Test a laptop beside the main router and note the device's local IP address, gateway and a normal internet result.
- Test the same laptop or a known-good device at the outbuilding end.
- Confirm that the outbuilding device receives an address from the main router and has the expected gateway. Two different private-network gateways or repeated DHCP warnings are signs of a routing or wiring problem.
- Test a local task, such as reaching a printer, NAS or another device that should be available on the home network.
- Run an internet test at both buildings under similar conditions. Compare consistency and latency, not just the single highest download number.
- Reboot the access point or bridge, then reboot the main router if needed, and confirm that the outbuilding reconnects without manual reconfiguration.
- Check the route after rain, strong wind or temperature changes. Look for loose cable, standing water, damaged conduit, condensation or a wireless bridge that has moved.
A good result is repeatable: the remote device gets one expected network address, local services work when they should, the internet path is stable, and recovery after a restart is predictable.
Common mistakes to avoid
- Extending the dish cable by cutting, splicing or using an unapproved connector
- Using an indoor Ethernet cable outdoors or burying a connector
- Running network cable through a trench without checking for utilities and local requirements
- Putting a Wi-Fi extender where it receives only a weak signal
- Leaving a second router in router mode after connecting it to the main network
- Testing only download speed and never checking local devices, DHCP or restart recovery
- Hiding a power supply, bridge unit or connector where heat and moisture cannot be inspected
Bottom line
For most permanent garage or outbuilding installations, use a protected Ethernet link to a properly configured access point. Use a matched wireless bridge when a cable route is not realistic, and use mesh only when the signal between buildings is already strong enough for the work you expect to do. Test the network before the route becomes difficult to change, and keep every connector, power device and building entry accessible for future inspection.