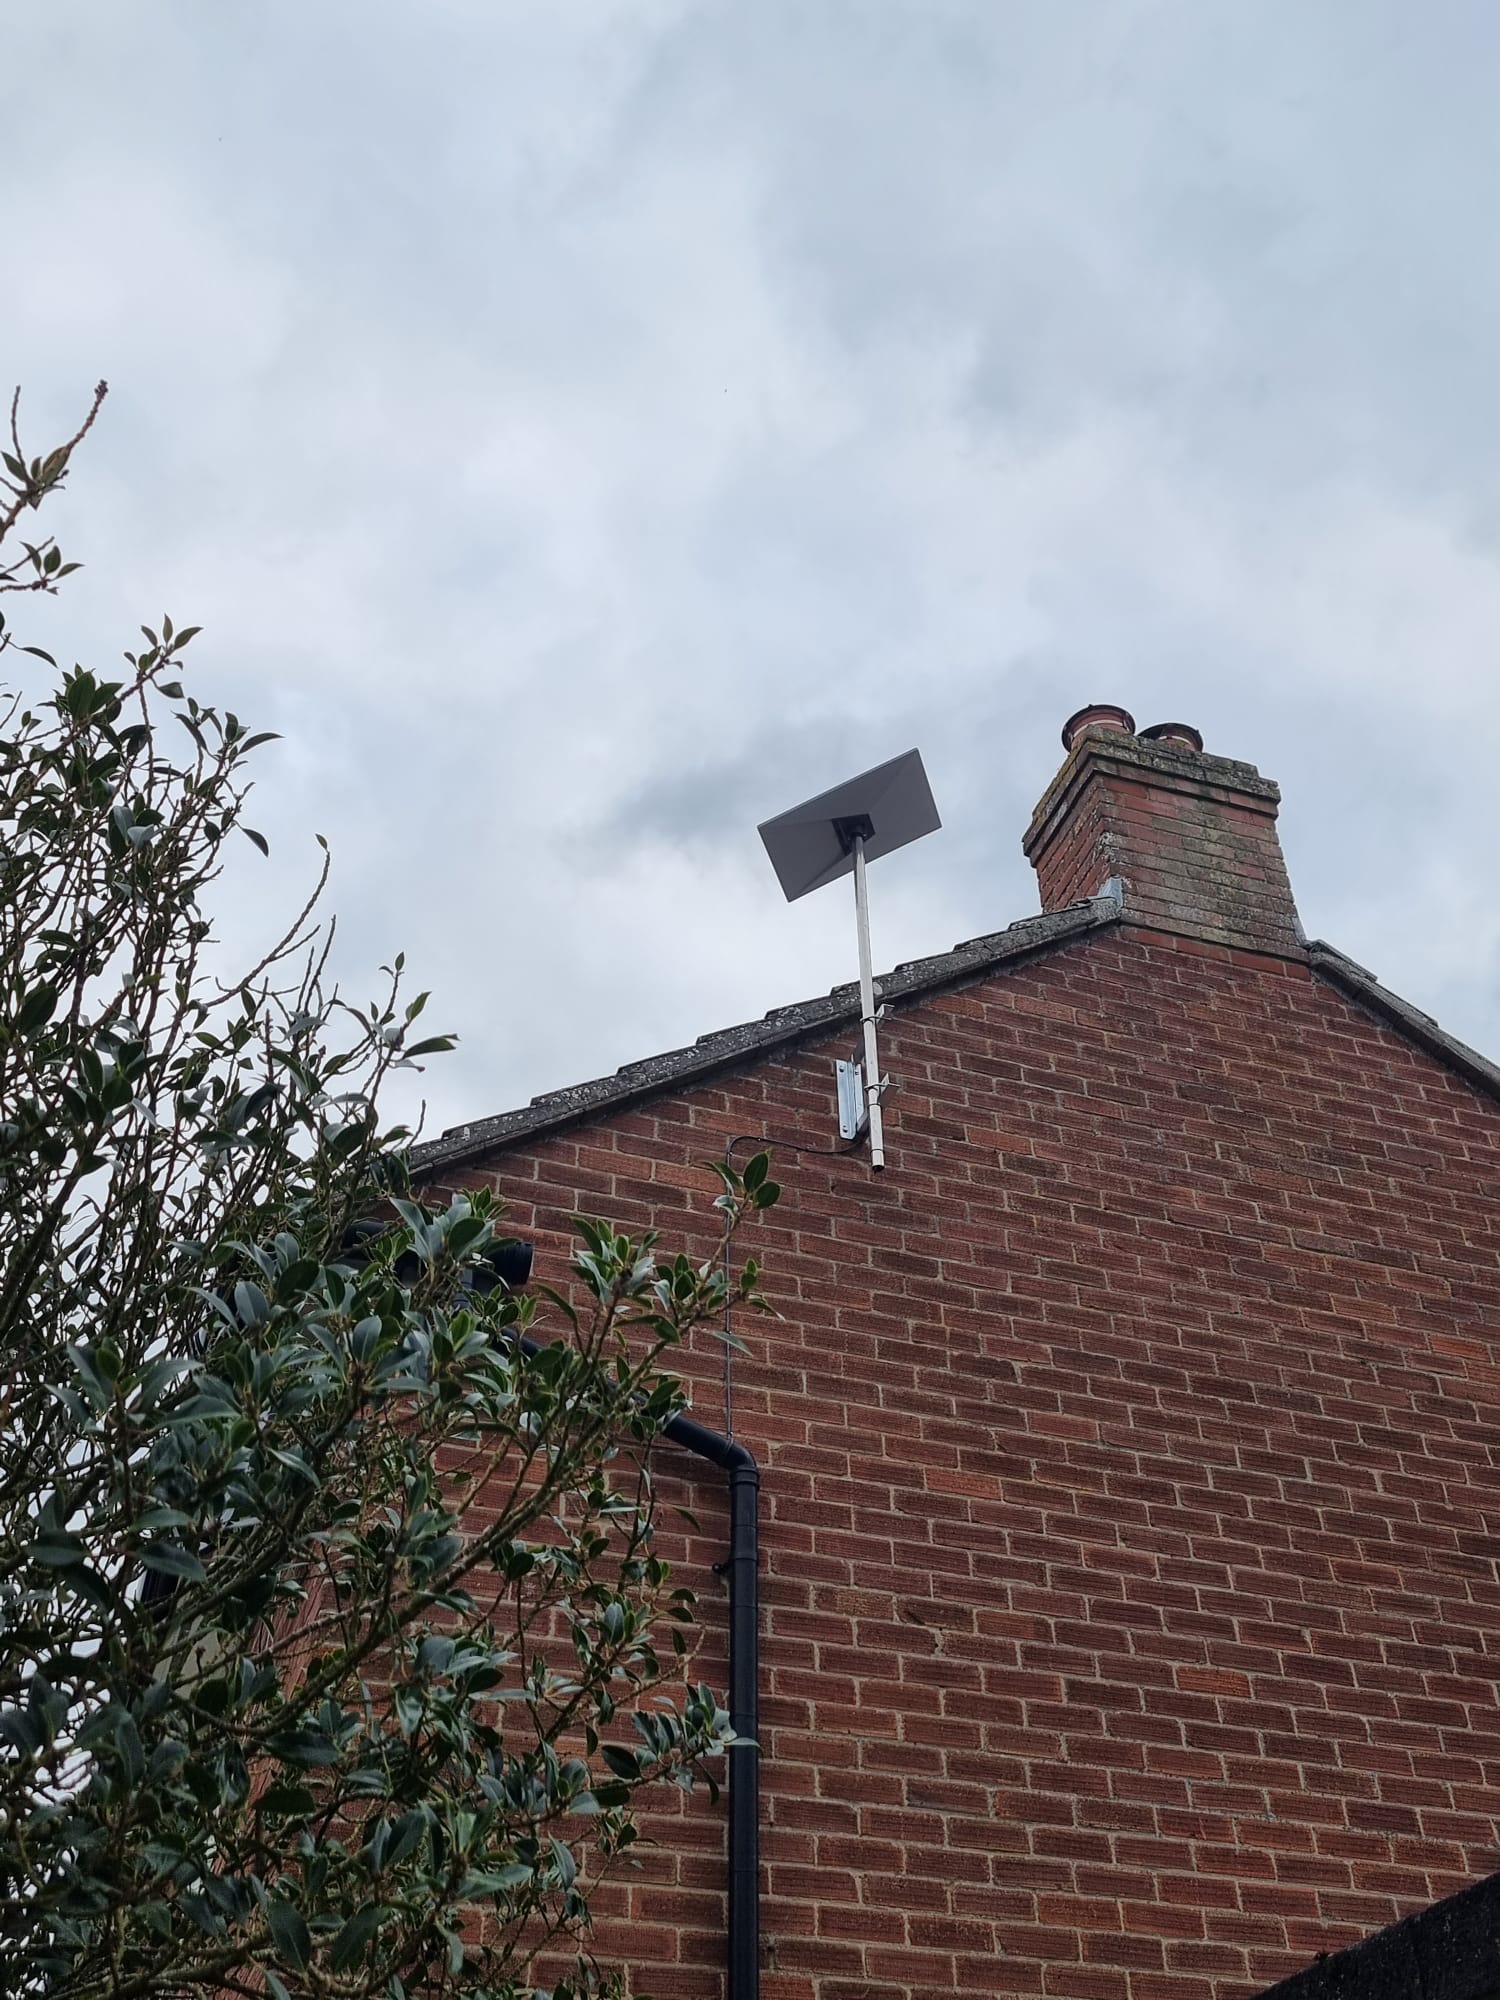
Where to Place Your Starlink Dish
Getting Started · 9 April 2026
Getting your Starlink kit is an exciting step toward high-speed, low-latency internet, no matter how remote your location might be. However, the performance of your service is heavily dependent on one critical factor: where you place your dish.
Unlike traditional satellite internet that relies on a single stationary satellite, Starlink uses a constellation of Low Earth Orbit (LEO) satellites that are constantly moving across the sky. This means your dish needs a clear, unobstructed view of a large portion of the sky to maintain a stable connection.
In this guide, we’ll walk you through everything you need to know to find, prepare, and install the perfect Starlink location.
1. The Golden Rule: Clear View of the Sky
The single most important requirement for Starlink is unobstructed line-of-sight to the sky.
Because the satellites are moving, they will appear at different points in the sky throughout the day and night. If a tree branch, a roofline, or a chimney blocks the path of a satellite, your connection will "drop" for a few seconds while the dish waits for the next satellite to appear in a clear patch of sky. These micro-outages can ruin video calls, gaming sessions, and even simple web browsing.
How to Check for Obstructions
Before you start drilling holes or running cables, use the Starlink App.
- The Obstruction Tool: The app uses your phone's camera and augmented reality (AR) to scan your surroundings. It can actually map out where obstacles are located relative to the satellites' paths.
- Don't Guess: Even if a tree looks "far away," a single thin branch can cause significant signal degradation. Always rely on the app's scan.
2. Top Recommended Installation Locations
Depending on your property type and technical comfort level, here are the best places to consider:
A. The Rooftop (The Gold Standard)
Installing on the roof is generally the best way to ensure a 360-degree view of the sky.
- Pros: Minimal obstructions from trees, houses, or fences; keeps the hardware safe from pets or accidental damage; provides the most stable connection.
- Cons: Requires more effort (ladders, mounting hardware); requires careful cable routing to prevent leaks; may require professional help if your roof is steep or complex.
- Best for: Most residential homes and permanent setups.
B. A Mounted Pole or Mast
If your roof isn't ideal, mounting the dish on a pole (attached to the side of the house or a dedicated ground mount) is an excellent alternative.
- Pros: Can be positioned higher than nearby obstacles; easier to access for maintenance than a roof; can be placed in a yard if the house itself blocks the view.
- Cons: Requires a sturdy, non-swaying pole; needs to be secured against high winds.
- Best for: Properties with significant tree cover or uneven terrain.
C. Open Ground/Yard (The Temporary Option)
If you are camping, living in an RV, or just testing the service, placing the dish on the ground is possible.
- Pros: Extremely easy to set up; no permanent modification to your property.
- Cons: Highly susceptible to obstructions (grass, bushes, fences); vulnerable to theft, animals, and weather; cables are more likely to be tripped over or damaged.
- Best for: RVers, campers, and temporary setups.
3. Environmental & Technical Considerations
Finding a clear view is only half the battle. You also need to consider the environment and the logistics of the hardware.
Weather and Wind Resistance
Starlink dishes are designed to withstand various weather conditions, including rain and snow. However, extreme wind can cause "dish wobble." If the dish moves even slightly, it can lose its precision alignment with the satellites.
- Stability is key: Ensure whatever you mount the dish to is rigid. A wobbly pole will lead to a wobbly internet connection.
- Snow buildup: In heavy snow areas, the dish's "Snow Melt" feature helps, but you should still ensure the location allows for natural clearing or easy access for manual clearing.
Cable Management and Protection
The Starlink cable is the lifeline of your system.
- Avoid Kinks: Never bend the cable sharply. This can damage the internal wiring and lead to total failure.
- UV Protection: While the cables are durable, long-term exposure to direct sunlight can eventually degrade them. Try to route them through conduits or along the shaded side of structures where possible.
- Waterproofing: If you are running the cable through a wall or roof, always use a proper drip loop and sealant to prevent water from following the cable into your home.
Power Proximity
Your Starlink router needs to be plugged into a power outlet. While the cable is long, you don't want to be running a 50-foot extension cord through your house. Plan your installation so that the dish is within a reasonable distance of your indoor router location.
4. Summary Checklist for a Perfect Install
Before you commit to a spot, run through this quick checklist:
- [ ] App Scan Complete: Have I used the Starlink app to confirm there are zero obstructions?
- [ ] Stability Check: Is the mounting surface (roof/pole) sturdy and able to withstand high winds?
- [ ] Cable Path Planned: Do I have a clear, safe path to run the cable from the dish to the router?
- [ ] Power Access: Is there a nearby power outlet for the router?
- [ ] Safety First: Do I have the right tools (ladders, drills, sealants) to do this safely and professionally?
Conclusion
A successful Starlink installation is a "set it and forget it" experience. If you take the extra time to find a location with a truly clear view of the sky and mount it securely, you will enjoy the high-speed, reliable internet that Starlink promises.
Don't rush the process—a little extra planning today prevents a lot of frustration tomorrow!
Order through my referral link and activate your service. Your second month of Starlink service will be free.